Oh, baking a cake! It’s one of my absolute favorite things to do. There’s just something so special about creating a dessert that brings smiles to everyone’s faces, right? I still remember the day I decided to bake a cake for my best friend’s birthday. I was determined to create something spectacular that not only tasted amazing but also looked incredible. While flipping through my old recipe book, I stumbled upon a simple yet stunning layered cake recipe. Eager to impress, I made it a day ahead, allowing the flavors to meld perfectly. When I unveiled it at the party, the joy on my friend’s face made all the effort worthwhile. That experience taught me the magic of make-ahead baking and the happiness it brings to special moments. Today, I want to share a recipe that embodies that magic: Why Everyone Loves This Cake Ideas Recipes (+ Make-Ahead Tips). It’s a winner every single time!
Why Everyone Loves This Cake Ideas Recipes (+ Make-Ahead Tips)
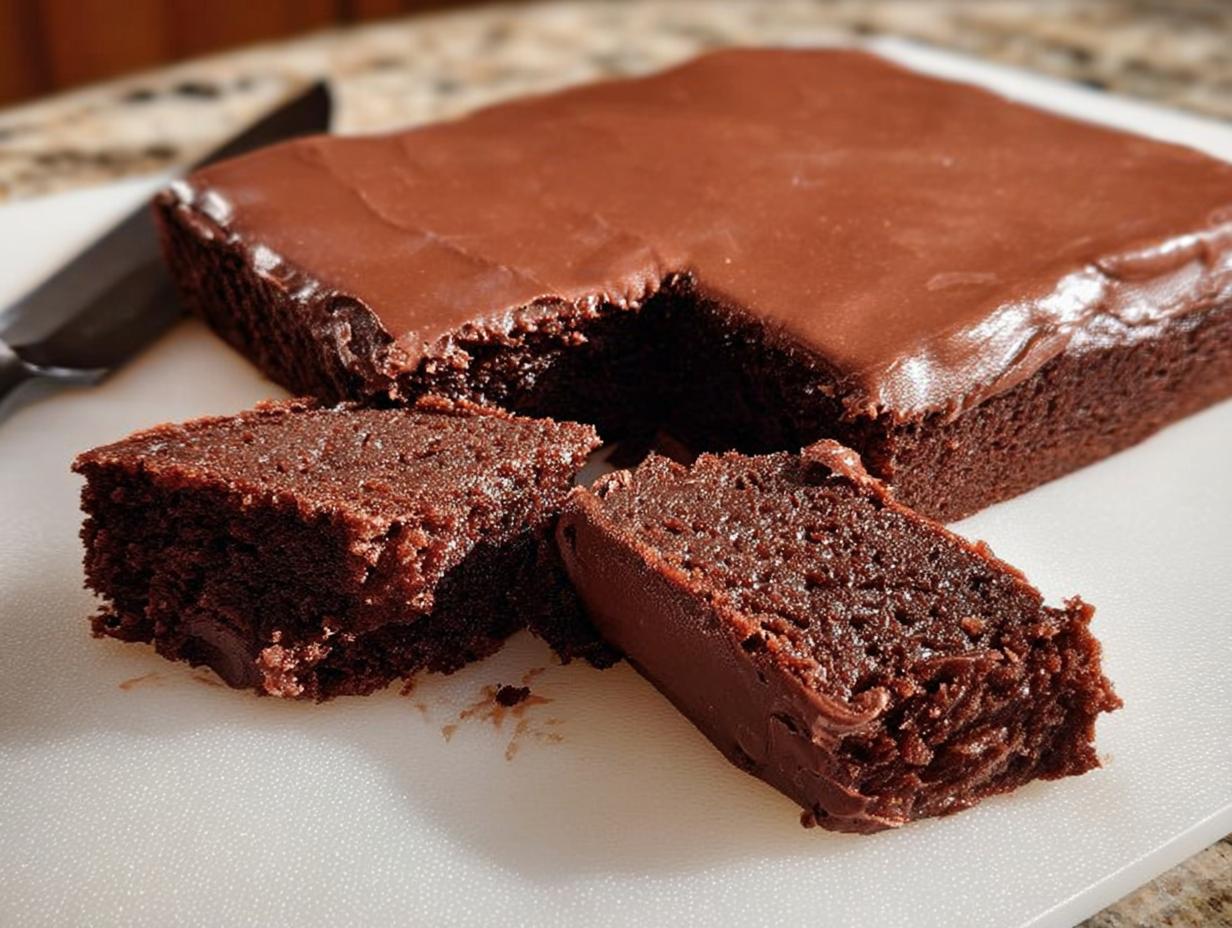
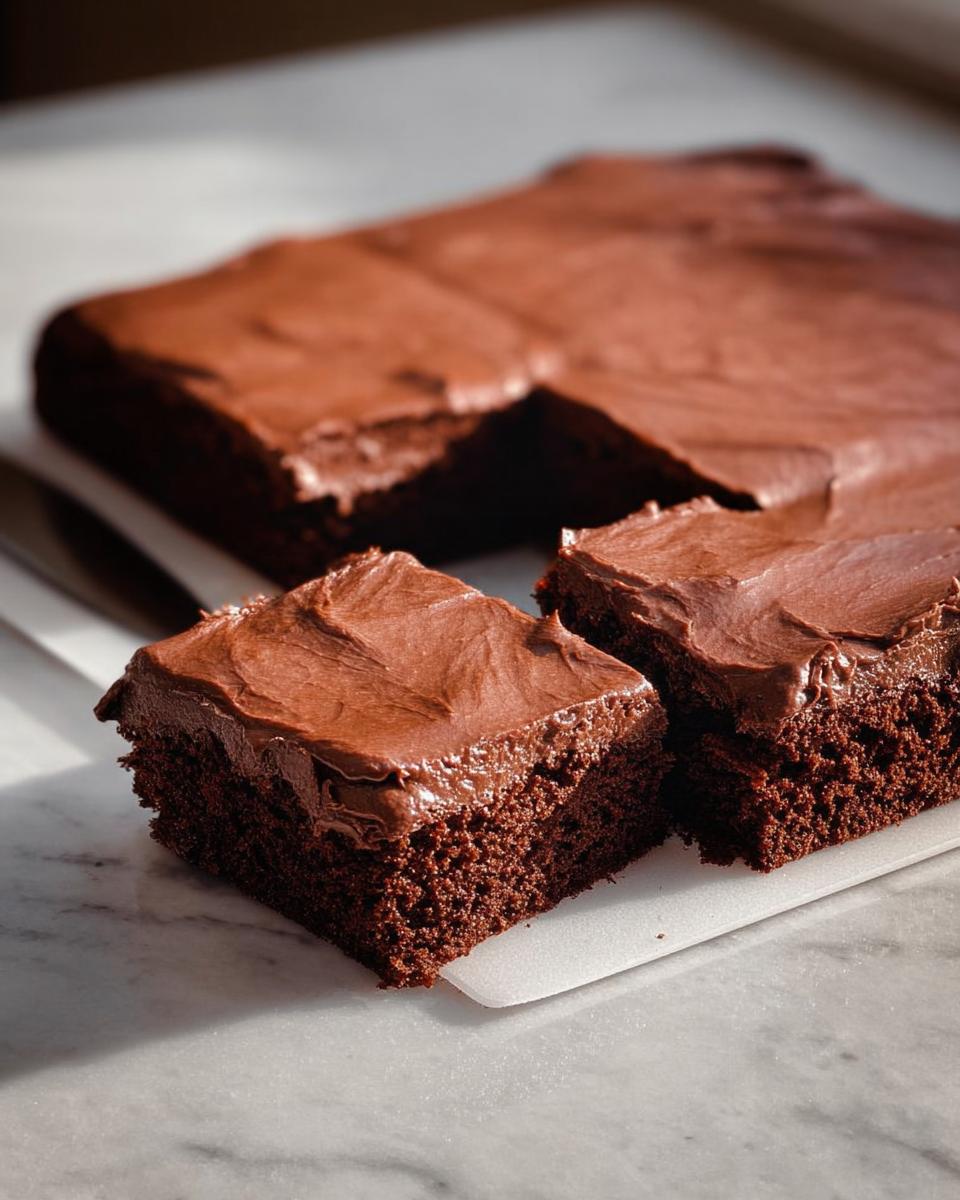
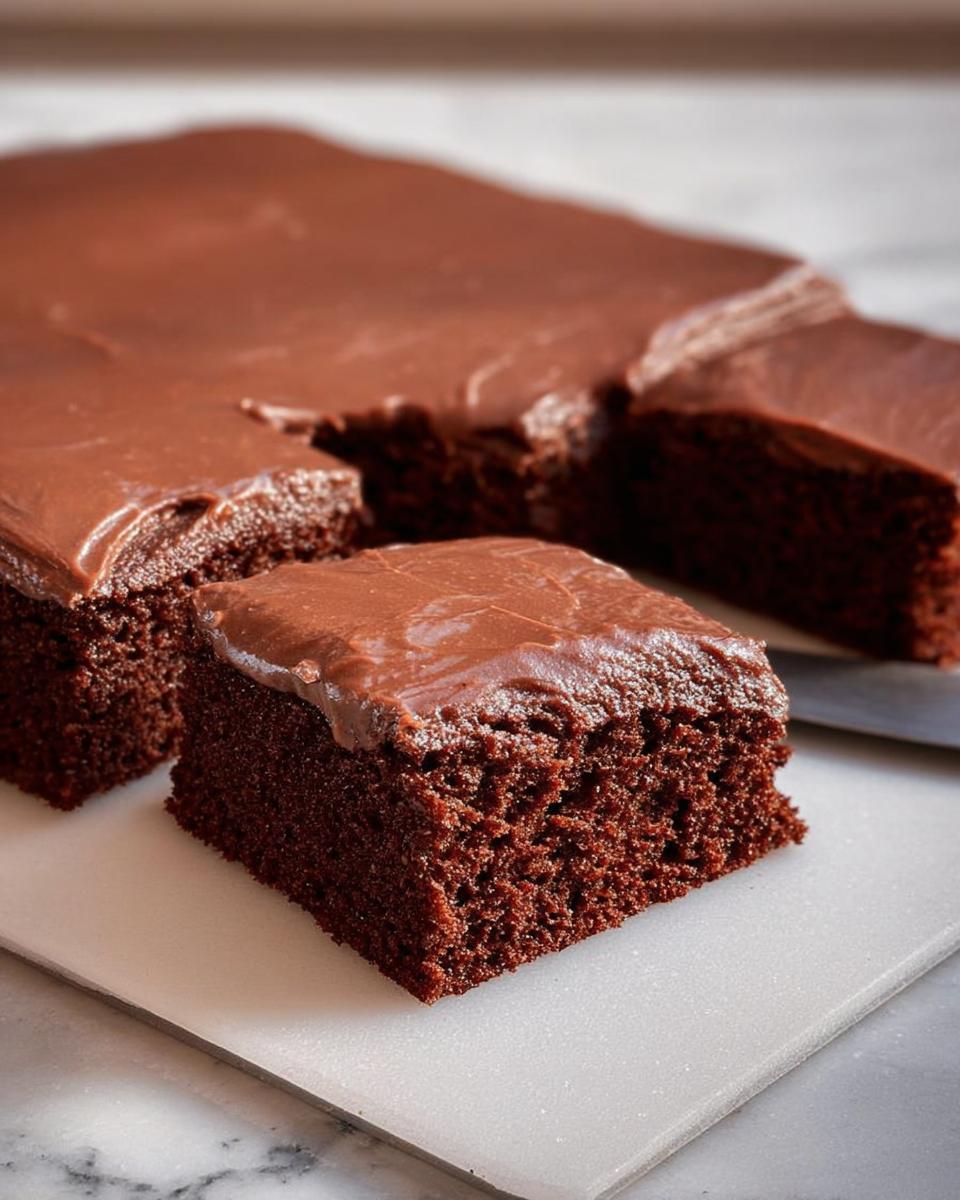
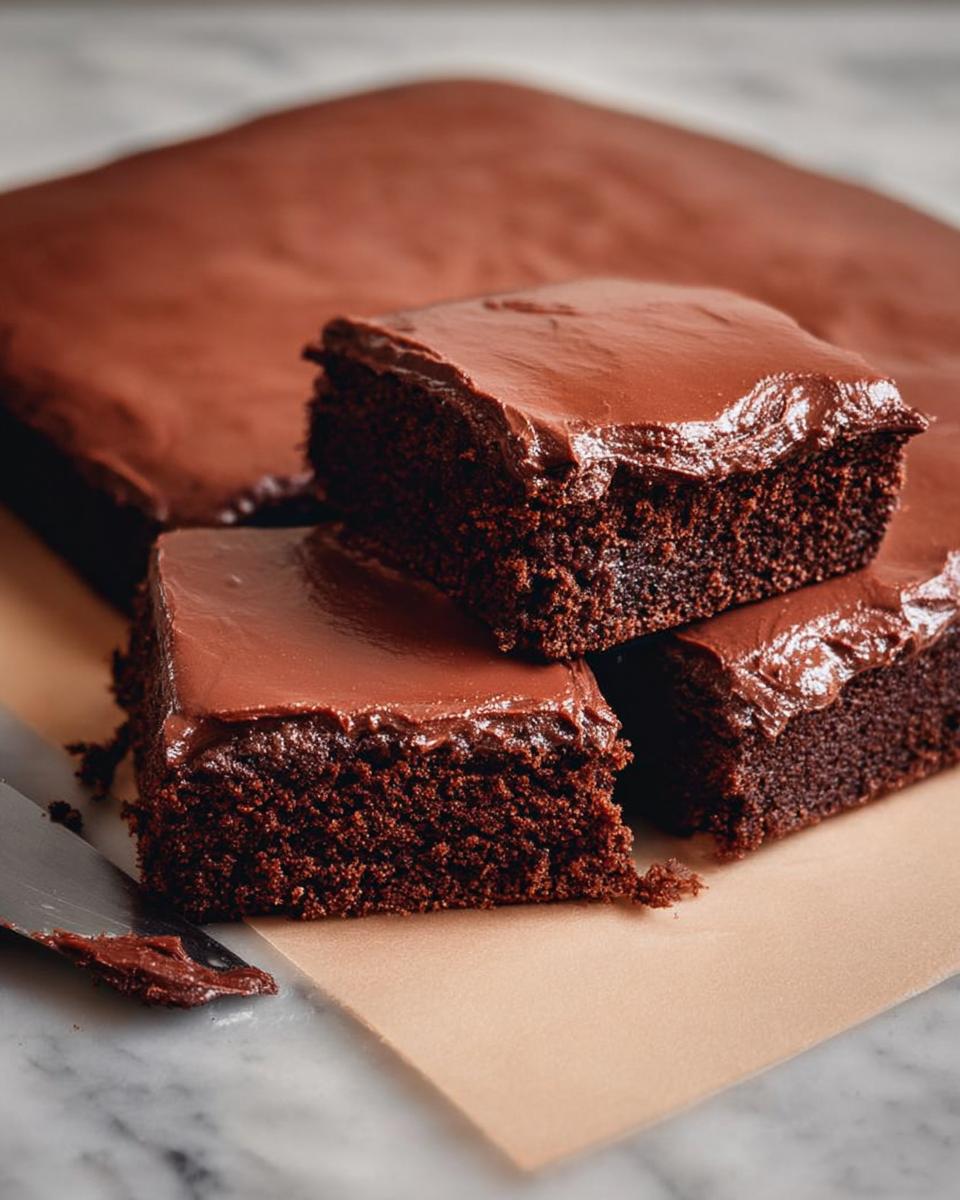
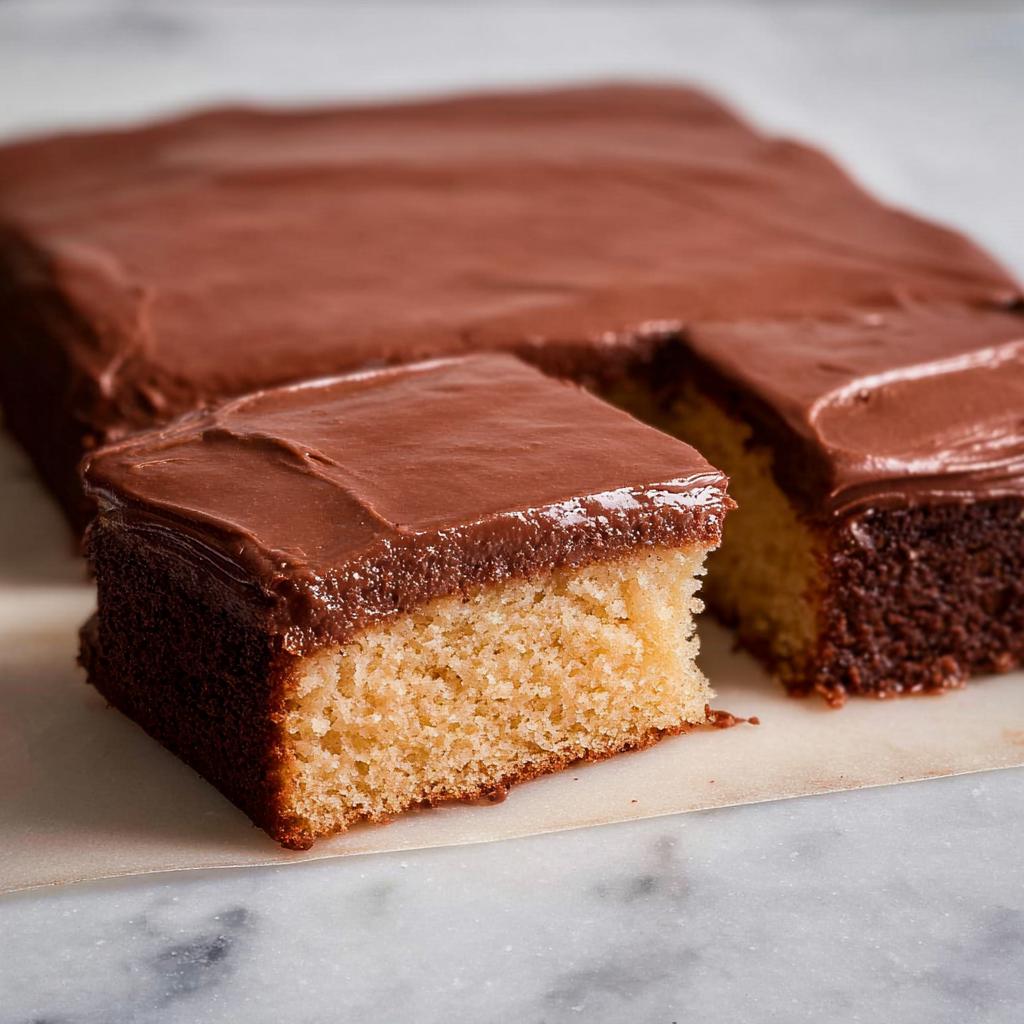
So, what makes this particular cake so darn special? Well, let me tell you, it’s a delightful combination of things! It’s got this incredibly moist, tender crumb that just melts in your mouth, thanks to the simple yet genius mix of ingredients. The flavor? Oh boy, it’s a rich, chocolatey dream with just the right amount of sweetness – not too much, not too little. It strikes that perfect balance that most people adore! Plus, preparing it is a breeze. You toss everything in one pot, bake it up, and then pour this luscious icing right over while it’s still warm. It’s kind of fool-proof, honestly. That’s why this recipe is a constant favorite and a go-to for so many when they need a crowd-pleasing dessert idea. It’s easy to whip up, always turns out a treat, and frankly, it’s just incredibly satisfying to make. If you’re looking for a reliable chocolate cake that’s a guaranteed hit, this is it! It reminds me a bit of that amazing chocolate cake I love, but with its own unique charm, and it’s definitely in the same league as those famous sheet cakes you see, like the ones over at Taste of Home!
Gather Your Ingredients for This Beloved Cake
Alright, let’s get our arms around everything we need for this amazing cake! Seriously, gathering your ingredients is half the fun, and it makes the whole baking process so much smoother. You’ll see we’ve got a few things for the cake itself and then some goodies for that irresistible icing. Don’t worry, it’s all pretty standard pantry stuff, no fancy-pants ingredients here!
For the Cake
For the cake part, you’ll need:
- 1 cup of butter, cubed. It needs to be softened a bit from the fridge, not melted!
- 1 cup of water
- 1/4 cup of baking cocoa (for that deep chocolate flavor!)
- 2 cups of all-purpose flour
- 2 cups of sugar
- 1 teaspoon of baking soda
- 1/2 teaspoon of salt
- 1/2 cup of sour cream (this is key for that moist texture!)
For the Icing
And for the luscious icing that makes this cake sing:
- 1/2 cup of butter, also cubed
- 1/4 cup plus 2 tablespoons of 2% milk (just regular milk works fine too!)
- 3 tablespoons of baking cocoa
- 3-3/4 cups of confectioners’ sugar (also called powdered sugar, super important for smoothness!)
- 1 teaspoon of vanilla extract (because vanilla makes everything better!)
How to Prepare This Delicious Cake Recipe
Alright, let’s get baking! This part is super straightforward, and honestly, it’s where the magic really starts to happen. You’ll find that this recipe is so forgiving, which is just another reason why everyone loves it. First things first, let’s get that oven preheated. You’re going to want to set your oven to 350°F (that’s 175°C in your fancy European readers’ world!). Grab a nice big baking pan, the 15x10x1-inch kind is perfect for this. Make sure you grease it up really well so nothing sticks – a little spray or some butter and flour will do the trick.
Now, let’s tackle the cake batter. In a large saucepan, like a sturdy one that can handle some heat, combine your cubed butter, the cup of water, and the baking cocoa. Bring that mixture to a nice rolling boil. Once it’s bubbling away, take it off the heat. In a separate bowl, whisk together your dry ingredients: the all-purpose flour, sugar, baking soda, and salt. Now, carefully add this dry mix into the warm cocoa mixture. Stir it all up until it’s mostly combined. Then, add in that sour cream and give it another good stir until you have a smooth, lovely batter. Pour this luscious batter into your prepared baking pan. Pop it into that preheated oven and let it bake for about 20 to 25 minutes. You’ll know it’s ready when you stick a toothpick in the center and it comes out clean – no wet batter clinging to it!
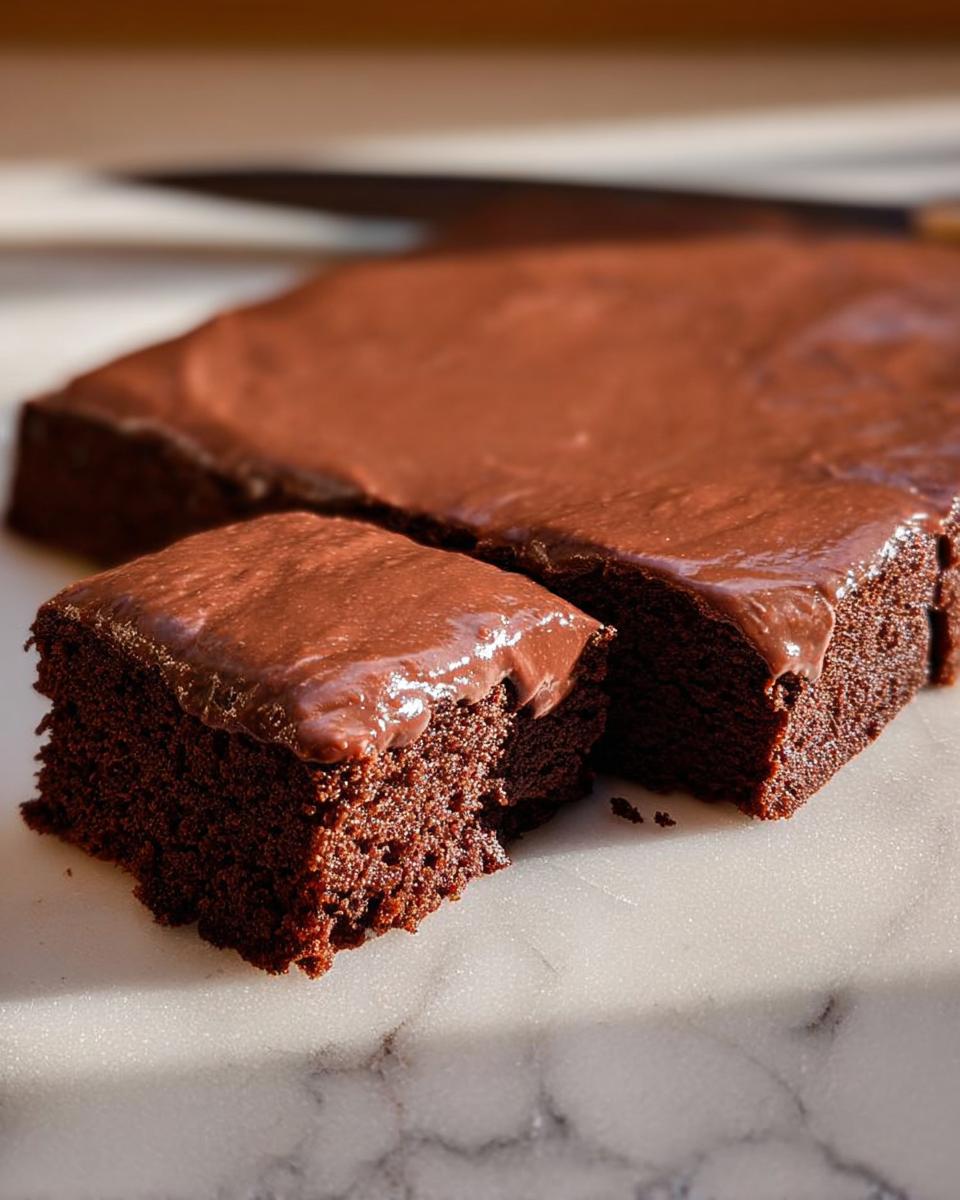
While that beautiful cake is baking away, let’s whip up the icing. It’s just as easy! Grab a small saucepan and melt your 1/2 cup of butter. Toss in the milk and the 3 tablespoons of cocoa. Bring this to a boil, just like you did for the cake base. Take it off the heat and whisk in the confectioners’ sugar and vanilla extract until you have a perfectly smooth, pourable icing. The best part? As soon as the cake comes out of the oven, pour this warm icing right over the top. Don’t wait too long! Let the cake cool completely on a wire rack before you slice into it. Trust me, letting it cool is worth it for the perfect texture!
Tips for Success with Your Cake Ideas Recipes
Making this cake is pretty foolproof, but a few little tricks can make it absolutely spectacular every single time. First off, for that wonderfully moist texture, make sure your sour cream is at room temperature. It really helps it blend into the batter smoothly without any lumps! Also, when you’re mixing, don’t go overboard. Just stir until things are combined. Overmixing can make the cake a bit tough, and we definitely don’t want that. And for the icing, remember to pour it over the cake while the cake is still warm. It helps the icing spread beautifully and just soak into that top layer a little. You’ll end up with a perfectly fudgy finish that’s just heavenly. If you like watching batter work its magic, you might also enjoy seeing how pancake batter turns out!
Make-Ahead Magic: Storing Your Cake
One of the best things about this cake? It practically *begs* to be made ahead! Honestly, I think it tastes even better the next day. The flavors just have this amazing way of melding together, making it even more delicious. To store it, just keep it right in the baking pan, but make sure it’s completely cooled first. You can cover it really well with plastic wrap. If you don’t have a lid for your pan, just press a layer of plastic wrap directly onto the surface of the cake, making sure there are no air pockets, and then wrap the whole pan. That helps keep it super moist and delicious. You can store it right on your counter at room temperature for up to two days. It’s perfect for when you’ve got a busy day ahead or you just want dessert ready to go!
Frequently Asked Questions About This Cake
Got questions about this fantastic cake? I’ve got you covered! Baking should be fun and easy, so let’s clear up anything that might be on your mind about this recipe. Here are some common things people ask. If you have more, don’t hesitate to reach out through our contact page!
Can I substitute the sour cream in this cake?
You sure can! If you don’t have sour cream, plain yogurt or even buttermilk works wonderfully. They add that lovely moisture and a hint of tang, just like sour cream does. Just make sure whatever you use is at room temperature!
How do I know when the cake is fully baked?
Easy peasy! Look for the edges of the cake to start pulling away slightly from the sides of the pan. Then, gently insert a toothpick right into the center. If it comes out clean, with just a few moist crumbs attached (no wet batter!), your cake is perfectly baked and ready to go!
What is the best way to store leftover cake?
The best way to keep this cake tasting amazing? Cover it well, either with plastic wrap pressed directly onto the surface or a cake dome, and store it at room temperature. It’s perfect for grabbing a slice for up to two days!
Estimated Nutritional Information
Okay, let’s talk numbers! Now, keep in mind these are just estimates, because every oven, every brand of butter (oh, how I love butter!), and every pinch of this and that can change things a tiny bit. But based on our calculations for one serving of this glorious cake, you’re looking at roughly: 418 calories. For fat, it’s about 14 grams, with 9 grams being saturated fat. Protein is pretty low, around 3 grams. You’ll get about 72 grams of carbohydrates, and a good chunk of that is sugar at around 57 grams. And sodium comes in at about 266 milligrams. It’s a treat, for sure! If you’re curious about other sweet options, check out my take on sugar-free ice cream!
Share Your Baking Creations!
I truly hope you have a blast making this cake! And honestly, I’d LOVE to see what you whip up. Did you share it with friends? Did it disappear in minutes? Snap a picture and tag us on social media! You can also rate the recipe right here on the page – it helps other bakers out there know it’s a winner. Or, if you want to know more about our baking journey, check out our about us page!
Why Everyone Loves This Cake Ideas Recipes (+ Make-Ahead Tips)
Ingredients
Equipment
Method
- In a large saucepan, bring the butter, water, and cocoa to a boil. Remove from the heat.
- Combine the flour, sugar, baking soda, and salt. Add this mixture to the cocoa mixture. Stir in the sour cream until smooth.
- Pour the batter into a greased 15x10x1-inch baking pan.
- Bake at 350°F (175°C) for 20-25 minutes, or until a toothpick inserted in the center comes out clean.
- While the cake bakes, prepare the icing. In a small saucepan, melt the butter. Add the milk and cocoa. Bring to a boil.
- Remove from the heat. Whisk in the confectioners’ sugar and vanilla until smooth.
- Pour the icing over the warm cake. Cool completely on a wire rack.
Nutrition
Notes
Tried this recipe?
Let us know how it was!
Maya Patel, Community Manager & Adaptation Specialist
I’ve spent the past five years working in community-focused nutrition, passionate about making low-carb eating accessible to everyone regardless of cultural background. With certification in cross-cultural nutrition counseling, I help people adapt healthy eating approaches while preserving their cherished food traditions.
My journey began as a community outreach coordinator when I noticed how nutrition advice often ignored people’s cultural food practices. This frustrated me—why should someone abandon their grandmother’s recipes to be healthy? I started developing ways to adapt traditional dishes from different cultures to fit therapeutic nutrition goals, helping hundreds of families integrate low-carb principles without losing their culinary heritage.
As a second-generation Indian-American, this is deeply personal. I’ve balanced my family’s food traditions with modern nutrition research, especially when adopting a low-carb approach to manage my PCOS. That experience taught me that sustainable health changes must honor who you are and where you come from.
My “inclusive wellness” philosophy is straightforward: there’s no one-size-fits-all approach to healthy eating. Whether developing vegetarian keto adaptations for traditional Indian flavors or creating community spaces for sharing cultural recipe modifications, I believe everyone deserves respect and support in their wellness journey.
When I’m not facilitating online discussions or testing cultural adaptations in my Portland kitchen, I work with clay in my pottery studio or volunteer with local community gardens. I believe growing food together strengthens both community bonds and our connection to nourishing ingredients.
At Low Carb Recipe Journal, I ensure our community remains welcoming for readers from all backgrounds while developing practical ways to adapt recipes for different cultural preferences and dietary needs. My goal is making low-carb eating culturally celebratory, not restrictive.