Hey there, aspiring home cooks! Are you ready to dive headfirst into the amazing world of shrimp? Trust me, cooking with shrimp doesn’t have to be complicated at all. It’s actually one of the fastest and most rewarding proteins you can whip up for a weeknight dinner or even a fancy-ish meal. My goal with The Ultimate Shrimp Recipes Guide for Beginners is to show you just how easy and downright delicious shrimp can be, even if you’re just starting out in the kitchen. I remember my own kitchen adventures, the kitchen was always a lively place, filled with the aroma of spices from my Indian roots. My first attempt at my grandmother’s shrimp curry? Total disaster! But after a few tries and lots of learning, I finally nailed it. That journey is exactly why I created this guide – to make your first shrimp recipes a guaranteed win!
Why This The Ultimate Shrimp Recipes Guide for Beginners Will Be Your Go-To
Seriously, if you’re looking to add some easy wins to your cooking repertoire, this guide is it! We’re talking about making shrimp magic happen with minimal fuss. Here’s why you’re going to love it:
- Speedy Suppers: Shrimp cooks SO fast! We’re talking minutes, not hours. Perfect for those nights when hunger strikes and you need something delicious ASAP.
- Beginner Friendly: Every step is broken down so simply, you’ll feel like a pro in no time. No weird techniques, just straightforward goodness.
- Flavor Explosion: Don’t let the simplicity fool you! We’re packing in tons of flavor with simple spices that make these shrimp dishes sing.
- Healthy & Delicious: Shrimp is naturally lean and packed with protein. It’s a fantastic way to eat healthy without sacrificing taste – a total win-win!
You’ll be whipping up amazing shrimp dishes confidently after just one try with The Ultimate Shrimp Recipes Guide for Beginners!
Essential Equipment for Your Shrimp Journey
Don’t worry, you don’t need a fancy kitchen setup for this! Just a few basic tools will make your shrimp cooking a breeze.
Large Skillet
A good, roomy skillet lets your shrimp spread out so they can sauté properly instead of steaming. Everyone needs a favorite skillet!
Medium Bowl
This is perfect for tossing your shrimp with all those yummy spices. Easy mixing makes for an easier time.
Paper Towels
These are super important! Drying your shrimp well is the secret to getting that beautiful sear.
Tongs
Tongs are your best friend for flipping those little guys in the hot pan. They keep your fingers safe and help you get an even cook.
Ingredients for The Ultimate Shrimp Recipes Guide for Beginners
Alright, let’s talk about what you’ll need to make these amazing shrimp dishes. This list is super straightforward, and chances are you already have most of it in your pantry! Having these ready really makes whipping up The Ultimate Shrimp Recipes Guide for Beginners a breeze. No last-minute grocery runs needed!
- 1.5 pounds medium shrimp, deveined (I like to leave the tails on for looks, but peeled works great too!)
- 0.75 teaspoon kosher salt
- 0.75 teaspoon smoked paprika (or regular paprika if that’s what you have)
- 0.75 teaspoon garlic powder
- 0.75 teaspoon onion powder
- 0.75 teaspoon cumin
- 3 tablespoons butter or olive oil (or a mix of both for extra yummy flavor!)
- 3 lemon wedges (for that zesty finish)
- Fresh parsley or cilantro, for a little sprinkle of green if you’re feeling fancy!
Step-by-Step Instructions: Your First Shrimp Recipe
Okay, let’s get cooking! This part is super straightforward, and you’ll have delicious shrimp ready in a flash. Think of it as your first big win in the kitchen!
Thawing and Prepping Your Shrimp
If your shrimp are frozen, the first thing you gotta do is thaw ’em out. The easiest way is usually overnight in the fridge. If you’re in a rush, pop them in a colander and run cool water over them for a few minutes. Once they’re thawed, grab your paper towels and pat them *really* dry. Seriously, get ’em good and dry – this is key for getting a nice little sear instead of just steaming them.
Seasoning for Maximum Flavor
Now for the fun part! Grab your medium bowl and toss in those nicely dried shrimp. Sprinkle on the salt, smoked paprika, garlic powder, onion powder, and cumin. Don’t be shy! Give everything a gentle toss with your hands or a spoon until every single shrimp is coated in those yummy spices. This is where all the flavor magic starts!
The Perfect Sauté: Achieving Opaque Shrimp
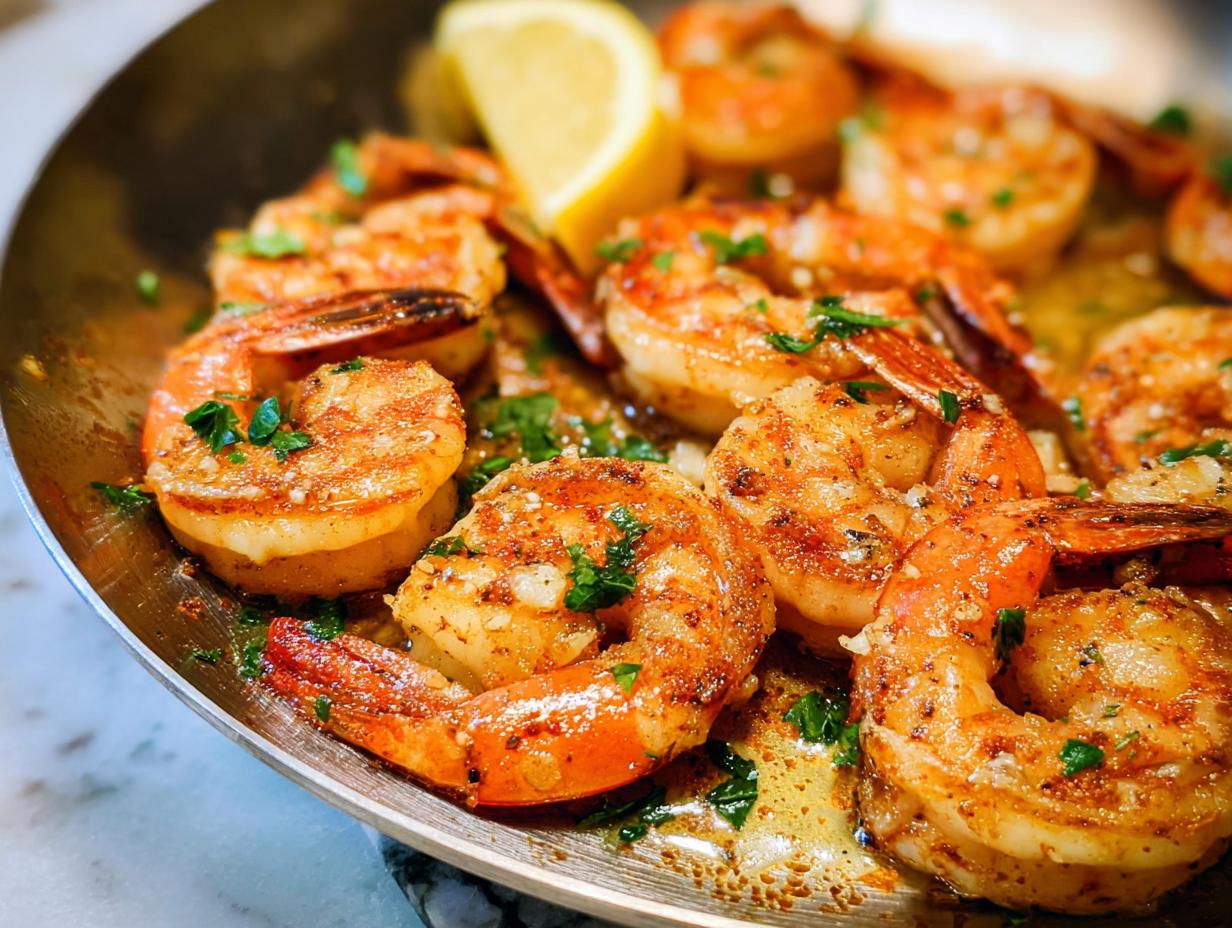
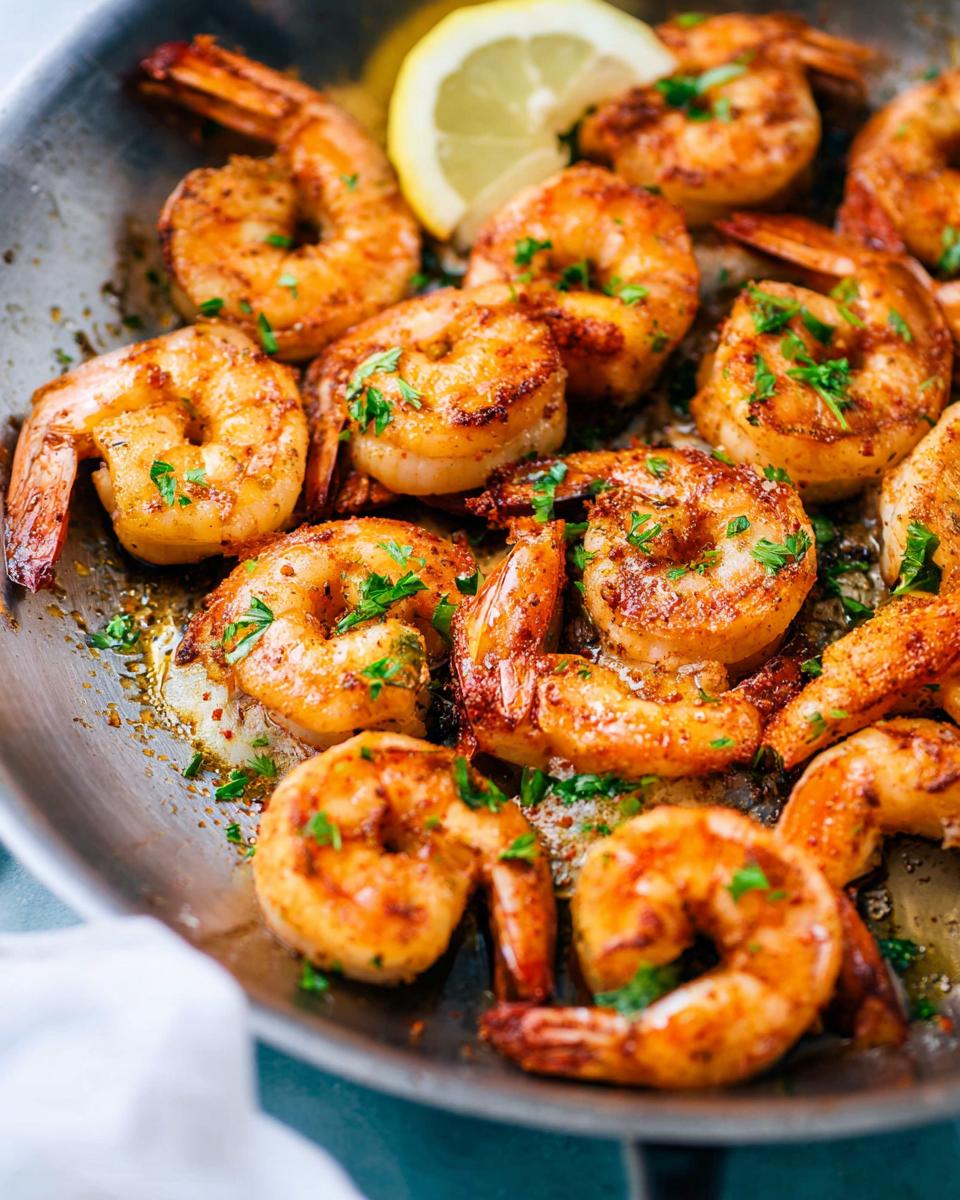
Time to get that skillet hot! Pop your butter or olive oil (or both!) in a large skillet over medium-high heat. Let it get nice and shimmery. Once it’s hot, carefully add your seasoned shrimp in a single layer. Don’t overcrowd the pan; if you have to, cook them in batches. Cook for just about 1-2 minutes per side. You’ll see them turn opaque and pink. Use your tongs to flip them gently. They cook super fast, so watch them closely! For more tips on getting that perfect sauté, check out some great sautéed shrimp techniques!

Finishing Touches and Serving
As soon as those shrimp are perfectly pink and opaque, take the pan off the heat. Give ’em a generous squeeze of fresh lemon juice – it really brightens everything up! If you’re using fresh parsley or cilantro, give it a little chop and sprinkle it over the top. Serve these beauties right away while they’re hot and fresh. Delicious!
Tips for Success in The Ultimate Shrimp Recipes Guide for Beginners
Alright, let’s make sure your shrimp game is STRONG! Even though this is The Ultimate Shrimp Recipes Guide for Beginners, a couple of little tips can make all the difference between “okay” shrimp and “OMG, these are amazing!” shrimp. You’ve got this!
Understanding Shrimp Doneness
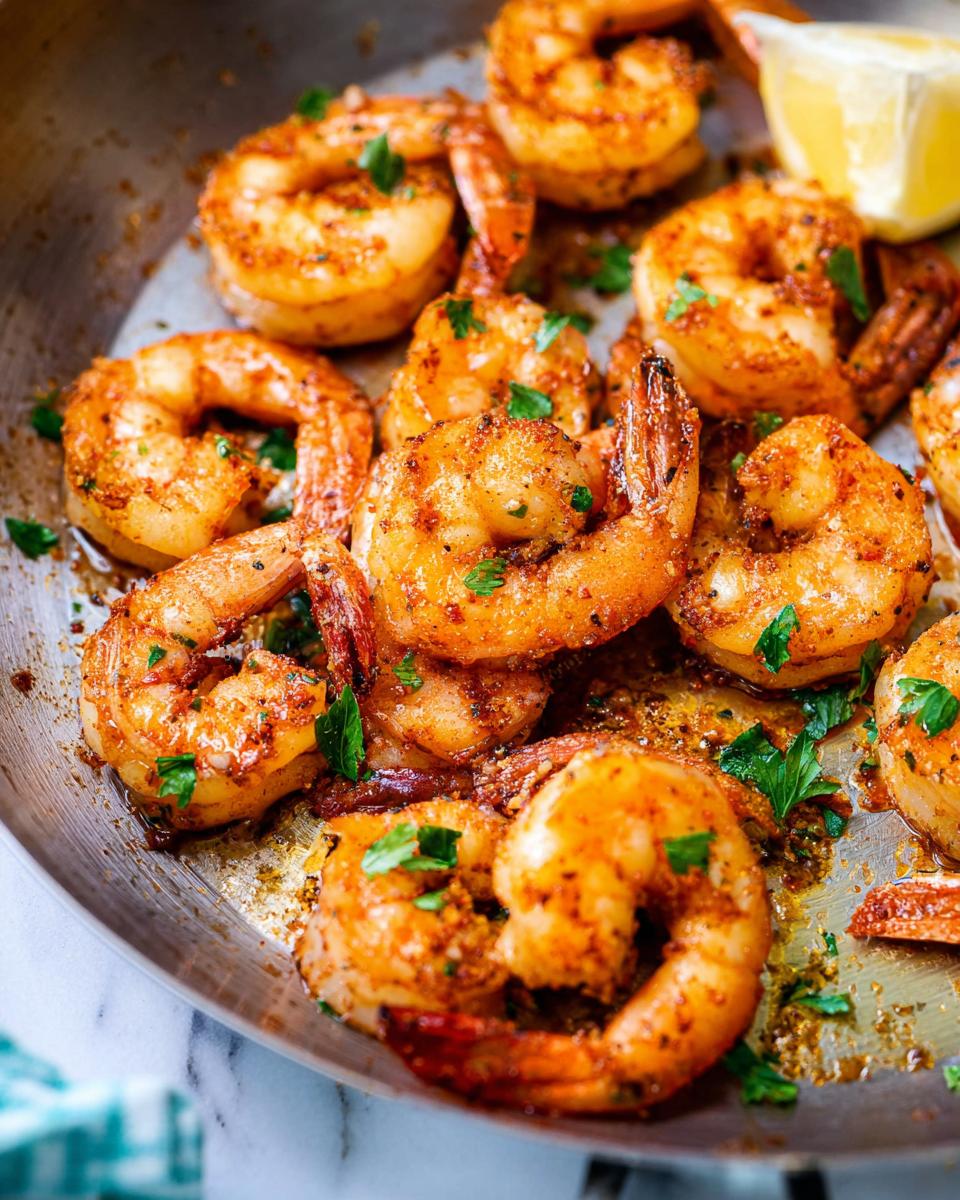
This is super important, so listen up! Perfect shrimp are opaque and pink, with a slight curl to them. They cook SO fast, usually just a couple of minutes per side. Overcook them even a little, and poof! They turn rubbery and sad. Watch them like a hawk and pull them off the heat as soon as they’re done.
Butter vs. Olive Oil: A Beginner’s Choice
So, for sautéing, you can use butter, olive oil, or both! Olive oil is great because it can handle the heat without burning easily, which is perfect for beginners. Butter adds a lovely rich flavor, but it can burn faster. If you want that delicious butter taste without the worry, try heating a little olive oil first and then tossing in a knob of butter right at the end. Yum!
The Importance of Drying Shrimp
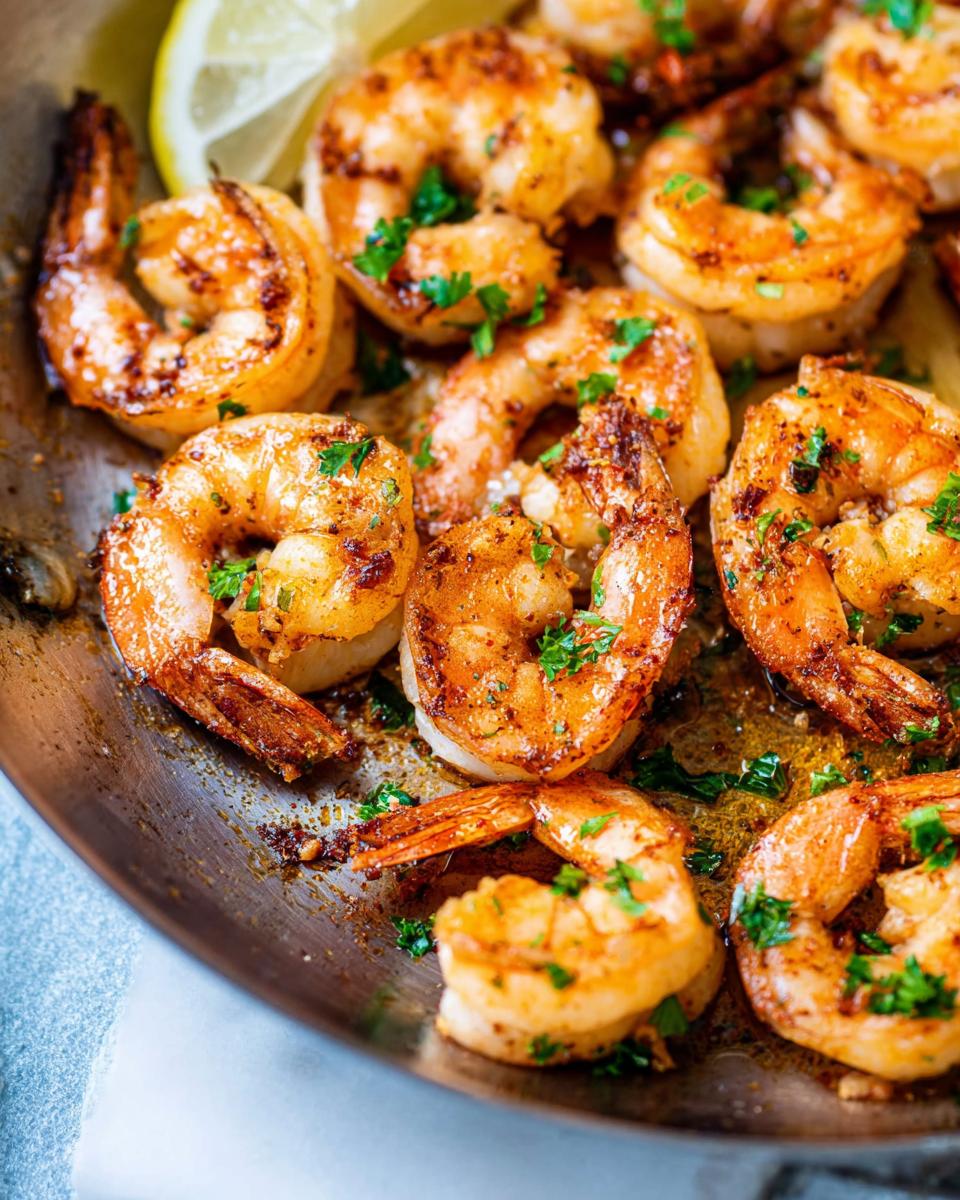
I know I mentioned it before, but seriously, patting those shrimp *super* dry with paper towels is a game-changer. If they’re wet, they’ll steam in the pan instead of getting that lovely golden-brown sear. And that sear? That’s where a ton of the best flavor comes from! Don’t skip this step!
Frequently Asked Questions About Shrimp Recipes
Got questions about cooking shrimp? Don’t sweat it! We all start somewhere, and I’m here to help smooth out any bumps. These are the things I usually get asked about when people are just starting their journey with quick dinners and garlic shrimp!
How to Tell if Shrimp is Cooked?
Oh, this is easy! Perfectly cooked shrimp are opaque, meaning they lose that translucent pinkish-gray look and turn a milky white. They’ll also start to curl into a gentle ‘C’ shape. If they look like a tight little ‘O’, they might be a bit overdone, so watch closely!
Can I Use Frozen Shrimp?
Absolutely! Frozen shrimp are super convenient. The best way is to thaw them overnight in the fridge. If you’re in a pinch, you can put them in a colander and run cool water over them for a few minutes until they’re no longer icy. Just make sure to pat them really, really dry afterwards!
What Can I Serve with Sautéed Shrimp?
Oh, the possibilities are endless and super easy! Sautéed shrimp are amazing over some quick pasta or fluffy rice. They’re also fantastic tossed into a big green salad or served alongside some roasted veggies. Seriously, they go with just about anything!
Storing and Reheating Your Shrimp
So, you made a little extra shrimp (or maybe you just couldn’t resist having some leftovers!). Great news – storing and reheating this deliciousness is super simple. Once your shrimp have cooled down a bit, pop them into an airtight container. You can even add a splash of any cooking juices left in the pan to keep them extra moist. They’ll be good in the fridge for up to 3 days. To reheat, gently warm them in a skillet over low heat for just a couple of minutes. This is way better than microwaving, which can make them rubbery. You want them warm and juicy, not tough!
Estimated Nutritional Information
Just a heads-up, the nutritional info below is an estimate for the whole recipe, based on the ingredients. Keep in mind that things like the exact amount of butter or oil you use, or any substitutions you make, can slightly change these numbers. But overall, this is a pretty good idea of what you’re getting – lean protein packed with flavor!
Share Your Culinary Success!
Alright, now that you’ve conquered The Ultimate Shrimp Recipes Guide for Beginners, I’d LOVE to hear all about it! Did you make it? How did it turn out? Please, leave a comment below and let me know! Sharing your experience really helps other cooks feel more confident trying it out. And hey, if you have any questions or want to share a little tweak you made, don’t hesitate to reach out via the contact page. Happy cooking!
The Ultimate Shrimp Recipes Guide for Beginners
Ingredients
Equipment
Method
- If the shrimp are frozen, thaw them. Pat the shrimp dry with a paper towel.
- In a medium bowl, mix the shrimp with salt, smoked paprika, garlic powder, onion powder, and cumin.
- Heat the butter in a large skillet over medium-high heat.
- Add the shrimp and cook for 1-2 minutes per side until they are opaque and cooked through. Use tongs to turn them.
- Spritz with lemon juice and serve immediately.
Nutrition
Notes
Tried this recipe?
Let us know how it was!
Maya Patel, Community Manager & Adaptation Specialist
I’ve spent the past five years working in community-focused nutrition, passionate about making low-carb eating accessible to everyone regardless of cultural background. With certification in cross-cultural nutrition counseling, I help people adapt healthy eating approaches while preserving their cherished food traditions.
My journey began as a community outreach coordinator when I noticed how nutrition advice often ignored people’s cultural food practices. This frustrated me—why should someone abandon their grandmother’s recipes to be healthy? I started developing ways to adapt traditional dishes from different cultures to fit therapeutic nutrition goals, helping hundreds of families integrate low-carb principles without losing their culinary heritage.
As a second-generation Indian-American, this is deeply personal. I’ve balanced my family’s food traditions with modern nutrition research, especially when adopting a low-carb approach to manage my PCOS. That experience taught me that sustainable health changes must honor who you are and where you come from.
My “inclusive wellness” philosophy is straightforward: there’s no one-size-fits-all approach to healthy eating. Whether developing vegetarian keto adaptations for traditional Indian flavors or creating community spaces for sharing cultural recipe modifications, I believe everyone deserves respect and support in their wellness journey.
When I’m not facilitating online discussions or testing cultural adaptations in my Portland kitchen, I work with clay in my pottery studio or volunteer with local community gardens. I believe growing food together strengthens both community bonds and our connection to nourishing ingredients.
At Low Carb Recipe Journal, I ensure our community remains welcoming for readers from all backgrounds while developing practical ways to adapt recipes for different cultural preferences and dietary needs. My goal is making low-carb eating culturally celebratory, not restrictive.