
I get it. The kitchen can feel like a scary place when you’re just starting out. You worry about burning things, undercooking things, or just making a general mess. But trust me, cooking chicken thighs is totally doable, and I’m here to help! This guide is your new best friend for mastering them. I remember the first time I tried cooking chicken thighs in my tiny apartment kitchen. I was SO nervous I’d mess it up and end up with a sad, bland dinner. But with a little help from a recipe (and my best friend cheering me on!), I gave it a shot. The smell of garlic and herbs filled my kitchen, and honestly, I felt like a total chef! When I plated it, I couldn’t believe *I* made something so delicious. That’s why I created The Ultimate Chicken Thigh Recipes Guide for Beginners – to show you that cooking can be an amazing adventure!
Why This The Ultimate Chicken Thigh Recipes Guide for Beginners
So, what makes this guide your go-to for chicken thighs? It’s all about making things super simple and totally foolproof for beginner cooks! We break down every step so clearly, you’ll feel like you have a sous chef right beside you. No confusing jargon, just honest-to-goodness instructions that build your confidence with every bite. We especially focus on giving you those crispy chicken thighs because, let’s be real, who doesn’t love that? This isn’t just a recipe; it’s your first big step to becoming a kitchen pro, proving that delicious meals with chicken thighs are totally within your reach!
Essential Equipment for Your Chicken Thigh Adventure
Alright, let’s talk tools! You don’t need a fancy chef’s kitchen to make these incredible chicken thighs. We’re going to keep it simple with just a few key players that make cooking easier and safer for you. Having the right stuff ready before you start makes all the difference, trust me!
Oven-Proof Skillet
This is your star player! An oven-proof skillet, usually made of cast iron or stainless steel, lets you start cooking on the stovetop and then transfer the whole thing right into the oven. It’s perfect for getting that skin super crispy and then finishing the chicken off evenly. Just make sure the handle is oven-safe!
Saucepan and Tongs
You’ll need a regular saucepan for whipping up that divine sauce. It doesn’t have to be anything special, just a place to simmer and emulsify those delicious flavors. And tongs? They’re your best friend for safely flipping those hot chicken thighs and moving stuff around without burning yourself. Grab a sturdy pair – they’ll be your kitchen workhorses!
Gathering Your Ingredients for The Ultimate Chicken Thigh Recipes Guide for Beginners
Okay, ingredient gathering time! This is where the magic really starts to happen. Don’t worry, you probably have most of this in your pantry already. For this recipe, we’re splitting things into two parts: what you need for the chicken itself and what makes up that amazing sauce. Having good quality ingredients really does make a difference, especially with chicken thighs. You’ll want skin-on, bone-in thighs for that beautiful crispy skin and more juicy flavor. Let’s get everything ready!
- For the Chicken:
- 4 skin-on, bone-in chicken thighs (about 2 pounds total)
- 1.5 teaspoons Kosher salt (don’t skimp here!)
- 1.5 teaspoons coarsely ground black pepper
- For the Sauce:
- 1/3 cup champagne vinegar
- 1/3 cup dry white wine (like a Sauvignon Blanc or Pinot Grigio)
- 2 shallots, finely chopped
- Juice of 1/2 lemon
- 2 bay leaves
- 1/2 cup heavy cream
- 1/2 pound (that’s 2 sticks!) unsalted butter, cubed
- 1/4 cup chives, chopped (for garnish)
- 1/2 teaspoon salt (for the sauce)
- A pinch of pepper (for the sauce)
Ingredient Notes and Substitutions
Let’s chat about some of these ingredients real quick, because having a little insight makes cooking so much more fun! Those chicken thighs? Make sure they’re patted *super* dry with paper towels before you season them – that’s your secret weapon for crispy skin, trust me. For the wine, if you don’t have white wine, a dry sherry or even just a little extra chicken broth will work in a pinch, though wine adds a lovely depth. Can’t find shallots? A small amount of finely minced red onion will do. And that champagne vinegar? Apple cider vinegar is a decent swap if that’s what you have. The key to the sauce is the butter; using unsalted means you control the saltiness, and using it cold and adding it slowly is what makes the sauce creamy and luscious. We’ll talk more about that butter magic in the steps!
Step-by-Step Instructions for The Ultimate Chicken Thigh Recipes Guide for Beginners
Alright, let’s get cooking! This is where the magic happens, so follow along closely. We’re going to make some seriously delicious chicken thighs, and I’ll walk you through every single step. Remember, patience is key, and don’t be afraid to taste as you go! You can find a similar recipe here to see how it all comes together.
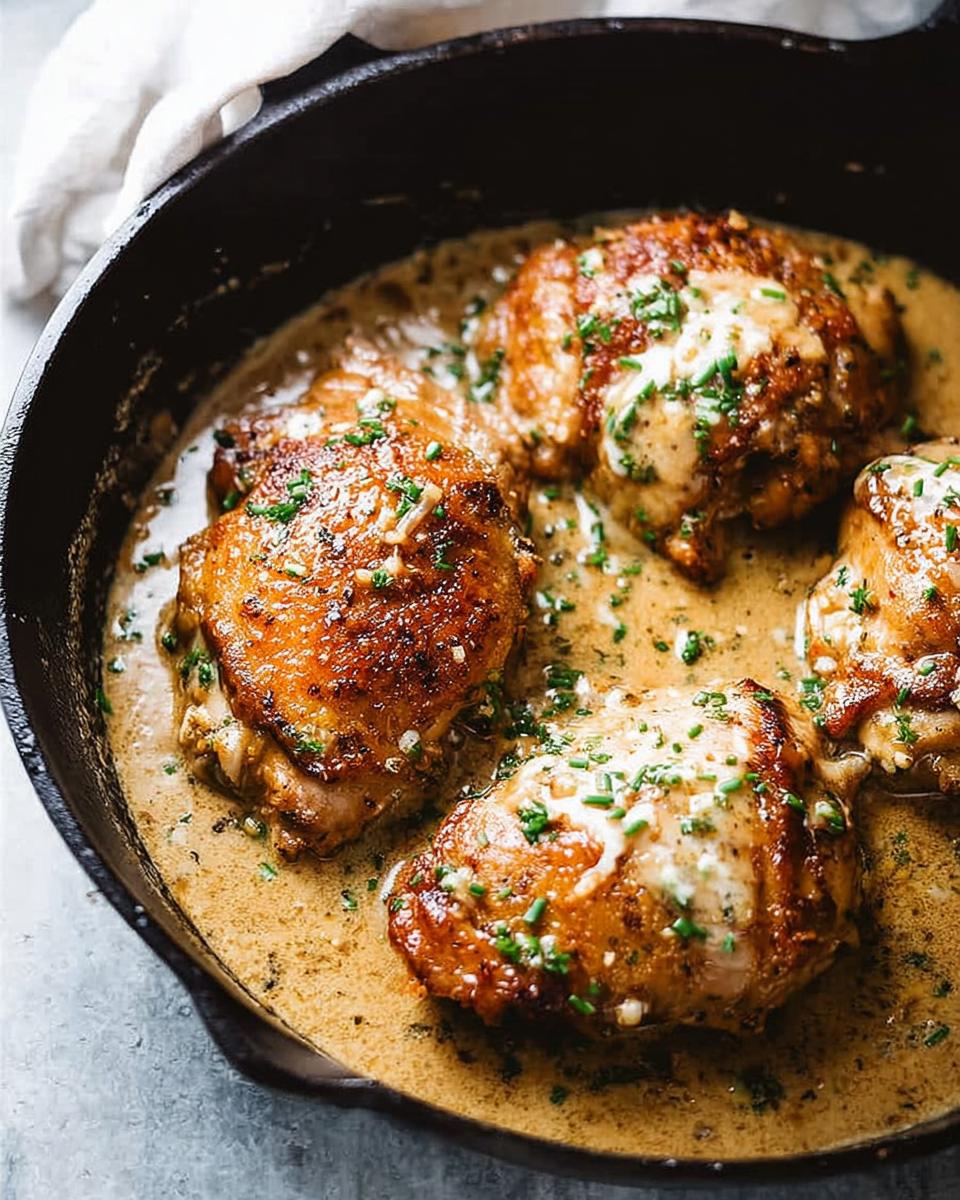
- First things first, crank that oven up to 450°F (that’s pretty hot!). While it’s heating, grab your chicken thighs. The dryer they are, the crispier the skin will get, so really pat them down with paper towels. Seriously, get them *bone dry*. Then, season them all over with that Kosher salt and pepper. Don’t be shy!
- Now, find your oven-proof skillet and get it nice and hot over medium-high heat. Lay those seasoned chicken thighs in the skillet, skin-side down. Let them sizzle for about 7 minutes without touching them. You want to hear that good crackle and see the skin start to blister and turn golden brown. Give everything a little shake now and then to make sure nothing sticks. The goal is a gorgeous, golden-brown crust.
- Once the skin looks great, carefully flip the chicken. We’re going to pop this whole skillet into the hot oven. Roast for about 10 minutes. This helps cook the chicken through without burning the skin.
- Take the skillet out of the oven (careful, it’s hot!). Transfer the chicken thighs to a plate, skin-side up again. Try to leave as much of the rendered fat in the pan as possible – that’s flavor gold! Wipe out most of the fat, but leave a thin film. This helps prevent splattering in the oven and keeps the skin from getting soggy.
- Back into the oven it goes for another 6-8 minutes, or until the chicken is cooked through. You can check by trying to peek near the bone; it shouldn’t be pink.
- While the chicken rests, let’s make that sauce. In a small saucepan, combine the champagne vinegar, white wine, chopped shallots, lemon juice, and bay leaves. Bring it to a simmer over medium heat and let it bubble away for about 8-10 minutes. You want it to reduce a bit, getting concentrated. Then, pour in the heavy cream and let it simmer until it thickens slightly.
- Now for the fancy part: the butter emulsion! Lower the heat under the sauce to low. Fish out those bay leaves. Start adding the cubed butter, one or two cubes at a time, whisking constantly. This is key! You’re creating a beautiful, creamy sauce. Keep whisking until it’s all incorporated and the sauce is smooth and luscious. Don’t let it boil, or it might split. If it looks like it’s breaking, just whisk in about two ice cubes for a sec – it’ll bring it back together.
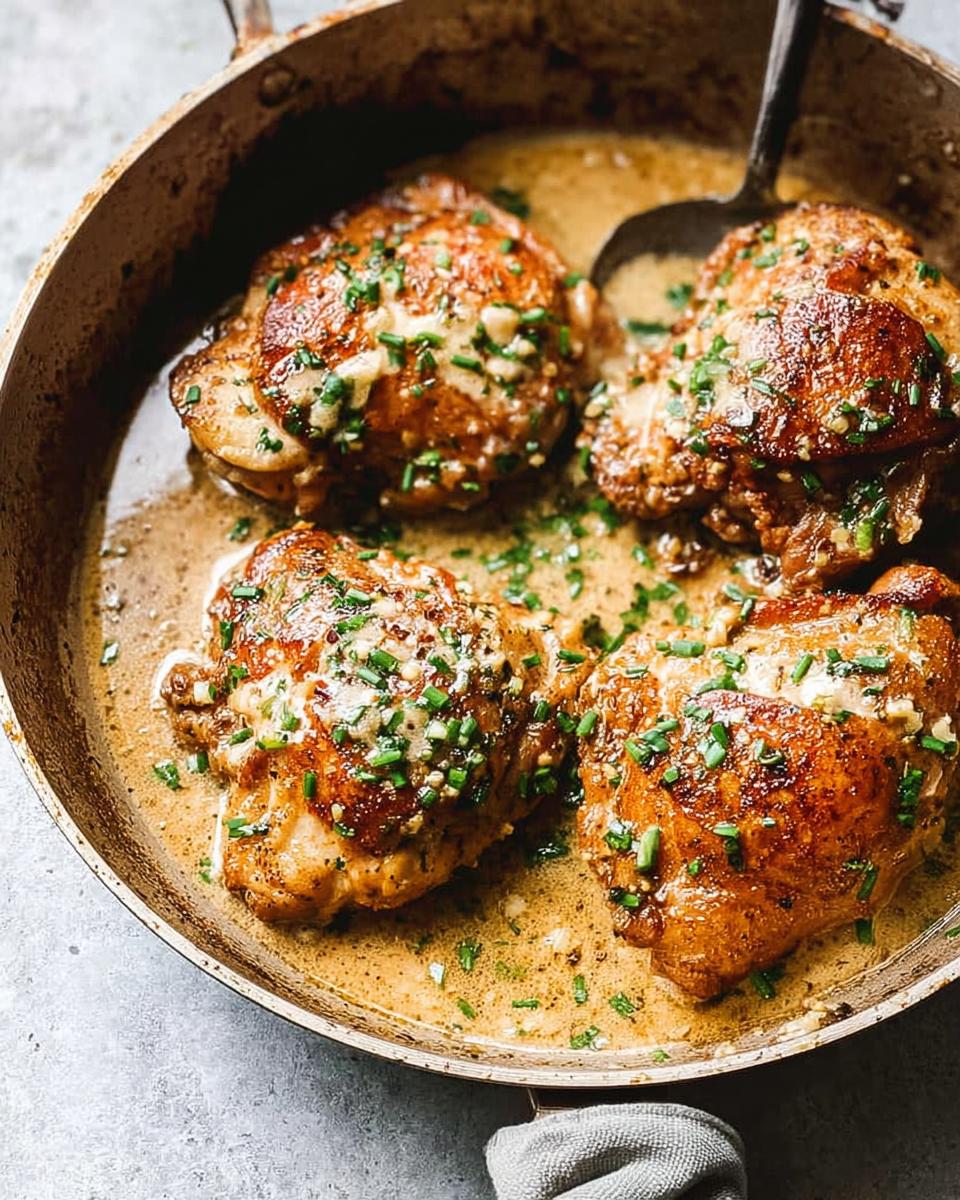
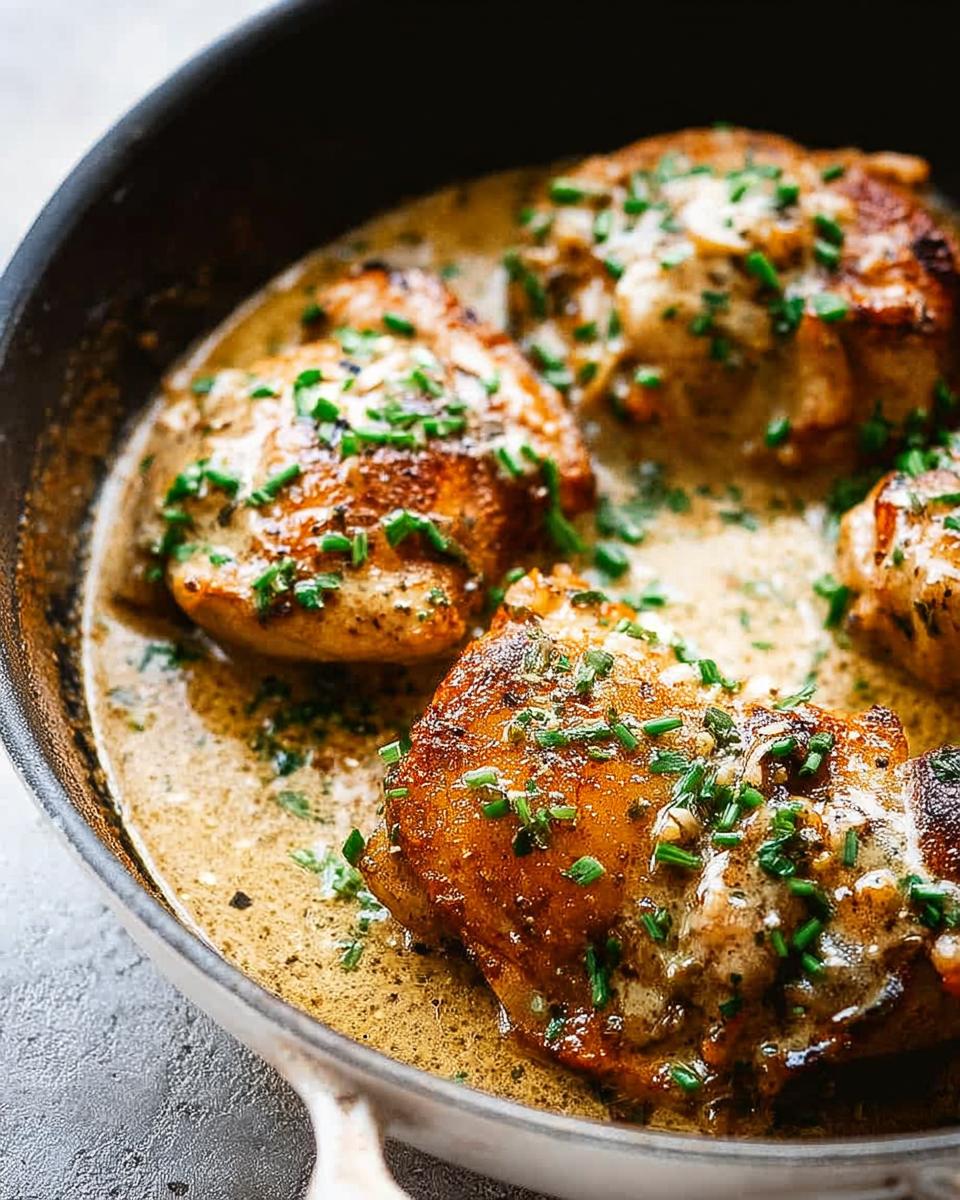
- Taste the sauce and add that 1/2 teaspoon of salt and a pinch of pepper. Give it a final whisk. Pour this glorious sauce into the skillet you used for the chicken (you can wipe it out again if you like). Nestle the chicken thighs into the sauce, skin-side up. Top with fresh chives and serve immediately.
Achieving Crispy Chicken Thighs
Okay, this is probably the most important part for that amazing texture! Crispy chicken skin is all about getting rid of moisture. Patting those thighs *really* dry with paper towels before you season them is non-negotiable. Then, when you sear them skin-down, you’re rendering out the fat slowly. This allows the skin to crisp up beautifully on the stovetop and then finishes it off in the oven. Don’t overcrowd the pan when searing, either; give them space so they can brown properly!
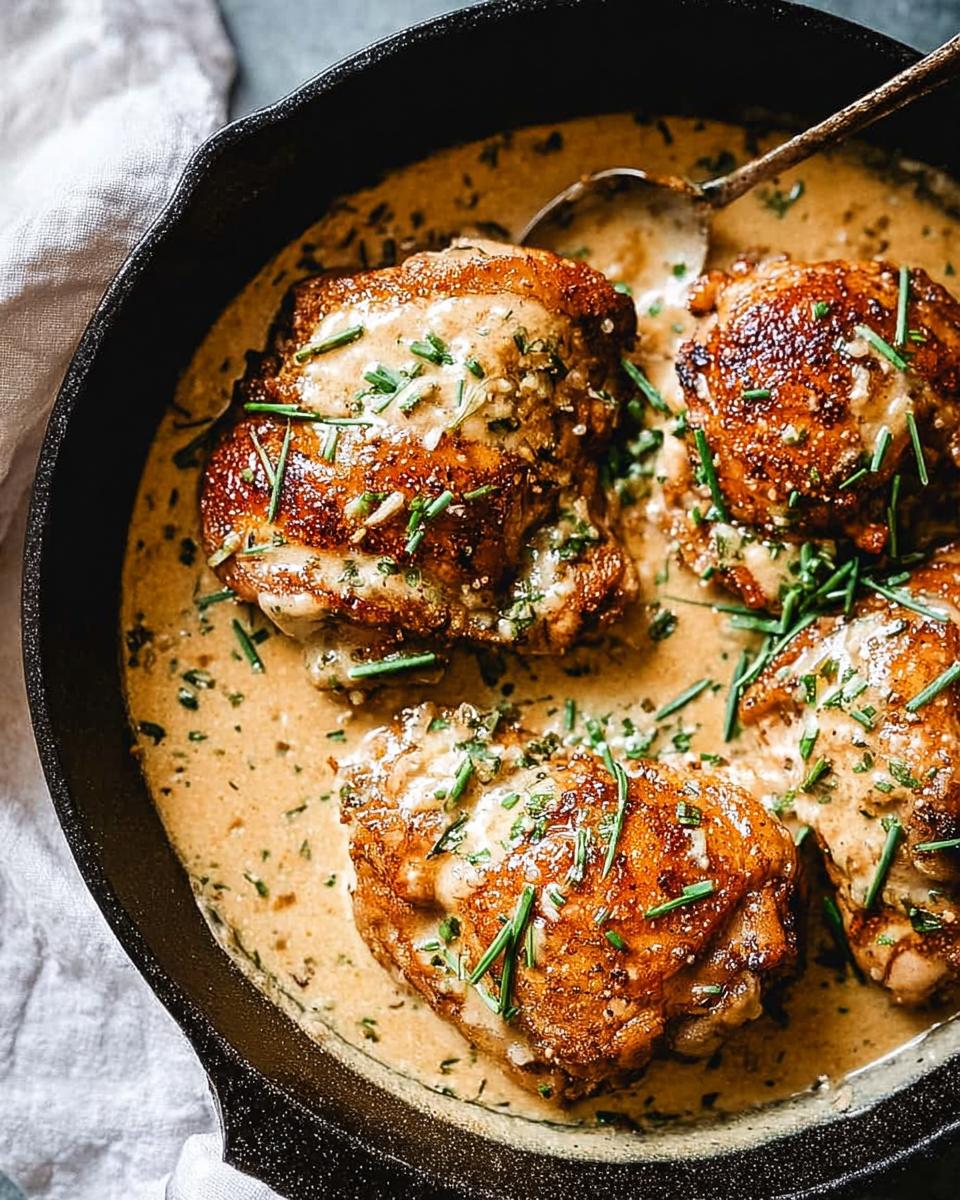
Crafting the Perfect Pan Sauce
Making a pan sauce like this is easier than it looks, and it’s a total game-changer for your chicken thighs! The base of vinegar and wine adds a lovely brightness that cuts through the richness. The real secret is adding the cold butter slowly while whisking constantly. This technique, called emulsification, magically turns the liquid into a thick, creamy sauce without any flour. Just remember: keep the heat low when adding the butter, and don’t let it boil, or it might split. If it does split, don’t panic! A little whisking with ice cubes usually fixes it right up. It’s like whisking magic!
Check out this pasta recipe for another idea on how to use delicious pan sauces!
Tips for Success in The Ultimate Chicken Thigh Recipes Guide for Beginners
Okay, let’s chat about a few little tricks that will make your chicken thighs absolutely sing! These aren’t complicated, but they really help you nail that perfect crispy skin and delicious sauce every single time. Think of them as my secret handshake for beginner cooks tackling The Ultimate Chicken Thigh Recipes Guide for Beginners.
First off, don’t rush the searing process! That beautiful golden-brown skin won’t happen if you move the chicken around too much. Let it sit, do its thing, and build that crust. Patience right there is a key ingredient. Second, really pay attention to that sauce temperature when you’re adding the butter. It’s so tempting to crank the heat, but keeping it low and whisking constantly is how you get that silky smooth, gorgeous sauce without it breaking. A tiny bit of ice can save a sauce gone rogue, but prevention is way better! Also, remember that patting your chicken thighs super dry before seasoning is crucial for that crispy skin we all love. For more kitchen tips, check out my guide on healthy oats – building good habits in the kitchen really pays off!
Serving Suggestions for Your Chicken Thigh Meal
So, you’ve got these amazing, crispy chicken thighs with a luscious sauce – what do you serve with them? Keep it simple, because the chicken is the star! A fresh spinach salad with a light vinaigrette is always a winner; it’s bright and cuts through the richness of the sauce. For something a bit more comforting, some steamed green beans or roasted asparagus are fantastic. And if you want a starch, mashed potatoes are classic, or even a side of crusty bread to sop up every last drop of that incredible sauce. Oh, and don’t forget that banana salad! Just kidding… unless?
Storing and Reheating Your Delicious Chicken Thighs
Got leftovers? Lucky you! Chicken thighs are fantastic for meal prep because they reheat so well. Once your chicken and sauce have cooled down completely, pop them into an airtight container. They’ll stay good in the fridge for about 3-4 days. When you’re ready to reheat, gently warm the chicken and sauce in a skillet over low heat, or pop them in a low oven (around 300°F / 150°C) until heated through. This keeps them nice and juicy!
Frequently Asked Questions for The Ultimate Chicken Thigh Recipes Guide for Beginners
Got questions? I’ve got answers! Cooking new things can bring up all sorts of questions, and I want to make sure you feel super confident tackling these chicken thighs. Here are a few things beginners often ask about making The Ultimate Chicken Thigh Recipes Guide for Beginners.
Can I use boneless, skinless chicken thighs?
You sure can! Boneless, skinless chicken thighs cook faster, so keep an eye on them. You probably won’t get that super crispy skin we achieved with the skin-on ones, but they’ll still be tender and juicy. Just reduce the cooking time a bit, especially in the oven.
How do I know when chicken thighs are fully cooked?
The easiest way is with a meat thermometer! Stick it into the thickest part of the thigh, avoiding the bone. You’re looking for an internal temperature of 165°F (74°C). Visually, the juices should run clear when you poke it, and the meat should no longer be pink near the bone.
Can I make the sauce ahead of time?
You can totally make the sauce base (up to adding the butter) a day ahead and store it in the fridge. When you’re ready to serve, gently reheat the base, then whisk in the cold butter cubes over low heat, just like in the recipe. Don’t let it boil or the emulsion might break!
Have more questions? Feel free to reach out on my contact page!
Estimated Nutritional Information
Just a heads-up, these numbers are estimates, okay? They can change based on the exact brands you use and how much sauce you end up spooning over those yummy chicken thighs. But generally, each serving of these delicious chicken thighs with the rich sauce comes in around 600-700 calories, with about 45-55g of fat, 30-40g of protein, and maybe 10-15g of carbs. Totally worth it, right? For more delicious recipes, check out my sugar-free ice cream guide!
Start Cooking Your Perfect Chicken Thighs Today!
Alright, you’ve got all the juicy details on how to make these fantastic chicken thighs! Now it’s your turn to jump in the kitchen and give it a whirl. Seriously, the aroma alone is worth it! If you try this recipe, please let me know how it goes in the comments below. I’d absolutely love to hear about your experience, and don’t forget to rate it if you enjoyed it! Sharing is caring, so if you make these for friends or family, spread the word! You can learn more about me here!
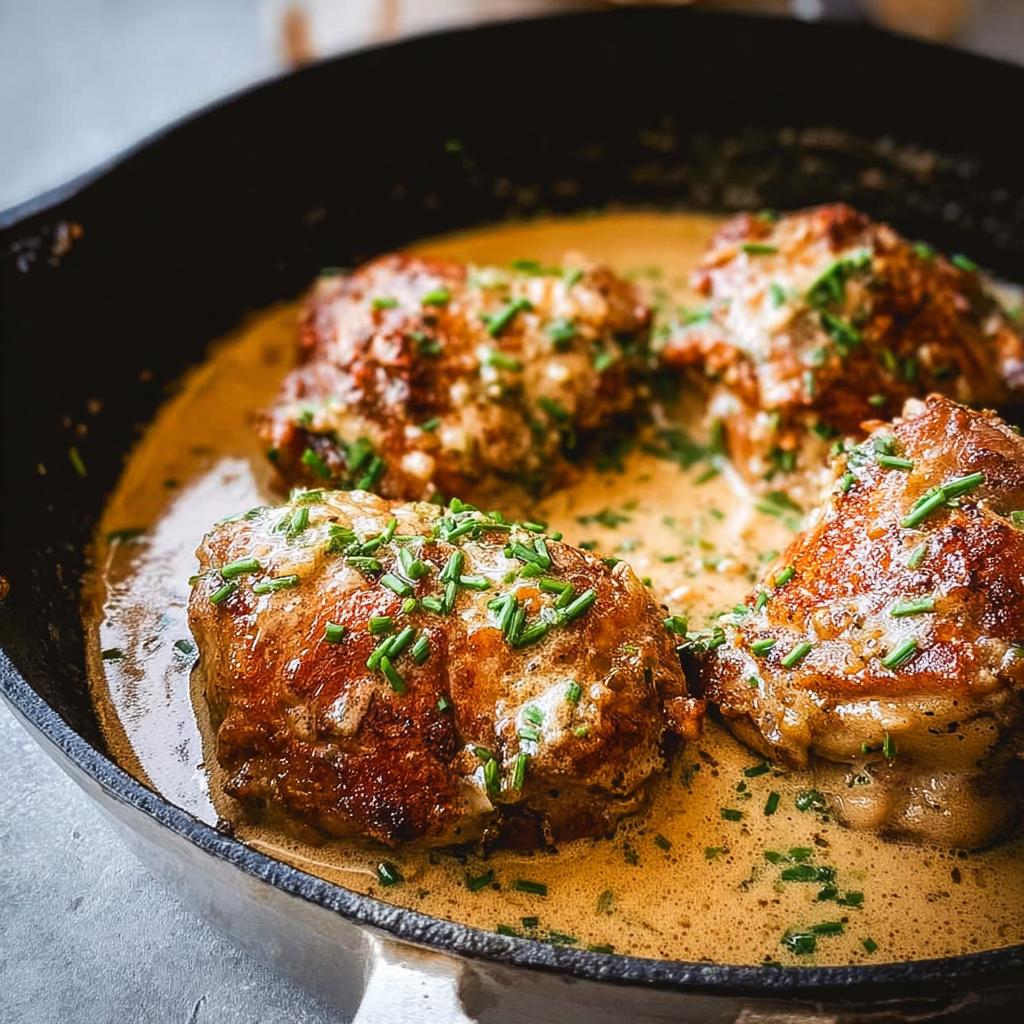
The Ultimate Chicken Thigh Recipes Guide for Beginners
Ingredients
Equipment
Method
- Preheat your oven to 450 degrees F. Pat the chicken thighs dry with paper towels. Season both sides generously with salt and pepper.
- Heat an oven-proof skillet over medium-high heat. Add the chicken thighs skin-side down. Cook for 11 to 12 minutes, until the skin is golden brown. Move the chicken occasionally for even browning.
- Turn off the heat. Use tongs and paper towels to carefully remove excess fat from the skillet. Repeat until only a thin film of oil remains. This prevents splattering in the oven.
- Transfer the skillet to the preheated oven. Roast for 6 to 8 minutes until the chicken is almost cooked through. Flip the thighs to skin-side up and continue roasting for another 6 minutes, or until no longer pink near the bone.
- Remove the skillet from the oven. Transfer the chicken thighs to a plate, skin-side up. Wipe out the skillet and set it aside.
- To make the sauce, combine vinegar, wine, shallots, lemon juice, and bay leaves in a saucepan. Simmer over medium heat for 8 to 10 minutes, until reduced to a wet paste. Add heavy cream and simmer until reduced to about 2 tablespoons.
- Reduce heat to low. Remove bay leaves. Add butter chunks one by one, whisking constantly until each addition is melted and incorporated into a creamy emulsion. This should take about 4 minutes. Do not let the sauce exceed 130 degrees F, or it may separate. If it starts to break, remove from heat, add 2 ice cubes, and whisk until it cools and comes back together.
- Season the sauce with 1/2 teaspoon salt and a pinch of pepper. Pour the sauce into the cast iron skillet. Place the chicken thighs on top of the sauce. Sprinkle with chives and serve immediately.
Notes
Tried this recipe?
Let us know how it was!
Maya Patel, Community Manager & Adaptation Specialist
I’ve spent the past five years working in community-focused nutrition, passionate about making low-carb eating accessible to everyone regardless of cultural background. With certification in cross-cultural nutrition counseling, I help people adapt healthy eating approaches while preserving their cherished food traditions.
My journey began as a community outreach coordinator when I noticed how nutrition advice often ignored people’s cultural food practices. This frustrated me—why should someone abandon their grandmother’s recipes to be healthy? I started developing ways to adapt traditional dishes from different cultures to fit therapeutic nutrition goals, helping hundreds of families integrate low-carb principles without losing their culinary heritage.
As a second-generation Indian-American, this is deeply personal. I’ve balanced my family’s food traditions with modern nutrition research, especially when adopting a low-carb approach to manage my PCOS. That experience taught me that sustainable health changes must honor who you are and where you come from.
My “inclusive wellness” philosophy is straightforward: there’s no one-size-fits-all approach to healthy eating. Whether developing vegetarian keto adaptations for traditional Indian flavors or creating community spaces for sharing cultural recipe modifications, I believe everyone deserves respect and support in their wellness journey.
When I’m not facilitating online discussions or testing cultural adaptations in my Portland kitchen, I work with clay in my pottery studio or volunteer with local community gardens. I believe growing food together strengthens both community bonds and our connection to nourishing ingredients.
At Low Carb Recipe Journal, I ensure our community remains welcoming for readers from all backgrounds while developing practical ways to adapt recipes for different cultural preferences and dietary needs. My goal is making low-carb eating culturally celebratory, not restrictive.