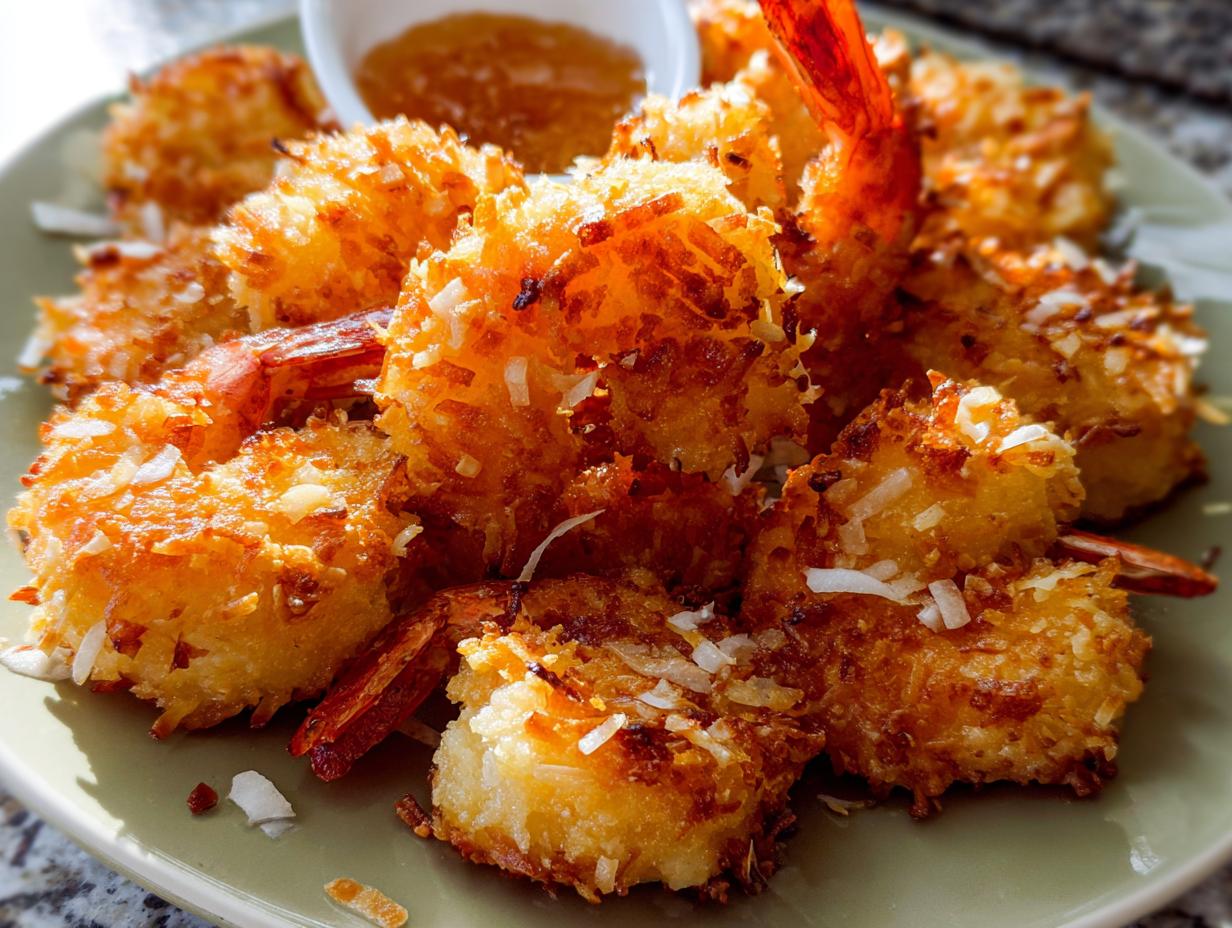
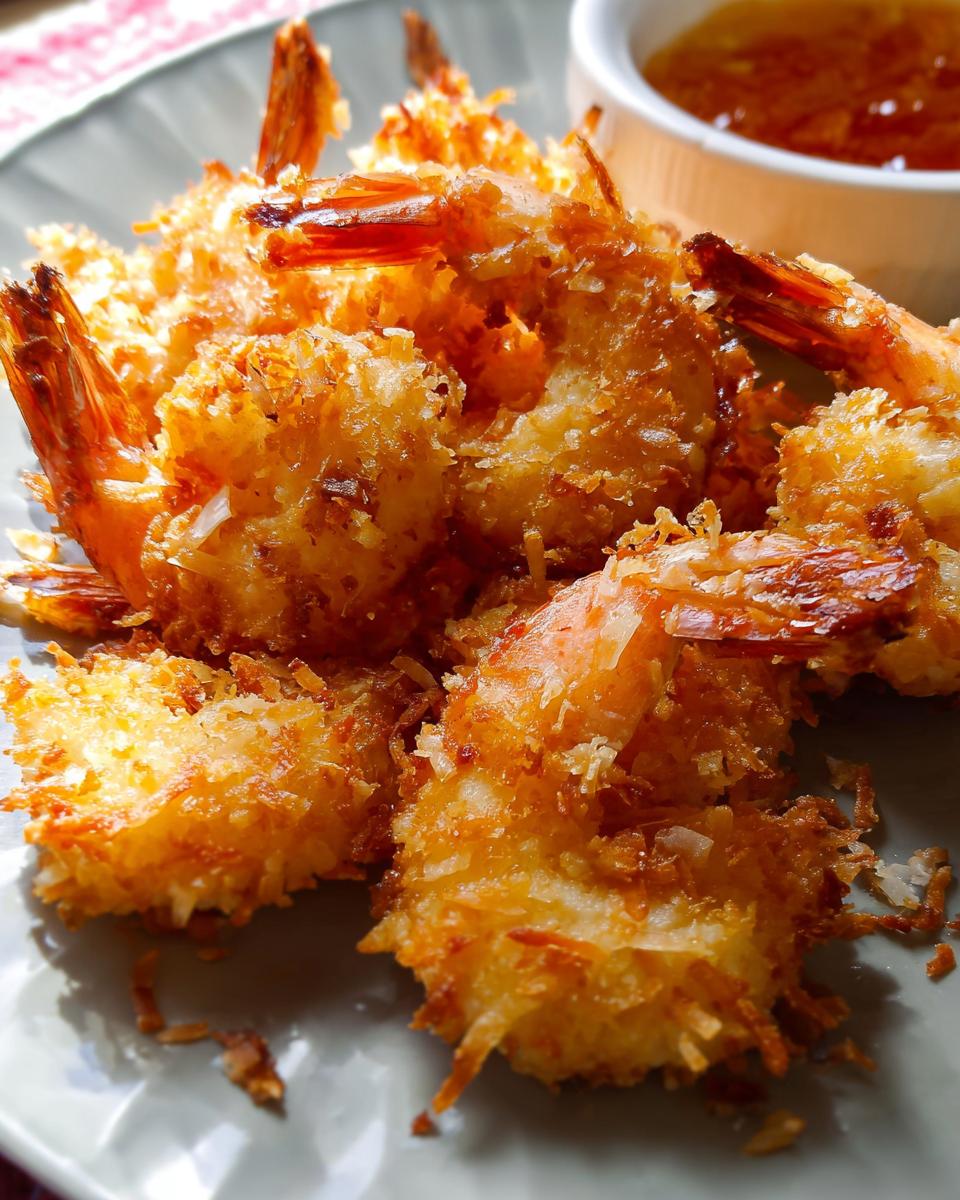
Get ready, because I’m about to share what I truly believe is The Only Shrimp Recipes Recipe You’ll Need (2025)! Seriously, this coconut shrimp recipe is like a little piece of culinary magic. It’s so ridiculously simple but tastes like you spent hours in the kitchen, and that’s exactly why I love it. It reminds me of an impromptu summer dinner I made for my family years ago. I whipped up some garlic-lemon shrimp with herbs from my garden, and the smell alone was amazing. My grandma, bless her heart, even said she loved it, and that really kicked off my whole shrimp obsession! This recipe captures that same heartfelt joy and deliciousness, and I can’t wait for you to try it.
Why This Coconut Shrimp Recipe is a Must-Try
Okay, so why should you absolutely make this coconut shrimp recipe? Well, for starters, it’s ridiculously easy. Like, seriously, you can whip this up faster than you think and feel like a total culinary rockstar. The flavor? Oh man, it’s the perfect dance between that sweet, tropical coconut and the savory, perfectly cooked shrimp. It’s just *chef’s kiss*!
And the best part? It’s super versatile!
- Effortless Prep: Minimal fuss, maximum flavor. Perfect for busy weeknights!
- Amazing Taste: That sweet coconut with the tender shrimp is a match made in heaven.
- Goes with Anything: Serve these as a killer appetizer or make them the star of your dinner plate.
- Home Cook Friendly: You don’t need fancy chef skills for this one – trust me!
This recipe is all about making delicious food accessible and fun. You’ll be making it over and over again!
Gather Your Ingredients for The Only Shrimp Recipes Recipe You’ll Need (2025)
Alright, let’s get everything ready for this amazing coconut shrimp! You’ll want to have these ingredients handy so everything goes smoothly. I always like to pull everything out and measure it before I even start mixing, makes the whole process so much easier, trust me!
For the Coconut Shrimp
- 1/3 cup all-purpose flour (or whole wheat flour if you prefer, make sure to spoon it into your cup and level it off!)
- 1/2 teaspoon salt
- 1/2 teaspoon ground black pepper
- 2 large eggs, beaten
- 3/4 cup Panko bread crumbs
- 1 cup sweetened shredded coconut
- 1 pound raw large shrimp, peeled and deveined with tails attached
- 3–4 Tablespoons vegetable oil, or coconut oil if you really want that extra coconut flavor (olive oil works in a pinch too!)
- 1 Tablespoon finely chopped cilantro, optional for topping
Serving Sauce (Optional)
- 3 Tablespoons Thai chili sauce
- 6 Tablespoons jam or preserves (orange, peach, or apricot work wonderfully!)
Using good quality shrimp is always best, and make sure they’re raw – it makes a difference in texture! The Panko bread crumbs and shredded coconut are key for that delightful crispy coating and tropical taste. For loads more inspiration on coconut shrimp, check out this great recipe!
Step-by-Step Guide to The Only Shrimp Recipes Recipe You’ll Need (2025)
Alright, let’s get this party started! This part is where the magic really happens, and it’s honestly super straightforward. Just follow along, and you’ll have amazing homemade coconut shrimp in no time. Trust me, it’s easier than it looks!
Preparing the Dredging Stations
First things first, grab three medium bowls. In the first one, whisk together your flour, salt, and pepper – this is our first layer of seasoning. In the second bowl, give those eggs a good beat until they’re nice and frothy. Then, in the third bowl, mix together the Panko bread crumbs and that lovely shredded coconut. These three stations are going to give our shrimp that gorgeous, crispy coating!
Coating the Shrimp
Now for the fun part! Take each peeled and deveined shrimp, give it a little dip in the flour mixture first, making sure it’s lightly coated. Then, dunk it into the beaten eggs – let any excess drip off. Finally, roll it generously in the coconut-Panko mix. Gently press the coating onto the shrimp so it sticks really well. Lay these beauties on a plate as you go, ready for their close-up in the pan!
Frying to Golden Perfection
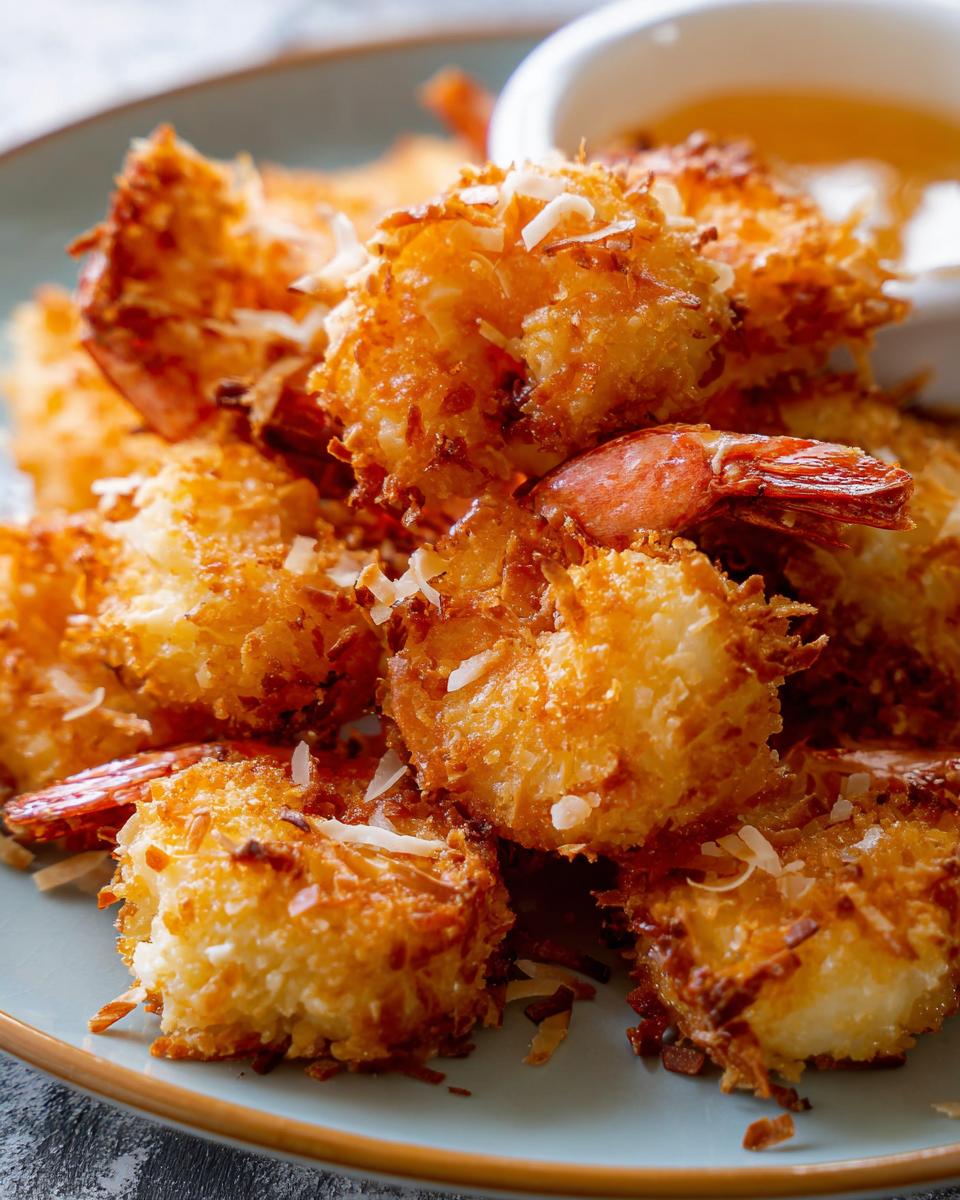
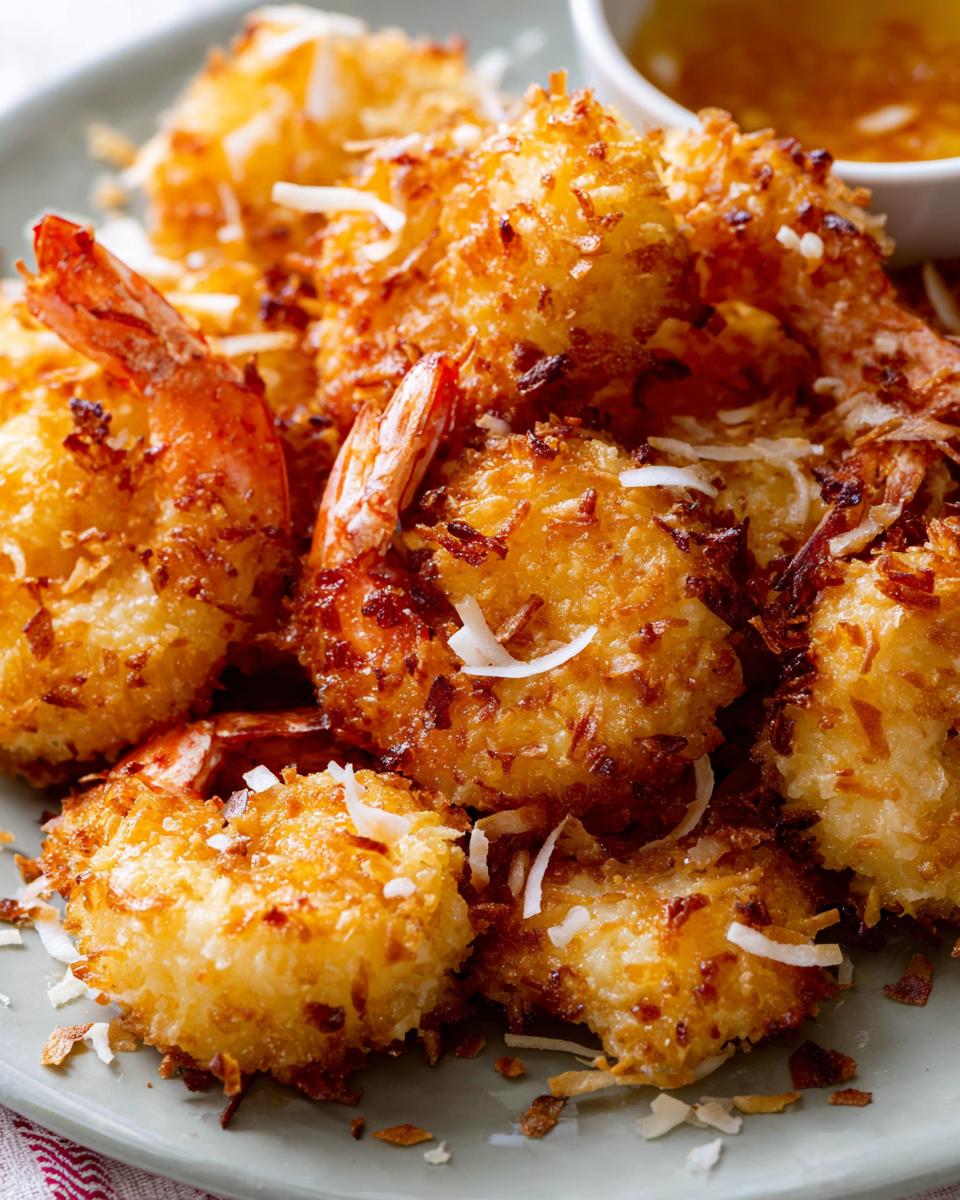
Get your large skillet nice and warm over medium heat with about 3 to 4 tablespoons of oil – enough to coat the bottom nicely. Don’t overcrowd the pan, folks! Fry about 7 or 8 shrimp at a time. They’ll only need about 2 minutes per side until they’re perfectly golden brown and crispy. If you like them extra dark and crunchy, go for an extra 30 seconds on each side. Once they’re done, pop them onto a plate lined with paper towels to catch any extra oil. You can sprinkle a little fresh cilantro on top if you’re feeling fancy!
Making the Optional Serving Sauce
If you’re going for the dipping sauce, this is super simple. Just grab a small bowl and mix together the Thai chili sauce with your jam or preserves. Stir it all up until it’s smooth and delicious. That’s it! So easy, and it totally elevates the whole experience.
Tips for The Only Shrimp Recipes Recipe You’ll Need (2025)
Alright, let’s talk about making these coconut shrimp absolutely perfect every single time. It’s all about a few little tricks I’ve picked up over the years that make a big difference. First off, for the shrimp itself, try to grab raw, large ones with the tails still on. They just hold up better and have a better texture when cooked this way. If you’re using frozen shrimp, make sure they’re totally thawed out before you start – nobody wants watery shrimp!
When it comes to frying, using coconut oil really amps up that tropical flavor, but good ol’ vegetable oil or even olive oil works perfectly fine too. Just make sure you’ve got enough to coat the bottom of your pan, about 3-4 tablespoons. And remember, don’t crowd the pan! It’s tempting to shove them all in at once, but frying in batches ensures they get nice and crispy, not soggy. You want that coating to be beautifully golden and crunchy, not pale and sad!
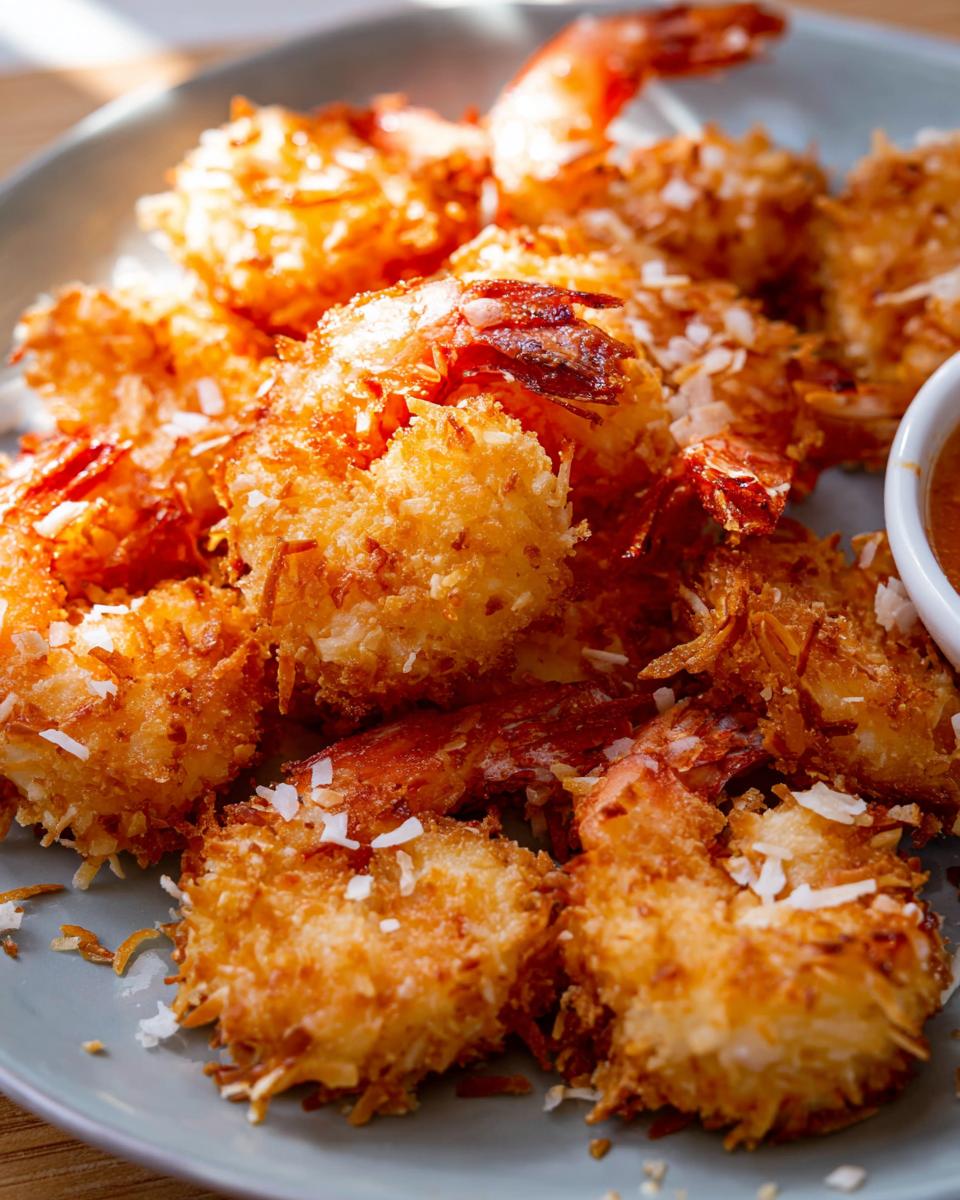
Serving and Storing Your Shrimp
These golden coconut shrimp are just begging to be served up right away! They’re fantastic on their own with that dreamy dipping sauce we whipped up. Or, make them part of a bigger meal – they’re amazing alongside a fresh sprouts salad or a vibrant spinach salad for a delightful contrast. If, by some miracle, you have leftovers, just pop them into an airtight container in the fridge. They’ll keep well for about 2-3 days.
Frequently Asked Questions About Shrimp Recipes
Got questions about making this recipe or shrimp in general? I get it! Cooking should be fun, not frustrating. So, let’s clear up a few things.
Can I bake these coconut shrimp instead of frying?
Oh, for sure! If baking is more your jam, you can absolutely do it. Just pop them on a baking sheet lined with parchment paper and bake at 400°F (200°C) for about 12-15 minutes, flipping halfway through, until they’re golden brown. They won’t be *quite* as crispy as fried, but they’re still super delicious and a bit lighter!
What kind of shrimp is best for this recipe?
I really recommend using raw, large shrimp with the tails still attached. They hold up beautifully during the frying process and give you that perfect tender texture. Make sure they’re peeled and deveined, of course! If you happen to have frozen shrimp, just thaw them completely before you start. While you *can* use cooked shrimp, raw ones give you the best results for this particular recipe.
How do I prevent the coating from falling off?
The key here is to make sure each layer sticks! After you dip the shrimp in the flour, give it a little shake to get rid of excess before hitting the egg. Then, after the egg, really press that coconut-Panko mixture onto the shrimp. Doing the flour, then egg, then coating helps everything adhere really well, ensuring you get a nice, consistent crust with every bite!
Nutritional Information Estimate
Just a heads-up, this is an estimate, and your actual numbers might wiggle a bit depending on the exact ingredients you use and how much oil they soak up. But generally, a serving of these delicious coconut shrimp is around 350-400 calories, with about 20-25g of fat, a solid 25-30g of protein, and roughly 15-20g of carbohydrates. Enjoy!
Share Your Shrimp Creations!
Okay, now that you’ve hopefully made these amazing coconut shrimp, I’m dying to hear what you think! Did you love that crispy coating? Did the sauce hit the spot? Please, do me a favor and leave a comment below with your thoughts, or even better, give the recipe a star rating! And if you snapped any pics of your beautiful shrimp creations, tag us on social media – I absolutely LOVE seeing your kitchen adventures! If you have any questions or want to share more, feel free to reach out via my contact page!

The Only Shrimp Recipes Recipe You’ll Need (2025)
Ingredients
Equipment
Method
- Prepare three medium bowls. In the first bowl, combine the flour, salt, and pepper. In the second bowl, beat the eggs. In the third bowl, combine the Panko bread crumbs and shredded coconut.
- Dip each shrimp first into the flour mixture, then into the beaten eggs, and finally dredge it in the coconut mixture. Press gently to ensure the coconut adheres well. Set the coated shrimp aside on a plate.
- Heat enough oil to cover the bottom of a large skillet over medium heat. Fry the coconut shrimp in batches of 7-8 shrimp at a time, ensuring not to overcrowd the pan. Flip the shrimp after 2 minutes and fry the other side for another 2 minutes, or until golden brown. For a darker crisp, fry each side for 2:30-3 minutes.
- Place the fried coconut shrimp on a plate lined with paper towels as you continue frying the remaining shrimp. Sprinkle with optional chopped cilantro.
- To make the optional serving sauce, mix the Thai chili sauce with your chosen jam or preserves. Serve the sauce with the shrimp.
- Cover and store any leftover shrimp in the refrigerator for up to 3 days.
Notes
Tried this recipe?
Let us know how it was!
Maya Patel, Community Manager & Adaptation Specialist
I’ve spent the past five years working in community-focused nutrition, passionate about making low-carb eating accessible to everyone regardless of cultural background. With certification in cross-cultural nutrition counseling, I help people adapt healthy eating approaches while preserving their cherished food traditions.
My journey began as a community outreach coordinator when I noticed how nutrition advice often ignored people’s cultural food practices. This frustrated me—why should someone abandon their grandmother’s recipes to be healthy? I started developing ways to adapt traditional dishes from different cultures to fit therapeutic nutrition goals, helping hundreds of families integrate low-carb principles without losing their culinary heritage.
As a second-generation Indian-American, this is deeply personal. I’ve balanced my family’s food traditions with modern nutrition research, especially when adopting a low-carb approach to manage my PCOS. That experience taught me that sustainable health changes must honor who you are and where you come from.
My “inclusive wellness” philosophy is straightforward: there’s no one-size-fits-all approach to healthy eating. Whether developing vegetarian keto adaptations for traditional Indian flavors or creating community spaces for sharing cultural recipe modifications, I believe everyone deserves respect and support in their wellness journey.
When I’m not facilitating online discussions or testing cultural adaptations in my Portland kitchen, I work with clay in my pottery studio or volunteer with local community gardens. I believe growing food together strengthens both community bonds and our connection to nourishing ingredients.
At Low Carb Recipe Journal, I ensure our community remains welcoming for readers from all backgrounds while developing practical ways to adapt recipes for different cultural preferences and dietary needs. My goal is making low-carb eating culturally celebratory, not restrictive.