You know that feeling? That cozy, nostalgic wave that washes over you when you smell perfectly seasoned stuffing? For years, I’ve dreamt of bringing that exact restaurant-quality magic to my own table, especially during those cherished holiday gatherings. Growing up, my Thanksgiving dinners were a vibrant tapestry of flavors, a beautiful blend of different traditions. I vividly remember the first time I tried to capture my grandmother’s incredibly savory stuffing, packed with her secret herb blend. As I chopped the veggies and measured out her spices in my own kitchen, the aroma took me right back to those happy family times. It wasn’t perfect, not exactly like hers, but it was *mine*, and it started this whole adventure of adapting recipes. As a Community Manager & Adaptation Specialist, I’m all about taking beloved classics and making them even better, which is why these Restaurant-Style Stuffing Recipes at Home (2025) are such a joy to share!
Why You’ll Love These Restaurant-Style Stuffing Recipes at Home (2025)
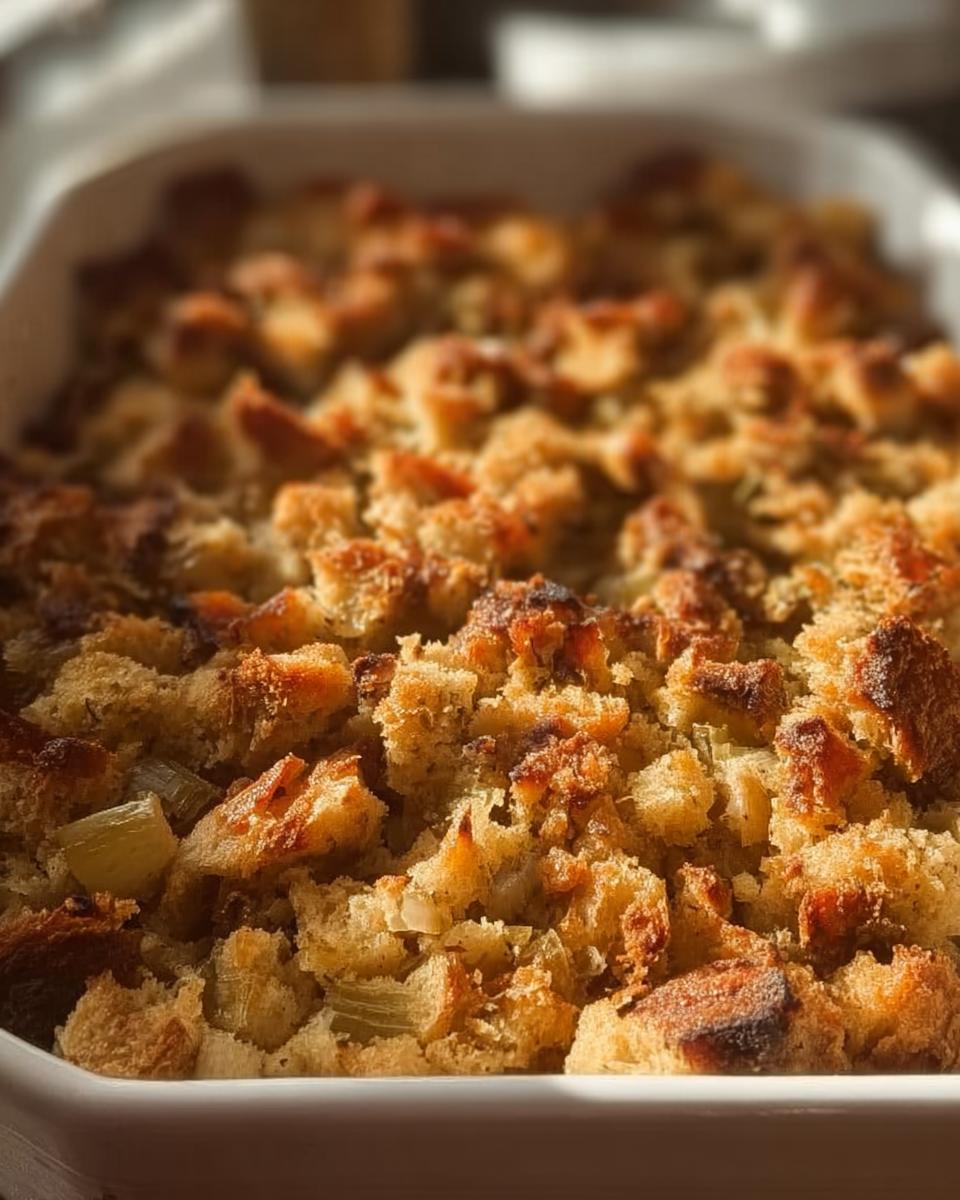
Oh, getting that perfect stuffing at home is totally doable, trust me! You’re gonna love how easy these Restaurant-Style Stuffing Recipes at Home (2025) are to whip up. They’re packed with flavor, smell amazing while they bake, and are just perfect for any holiday meal or family get-together. Seriously, it feels fancy without being fussy!
- Easy to follow steps – perfect for beginners!
- Rich, savory flavors that taste just like your favorite restaurant.
- Quick prep time means less stress in the kitchen.
- Versatile – easily customizable for your taste!
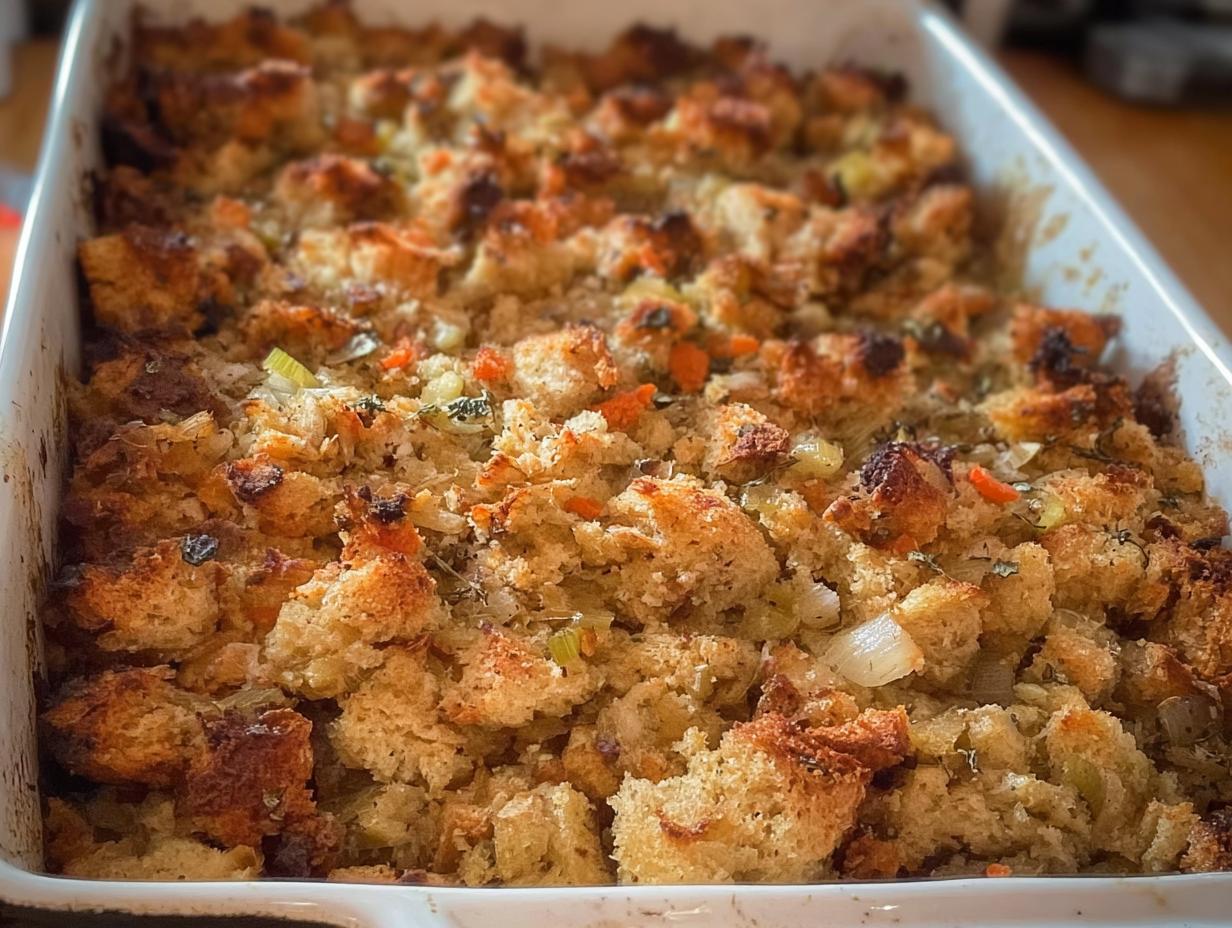
Gather Your Ingredients for Perfect Restaurant-Style Stuffing
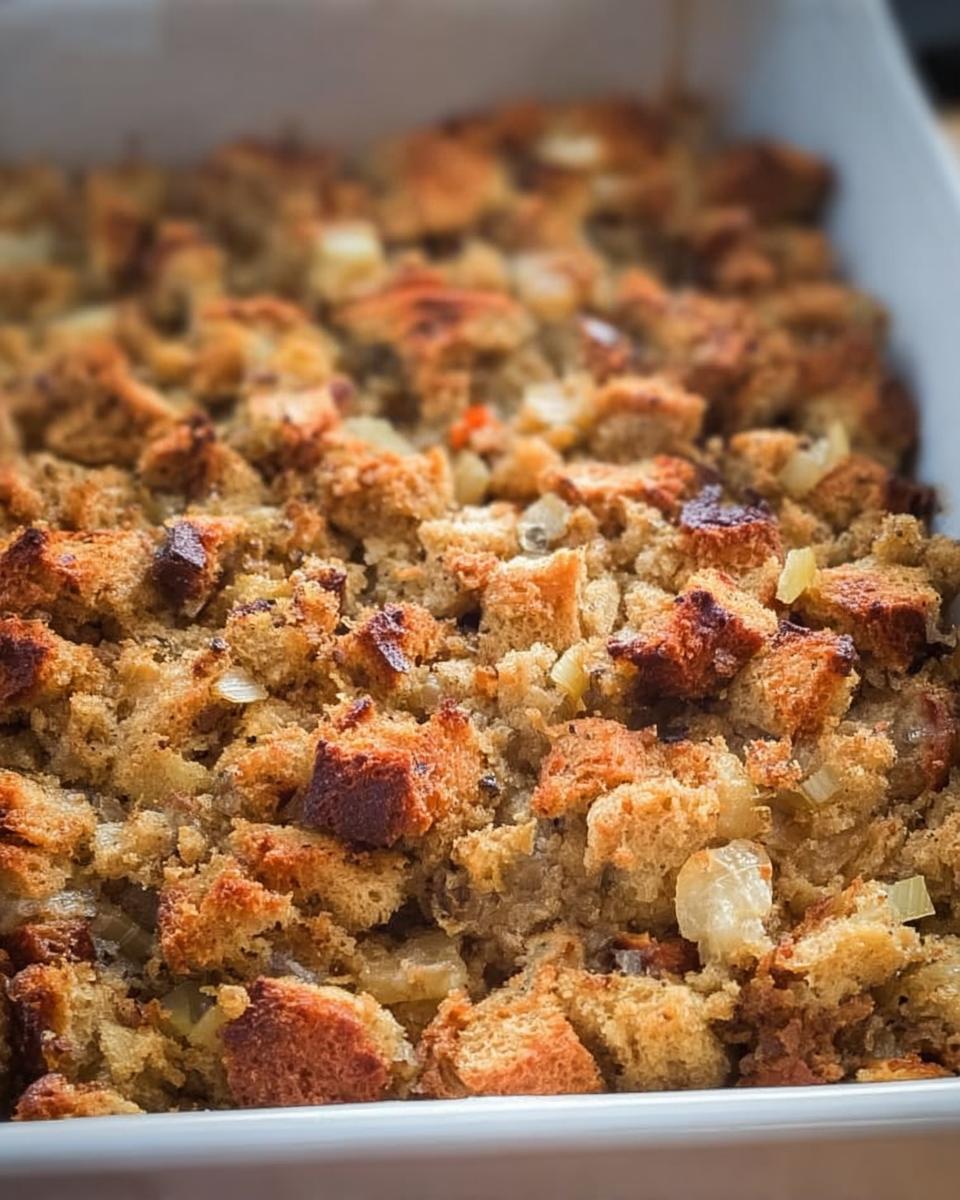
Alright, let’s get down to business! To make stuffing that tastes like it came straight from a fancy restaurant, you need the right players. And don’t worry, it’s not a super long list! The most important thing is your bread – you’ll need about 30 slices of white bread, and they *have* to be lightly toasted and then left out to get good and hard. We’re talking about a full 24 hours sitting on baking sheets. Trust me, this is the secret to that amazing texture that doesn’t turn into mush! You’ll also grab 2 tablespoons of butter, one big onion and two celery stalks, all chopped up nice and fine. Then, we’ve got 2 cups of chicken broth, two eggs that are lightly beaten, and a couple of tablespoons of water just in case it needs a little extra moisture. For all those yummy flavors, we’re using 2 teaspoons of rubbed sage, 1 teaspoon of garlic powder, and then just salt and pepper to your liking. It might seem like a lot of bread, but it bakes down perfectly!
Step-by-Step Guide to Making Restaurant-Style Stuffing at Home (2025)
Alright, let’s get cooking! Making stuffing that tastes like you grabbed it from your favorite restaurant is totally achievable. Just follow these simple steps and you’ll have a side dish that steals the show. First things first, get your oven preheated to 325 degrees F (that’s 165 degrees C for anyone using the metric system!). While it’s warming up, lightly grease a 9×13-inch baking dish. You can grab some non-stick spray or just a little butter and wipe it around. You can get more tips on making stuffing from scratch over at Allrecipes.
Preparing the Bread Base
Remember all that bread we left out to dry? Now’s the time to put it to work! Take those nice, stale slices and crush them into crumbs. You can totally use a rolling pin, just toss ’em in a zip-top bag and get to work. Once you’ve got your breadcrumbs, dump ’em into a big bowl. This is key for that perfect texture – no soggy stuffing here!
Sautéing Aromatics
Next up, let’s get those veggies softened. Grab a medium saucepan and melt that 2 tablespoons of butter over medium heat. Toss in your finely chopped onion and celery. Cook ’em, stirring occasionally, until they’re nice and soft – usually about 5 to 7 minutes. You don’t want them browned, just tender. Once they’re ready, just drain off any extra liquid and set them aside for a sec.
Combining and Seasoning the Stuffing
Now for the magic! Pour your chicken broth and those lightly beaten eggs right into the bowl with the breadcrumbs. Give it a good mix until everything looks evenly moistened, but seriously, don’t make it soggy. If it feels a bit dry, add a tablespoon or two of water; just a little splash is usually enough. Now, fold in those cooked onion and celery bits. Time for the flavor boosters: stir in your rubbed sage and garlic powder. Taste it here and season with salt and pepper until it sings! Don’t forget those delicious *herbs*! If you’re looking for other carbohydrate bases for your meals, check out this healthy oats recipe.
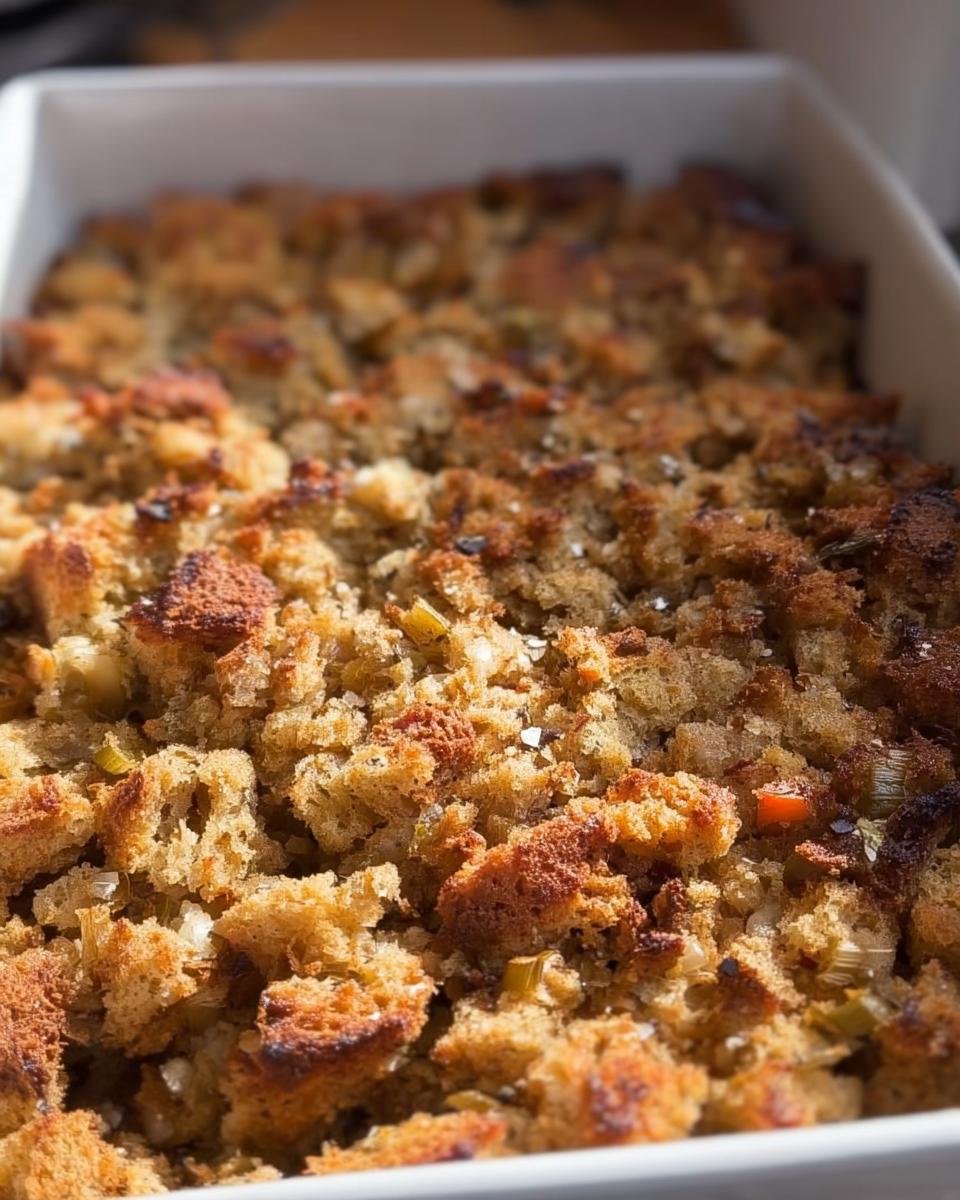
Baking to Golden Perfection
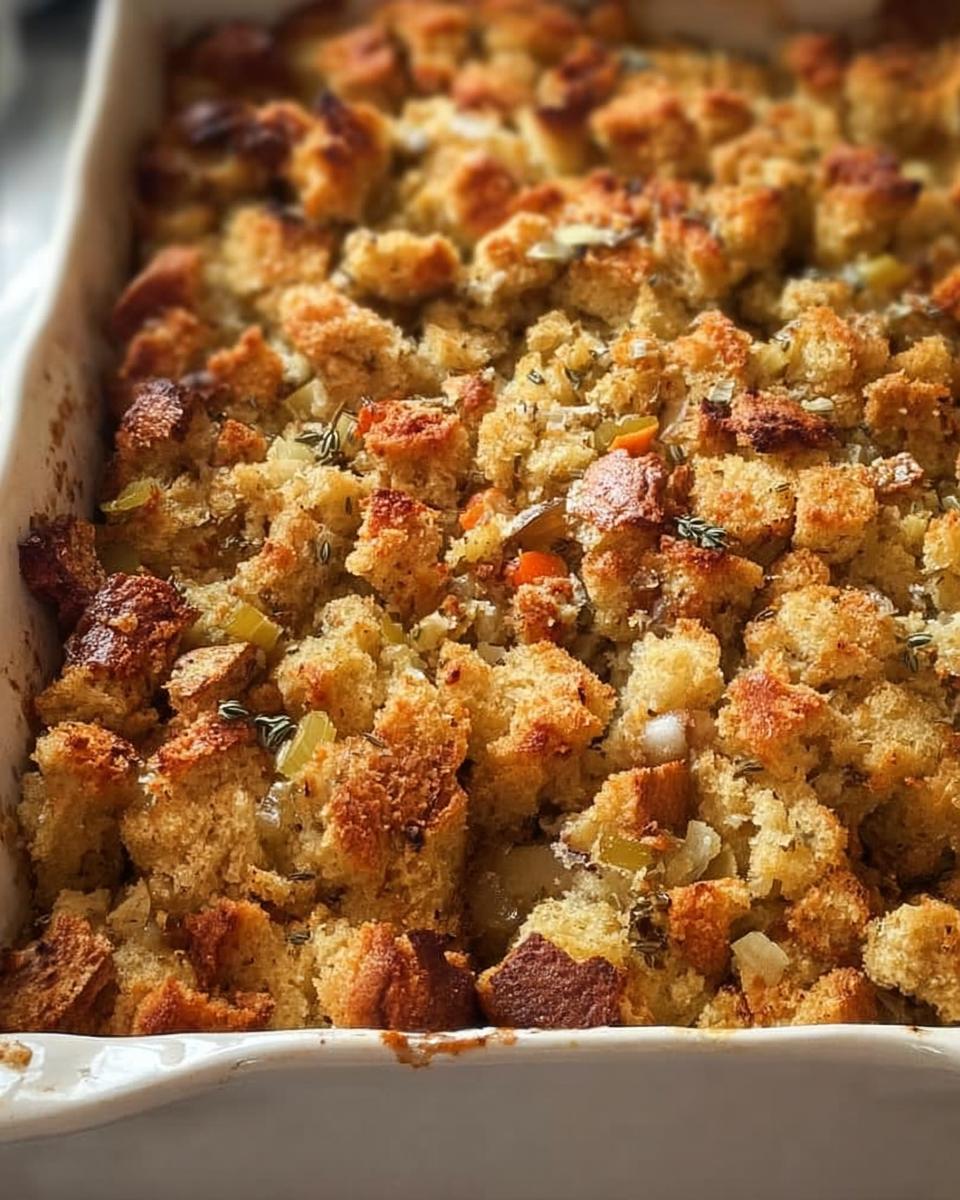
Almost there! Press that glorious stuffing mixture evenly into your prepared baking dish. It should look nice and mounded. Pop it into your preheated oven. You’ll want to bake it for about an hour, or until the top is beautifully golden brown and gets a lovely crisp texture. That’s your cue that it’s ready to come out!
Tips for Achieving Restaurant-Quality Stuffing
Want to really level up your stuffing game? It’s all about those little touches that make a big difference. As someone who loves to adapt recipes, I’ve found a few tricks that turn this already awesome stuffing into pure gold. Think of it as adding your own personal flair, just like how I love to experiment with different greens in my salads!
Ingredient Notes and Substitutions
So, about that bread – while white bread is classic, don’t be afraid to get a little adventurous! Stale challah or brioche bread adds a touch more richness, and sourdough gives it a lovely tang. If you’re feeling super energetic, you can even toast cubes of bread yourself in the oven until they’re golden and dry. And for the broth? Chicken is classic, but vegetable broth works beautifully, especially if you’re making this vegetarian. Just make sure whatever you use is good quality; it really does make a difference!
Flavor Enhancements and Variations
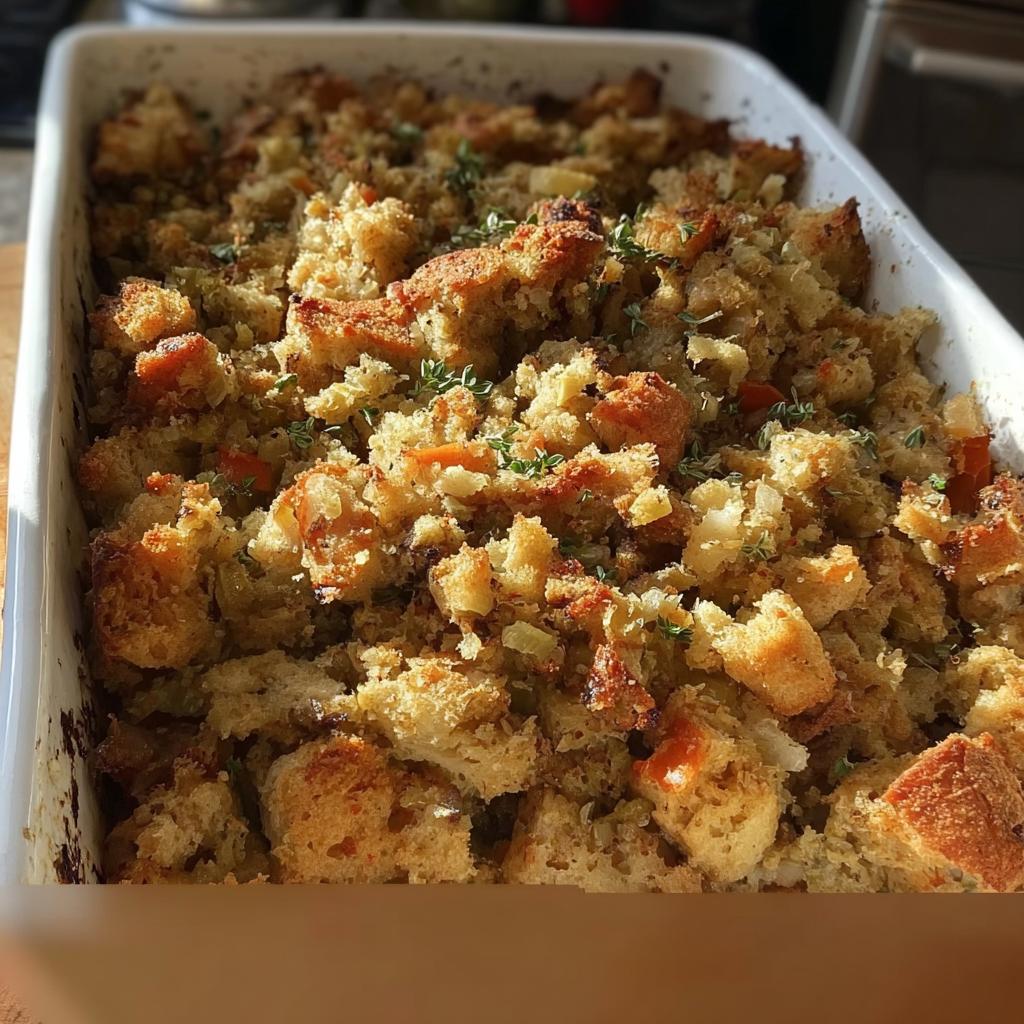
Okay, time to play with your food! For an extra burst of freshness, stir in about half a cup of chopped fresh parsley into the mix before baking. It really brightens everything up. If you love a little sweet and chewy surprise, toss in ½ cup of dried cranberries – they’re fantastic! And for a heartier, more savory stuffing, cooked and crumbled sausage is an absolute game-changer. Don’t forget about trying different *herbs* too; thyme and rosemary are wonderful in stuffing!
Frequently Asked Questions About Restaurant-Style Stuffing
Got questions about making your stuffing absolutely perfect? I totally get it! It’s one of those dishes where little things can make a big difference. Here are some common ones I hear!
Can I make this stuffing ahead of time?
Oh yes, absolutely! You can totally prep the stuffing mixture a day ahead of time. Just mix everything together, put it in your baking dish, cover it tightly with plastic wrap, and pop it in the fridge. When you’re ready to bake, just take off the plastic wrap and add a few extra minutes to the baking time, maybe 5-10 minutes, to make sure it’s heated through.
What kind of bread is best for stuffing?
For that classic, restaurant-style texture, you really want to use a sturdy, day-old bread. Think about white bread, challah, or even a good sourdough. The key is that it’s dry and a little stale. Fresh bread will turn into mush, and nobody wants that! Letting it sit out for a good 24 hours, like we do in the recipe, is the magic step.
How do I make my stuffing moist but not soggy?
This is the golden question, right? The secret is really in the bread – it needs to be dried out so it can absorb just the right amount of liquid without falling apart. Mixing in the broth and eggs until it’s just evenly moistened, not swimming, is super important. Also, baking it uncovered until the top is nicely crisp helps a lot!
Can I use gluten-free bread for this recipe?
You sure can! If you need to go gluten-free, just grab your favorite gluten-free loaf and follow the same steps – toast it until it’s dry and then crush it. You might find that gluten-free bread absorbs liquid a little differently, so keep an eye on the consistency when you’re mixing it with the broth and eggs. You may need a smidge more or less liquid, so just go by feel! If you ever have questions or want to learn more tips, you can always reach out through our contact page.
Estimated Nutritional Information
Just a heads-up, these numbers are estimates, and they can change depending on exactly what you use! But based on our recipe, each serving of this delicious stuffing has about 101 calories. You’re looking at around 17g of carbs, 3g of protein, and just 2g of fat. It’s a pretty balanced side dish, if I do say so myself!
Sharing Your Restaurant-Style Stuffing Creations
I just LOVE seeing your kitchen creations! Once you’ve made these Restaurant-Style Stuffing Recipes at Home (2025), please come back and share how yours turned out. Did you try any fun variations? Drop a comment below or snap a pic and tag us – I’m always curious to see your take on things! You can also learn more about my journey and passion for adapting recipes by checking out the About Us page!
Restaurant-Style Stuffing Recipes at Home (2025)
Ingredients
Equipment
Method
- Spread toasted bread slices on baking sheets and let sit out at room temperature until hard, about 24 hours.
- Once bread slices are ready, gather all ingredients. Preheat the oven to 325 degrees F (165 degrees C). Lightly grease a 9×13-inch baking dish.
- Crush bread slices into crumbs with a rolling pin. Transfer crumbs to a large bowl.
- Melt butter in a medium saucepan over medium heat. Stir in onion and celery; cook and stir until soft, 5 to 7 minutes. Remove from heat and drain.
- Stir chicken broth and eggs into bread crumbs; mix until evenly moistened, but not soggy. Add water, if needed. Mix in cooked onion and celery, sage, garlic powder; season with salt and pepper.
- Press dressing mixture into the prepared baking dish.
- Bake in the preheated oven until the top is brown and crisp, about 1 hour.
- Serve hot and enjoy!
Nutrition
Notes
Tried this recipe?
Let us know how it was!
Maya Patel, Community Manager & Adaptation Specialist
I’ve spent the past five years working in community-focused nutrition, passionate about making low-carb eating accessible to everyone regardless of cultural background. With certification in cross-cultural nutrition counseling, I help people adapt healthy eating approaches while preserving their cherished food traditions.
My journey began as a community outreach coordinator when I noticed how nutrition advice often ignored people’s cultural food practices. This frustrated me—why should someone abandon their grandmother’s recipes to be healthy? I started developing ways to adapt traditional dishes from different cultures to fit therapeutic nutrition goals, helping hundreds of families integrate low-carb principles without losing their culinary heritage.
As a second-generation Indian-American, this is deeply personal. I’ve balanced my family’s food traditions with modern nutrition research, especially when adopting a low-carb approach to manage my PCOS. That experience taught me that sustainable health changes must honor who you are and where you come from.
My “inclusive wellness” philosophy is straightforward: there’s no one-size-fits-all approach to healthy eating. Whether developing vegetarian keto adaptations for traditional Indian flavors or creating community spaces for sharing cultural recipe modifications, I believe everyone deserves respect and support in their wellness journey.
When I’m not facilitating online discussions or testing cultural adaptations in my Portland kitchen, I work with clay in my pottery studio or volunteer with local community gardens. I believe growing food together strengthens both community bonds and our connection to nourishing ingredients.
At Low Carb Recipe Journal, I ensure our community remains welcoming for readers from all backgrounds while developing practical ways to adapt recipes for different cultural preferences and dietary needs. My goal is making low-carb eating culturally celebratory, not restrictive.