
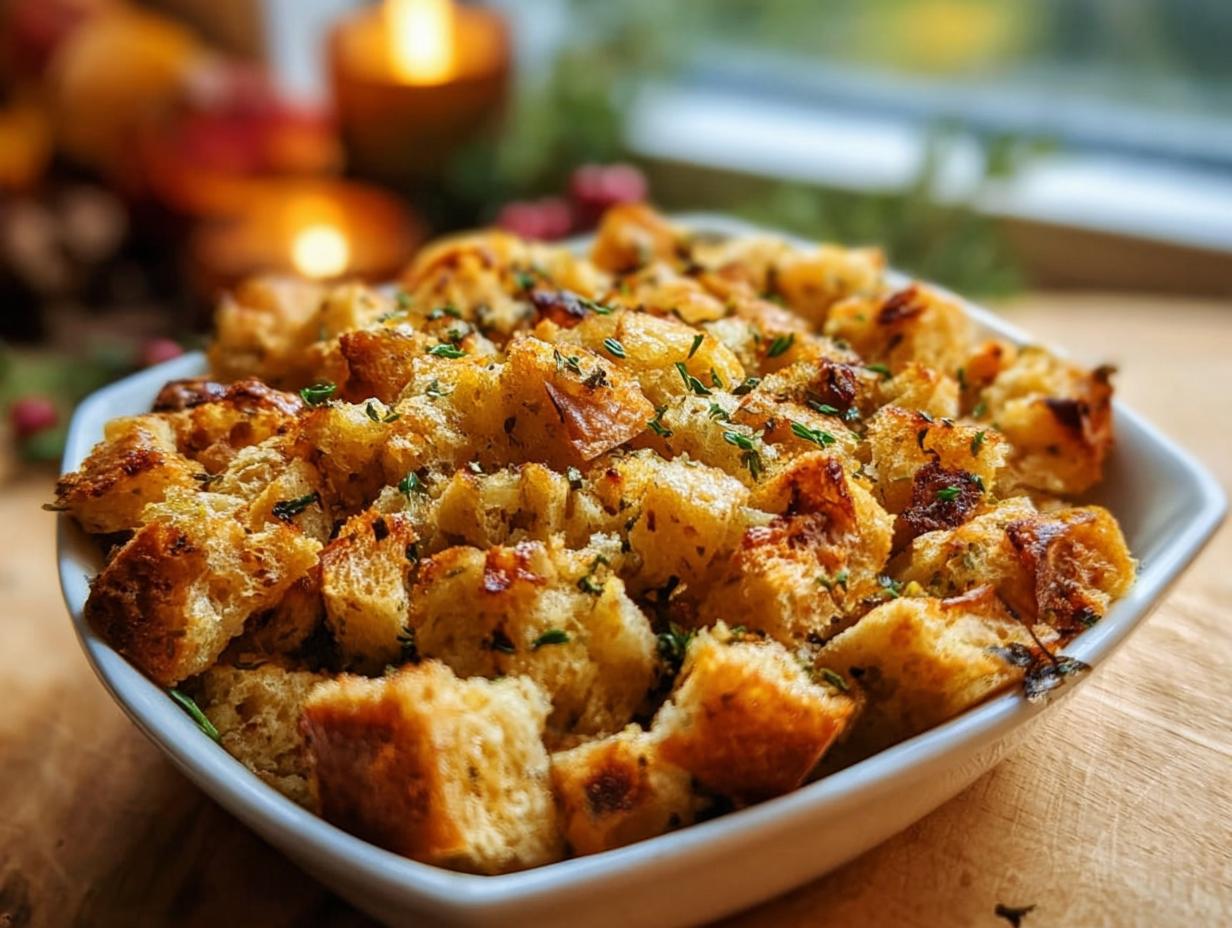
Okay, let’s talk stuffing! You know, that perfect side dish that just makes the whole holiday table sing? It’s more than just bread and broth; it’s the soul of Thanksgiving, really. If you’ve ever dreamed of making stuffing that’s so good, people rave about it for weeks, then you’re in the right spot! This guide is all about helping you master How to Make Stuffing Recipes Like a Pro (2025). I remember my first Thanksgiving hosting gig – I was so worried about getting it just right, especially my grandma’s stuffing. I tinkered and tested, and finally nailed it, and now it’s a must-have every year!
Why Mastering How to Make Stuffing Recipes Like a Pro (2025) Matters
Okay, seriously, stuffing is more than just a side dish, right? It’s the warm, comforting hug on your plate that ties the whole holiday meal together. When you really nail it, when it’s perfectly seasoned, moist but not soggy, and has that amazing texture – wow! It makes everything else taste better, and believe me, your guests will notice. Mastering How to Make Stuffing Recipes Like a Pro (2025) isn’t just about following a recipe; it’s about creating a dish that truly shines and impresses everyone gathered around your table. As the Efficiency & Testing Coordinator, I get to experiment with tons of recipes, and stuffing is one of those things where a little extra know-how makes a HUGE difference.
Essential Ingredients for Your How to Make Stuffing Recipes Like a Pro (2025)
Alright, let’s talk ingredients! This is where the magic really starts to happen for our How to Make Stuffing Recipes Like a Pro (2025). Trust me, using the right stuff makes all the difference. We’re going to break it down into what you need for the base, what gives it that amazing flavor, and of course, those little extras you can toss in if you’re feeling adventurous!
For the Stuffing Base
This is the hearty foundation of your stuffing! You’ll want:
- 8 ounces (about 6 cups) of homemade garlic croutons. I like to make mine myself, but good quality store-bought ones work too!
- 4 tablespoons of butter (that’s about 57g). Real butter, please! It just tastes way better.
- 1 medium onion, chopped.
- 1 stalk of celery, chopped.
For the Flavor
Now for the aromatics and seasonings that make stuffing taste like, well, stuffing!
- 1.75 cups (415ml) of chicken or vegetable broth. Use a good quality one – it really punches up the flavor!
- 2 tablespoons of fresh herbs, chopped. I’m talking sage, thyme, and parsley – the classic trio!
- Salt, to taste.
- Pepper, to taste.
- 1 tablespoon of poultry seasoning. This little guy is a game-changer!
Optional Additions
Feeling fancy? These are fun to play with!
- Ground sausage. Browned first, of course!
- Cornbread. Crumble it in with your croutons for a different texture.
Step-by-Step Guide: How to Make Stuffing Recipes Like a Pro (2025)
Okay, so you’ve got your ingredients ready, and you’re all set to dive in and make some incredible stuffing! Following these steps will make sure you’re well on your way to mastering How to Make Stuffing Recipes Like a Pro (2025). It’s all about building those flavors, layer by layer. Don’t worry, it’s way easier than you think! For more on amazing stuffing, you can check out this Thanksgiving stuffing recipe.
Preparing the Bread Base
First things first, we gotta get our bread ready. If you’re using homemade croutons or cubed bread, just leave them out on a baking sheet for a day or two to get nice and dry. Or, you can speed things up by toasting them in the oven at 250°F (120°C) for about 45-60 minutes, stirring them around so they dry out evenly. This is super important – dry bread soaks up flavor without getting mushy!
Sautéing Aromatics
Now, grab a big skillet and melt the butter over medium heat. Toss in your chopped onions and celery. Let them cook down until they’re nice and soft, and you can really smell that lovely, sweet aroma, about 5-7 minutes. This is where we start building that delicious savory base.
Combining Stuffing Ingredients
Time to bring it all together! Dump those softened onions and celery into a large bowl where you’ve already put your dry bread cubes. Add in your chopped fresh herbs, that salt and pepper, and don’t forget the poultry seasoning. Give it all a gentle stir. We don’t want to mash it up; just want everything to get acquainted.
Adding Moisture and Broth
Here’s a crucial step: adding the broth. You want your stuffing to be moist, but definitely not swimming! Start by pouring in about half a cup of broth and mix it gently. See how it looks and feels. If it seems a little dry, add a bit more broth, maybe a quarter cup at a time, until you get a nice, moist consistency – not soggy, just perfectly hydrated. You might not need all the broth, and that’s totally fine!
Baking or Stuffing Your Turkey
Now you have two delicious options! If you’re stuffing the turkey, do it loosely right before it goes into the oven. You don’t want to pack it in too tight! If you’re baking it separately, just scoop the mixture into a greased baking dish and spread it out evenly. Pop it into a preheated oven at 350°F (175°C) for about 30-40 minutes, or until it’s beautifully golden brown on top. If you stuffed your turkey, make sure the stuffing inside hits an internal temperature of 165°F (74°C) for safety. You can check this with a meat thermometer.
Pro Tips for Perfect Stuffing Every Time
Alright, let’s get into the nitty-gritty of making stuffing that’s just *chef’s kiss* perfect, every single time! As someone who’s tested a gazillion stuffing variations, I’ve picked up a few tricks that really elevate things. We’re not just making stuffing; we’re making *the best* stuffing. It’s all about those little details that make a huge difference in flavor and texture, turning a good side dish into an unforgettable one.
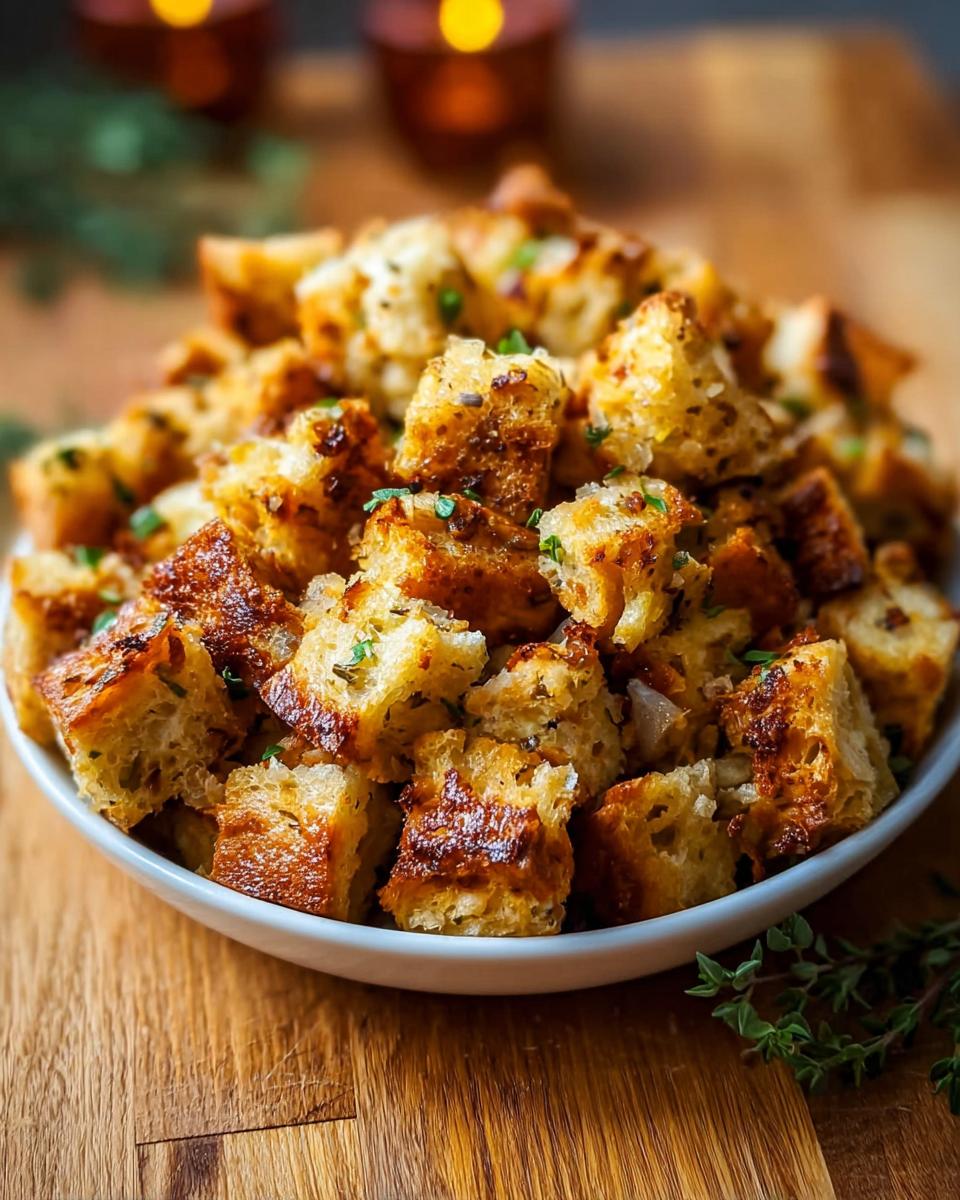
Bread Choices and Drying Techniques
Okay, the bread is *key*. Don’t even think about using those soft sandwich slices! Stale, crusty bread is your best friend here. Think of challah, brioche (if you want a richer flavor), sourdough for a little tang, or even a good ol’ French baguette. And the drying part? Crucial! Leaving it out overnight is great, but toasting it in the oven, like we mentioned earlier, gives you more control and an even crispier texture that holds up beautifully without getting soggy.
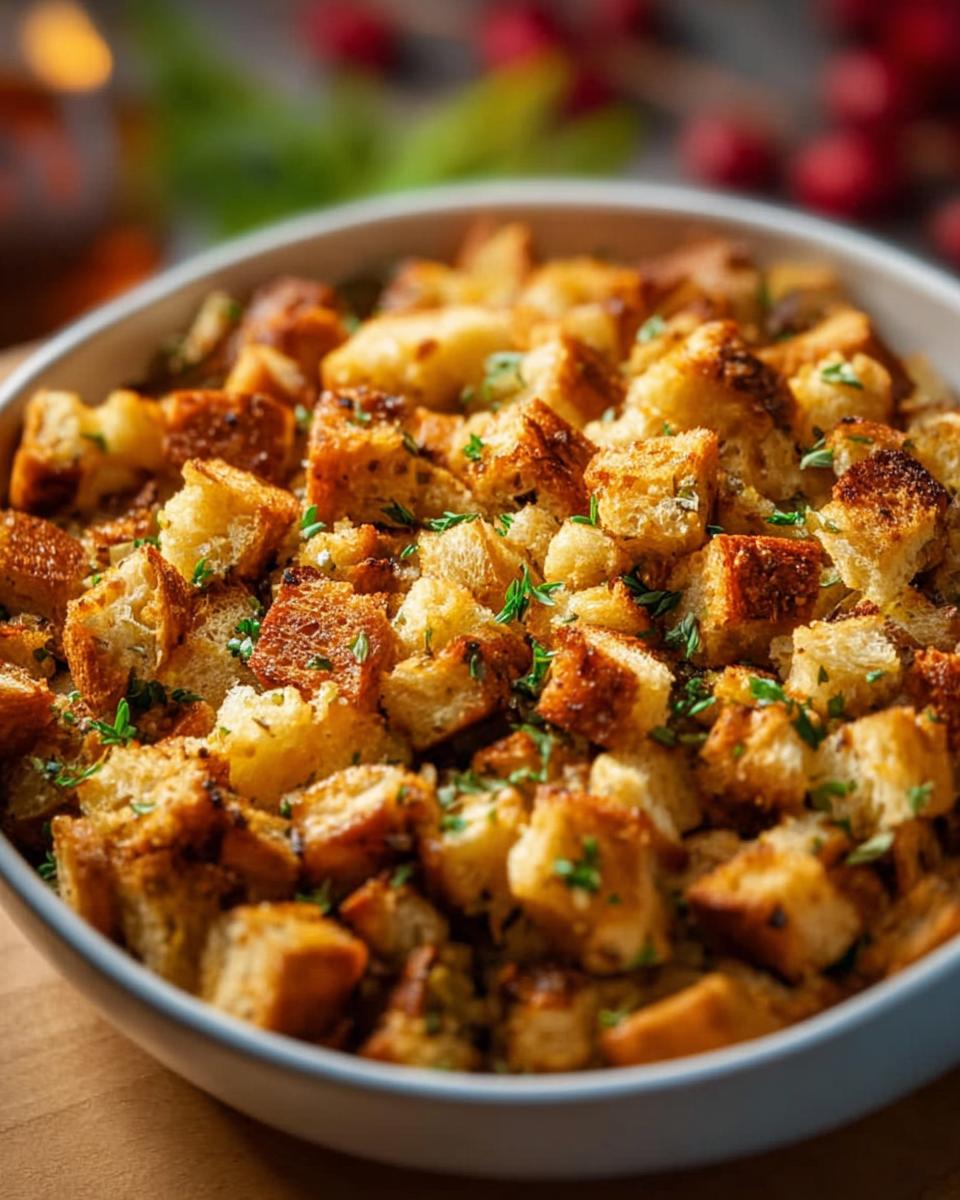
Flavor Layering and Herb Combinations
Stuffing is like a flavor symphony! Beyond basic salt and pepper, really think about building those savory notes. Using good quality broth is a must. Don’t be shy with fresh herbs – sage and thyme are like the power couple of stuffing, but parsley adds a nice freshness too. A touch of poultry seasoning is a secret weapon! And if you’re adding sausage, make sure it’s nicely browned first to get all those tasty bits in there. Tasting and adjusting seasoning as you go is essential!
Ingredient Notes and Substitutions
Let’s clear up a few things about the ingredients for your stuffing! Sometimes, you might need to swap something out, or maybe you’re just curious about the ‘why’ behind certain choices. When you’re making stuffing, the quality of your ingredients really makes a difference, and knowing your options can be super helpful.
For the broth, chicken broth is amazing, but if you’re going vegetarian or just want a lighter flavor, a good quality vegetable broth works just as well. For the herbs, fresh is usually best because it gives that vibrant flavor, but if you can’t find them, you can totally use dried herbs. Just use about 1/3 of the amount called for fresh, so maybe 2 teaspoons of dried sage, thyme, and parsley combined. And for the bread, besides the croutons, some people love using oats for a different texture or even a mix of cornbread and regular bread for a sweet and savory combo!
Frequently Asked Questions About Stuffing
Got some burning questions about stuffing? It’s totally normal! It’s one of those dishes that can seem simple, but there are definitely little tricks to getting it just right. Let’s tackle a few common things people wonder about, like making it ahead of time, or what bread works best. And of course, how to keep it from getting that dreaded soggy texture!
Can I Make Stuffing Ahead of Time?
Oh, absolutely! You can totally prepare your stuffing mixture a day ahead of time. Just mix everything together (but don’t add the broth yet!), cover it well, and keep it in the fridge. When you’re ready to bake, stir in the broth and then bake as usual. It’s a real lifesaver on busy holiday days!
What is the Best Bread for Stuffing?
For the best texture, you really want bread that’s a bit sturdy and stale. Think day-old French bread, sourdough, challah, or even a good Italian loaf. These breads hold their shape and don’t turn into mush when they absorb the broth. Avoid really soft sandwich bread if you can help it!
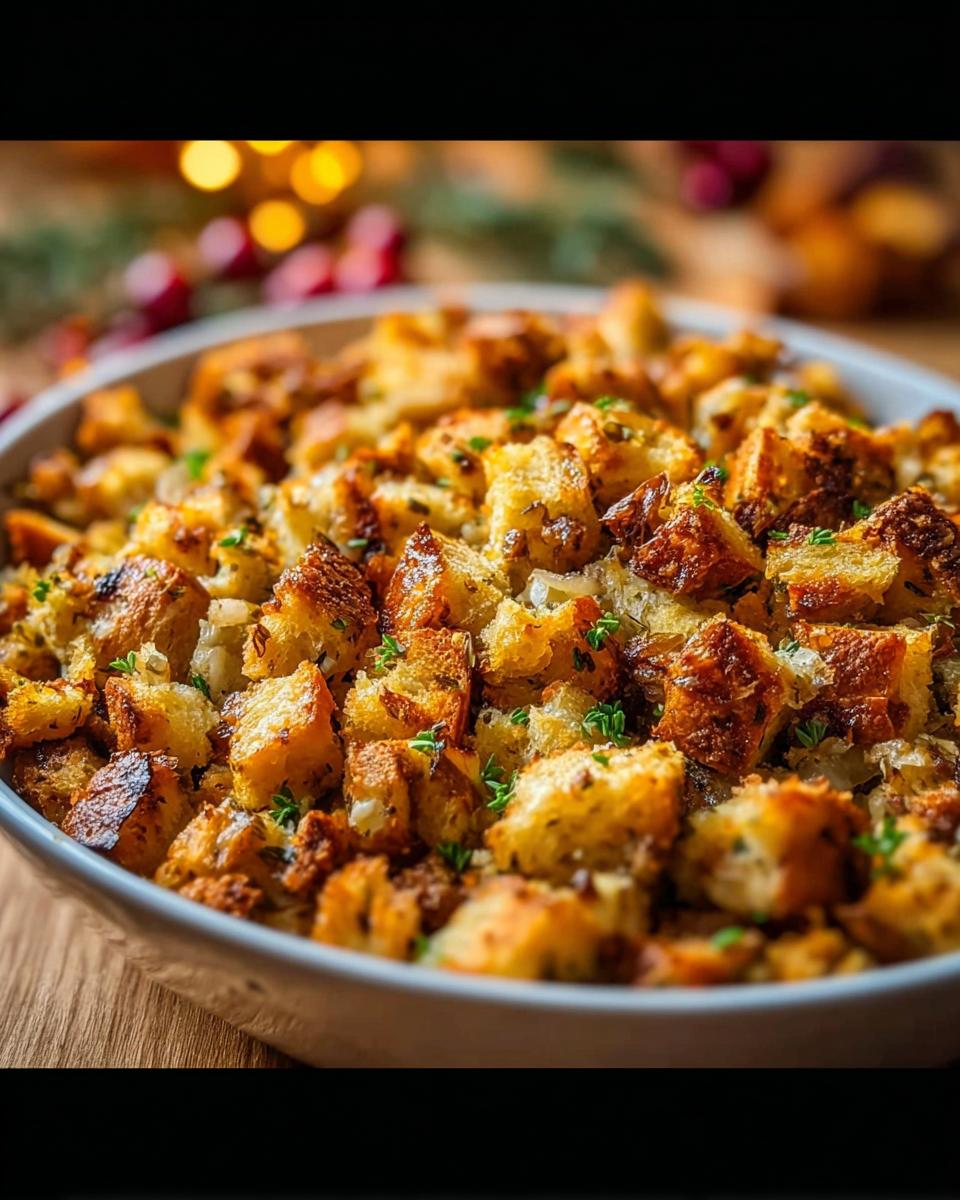
How to Avoid Soggy Stuffing
The biggest culprit behind soggy stuffing is usually using fresh bread or adding too much liquid. Make sure your bread is nice and dry – toasting it in the oven is perfect for this! Also, add your broth slowly, mixing as you go, until the stuffing is just moist, not swimming. You want it to absorb the liquid, not get soaked through.
Estimated Nutritional Information
Just so you know, the nutritional info for stuffing can change a bunch depending on exactly what you put in it, like if you add sausage or use cornbread. But generally, a serving is going to be somewhere around 300-400 calories, with about 15-25g of fat, 8-12g of protein, and 30-40g of carbs. These are just estimates, folks!
Share Your Stuffing Creations!
Alright, now that you’ve got the inside scoop on How to Make Stuffing Recipes Like a Pro (2025), I can’t WAIT to hear how yours turns out! Did you try my grandma’s method? Add something special? Drop a comment below, give this recipe a rating, or share your amazing creations on social media. You can even reach out through my contact page! Happy stuffing!

How to Make Stuffing Recipes Like a Pro (2025)
Ingredients
Equipment
Method
- Prepare your bread cubes. Leave them out for 1-2 days to dry, or toast them in an oven at 250°F (120°C) for 45-60 minutes, stirring occasionally, until dry. This ensures a light and fluffy stuffing.
- Melt butter in a large skillet over medium heat. Add chopped onions and celery. Cook until softened and fragrant, about 5-7 minutes.
- Transfer the sautéed vegetables to a large bowl. Add the dry bread cubes, chopped fresh herbs (sage, thyme, parsley), salt, pepper, and poultry seasoning. Mix gently to combine.
- Gradually add chicken or vegetable broth, starting with 1/2 cup, mixing until the stuffing is moist but not soggy. Add more broth if needed, up to 1 cup.
- If stuffing the turkey, fill the cavity loosely just before roasting. For baked stuffing, transfer the mixture to a greased baking dish and spread evenly.
- Bake the stuffing in a dish at 350°F (175°C) until golden brown and heated through, about 30-40 minutes. If stuffed in the turkey, ensure the stuffing reaches an internal temperature of 165°F (74°C).
Notes
Tried this recipe?
Let us know how it was!
Ryan Cooper, Efficiency & Testing Coordinator
I’ve spent the past six years obsessed with making cooking easier, leading to my role as Efficiency & Testing Coordinator at Low Carb Recipe Journal. My food science and ingredient analysis background helps me create low-carb recipes that actually work in real kitchens—without fancy equipment or chef-level skills.
My journey started at Mountain View Culinary Institute in kitchen operations, where I became fascinated by why some recipes fail and others succeed. I discovered my talent for spotting unnecessarily complicated cooking processes and simplifying them without losing quality. Working with restaurant chains and meal delivery services, I helped cut preparation times by 35% while maintaining delicious results.
I’ve shared my systematic approach with culinary schools and food science programs, developing testing methods now used by several meal prep companies. My “precision without perfection” philosophy drives me—amazing results shouldn’t require professional training or expensive gadgets.
This mindset stems from my love of competitive cooking and ultralight backpacking, where every step must count and simplicity is everything. I apply these same principles when testing recipes, ensuring success with standard home kitchen tools.
When I’m not testing endless recipe variations in my Denver kitchen, I’m hiking Colorado’s trails, building custom kitchen storage solutions in my woodworking shop, or spending time with my three rescue cats—Sage, Basil, and Pepper.
At Low Carb Recipe Journal, I ensure every published recipe has been thoroughly tested for reliability and ease. My goal is simple: turn complex nutritional goals into achievable daily wins that build your confidence in the kitchen.