You know that feeling? You’ve had one of those days – the kind where the to-do list just kept growing, and now you’re staring into the fridge wondering what’s quick, satisfying, and actually tastes good? Yeah, me too. That’s why I’m so thrilled to share these absolutely *killer* Grilled Cheese Recipes Meal Prep That Actually Tastes Great. Seriously, who doesn’t love a melty, gooey grilled cheese? But making them for meal prep? That felt like a challenge! I remember those after-school days, making simple grilled cheese for my little brother, just wrapping us in comfort. Now, as a meal prep enthusiast, I wanted that same warmth but easy to grab and go. It took a bunch of testing, but Ryan Cooper, our Efficiency & Testing Coordinator, and I figured out how to make a meal-prepped grilled cheese that doesn’t turn into a soggy mess and is packed with flavor. Get ready to meet your new favorite quick meal!
Why This is One of the Best Grilled Cheese Recipes Meal Prep That Actually Tastes Great
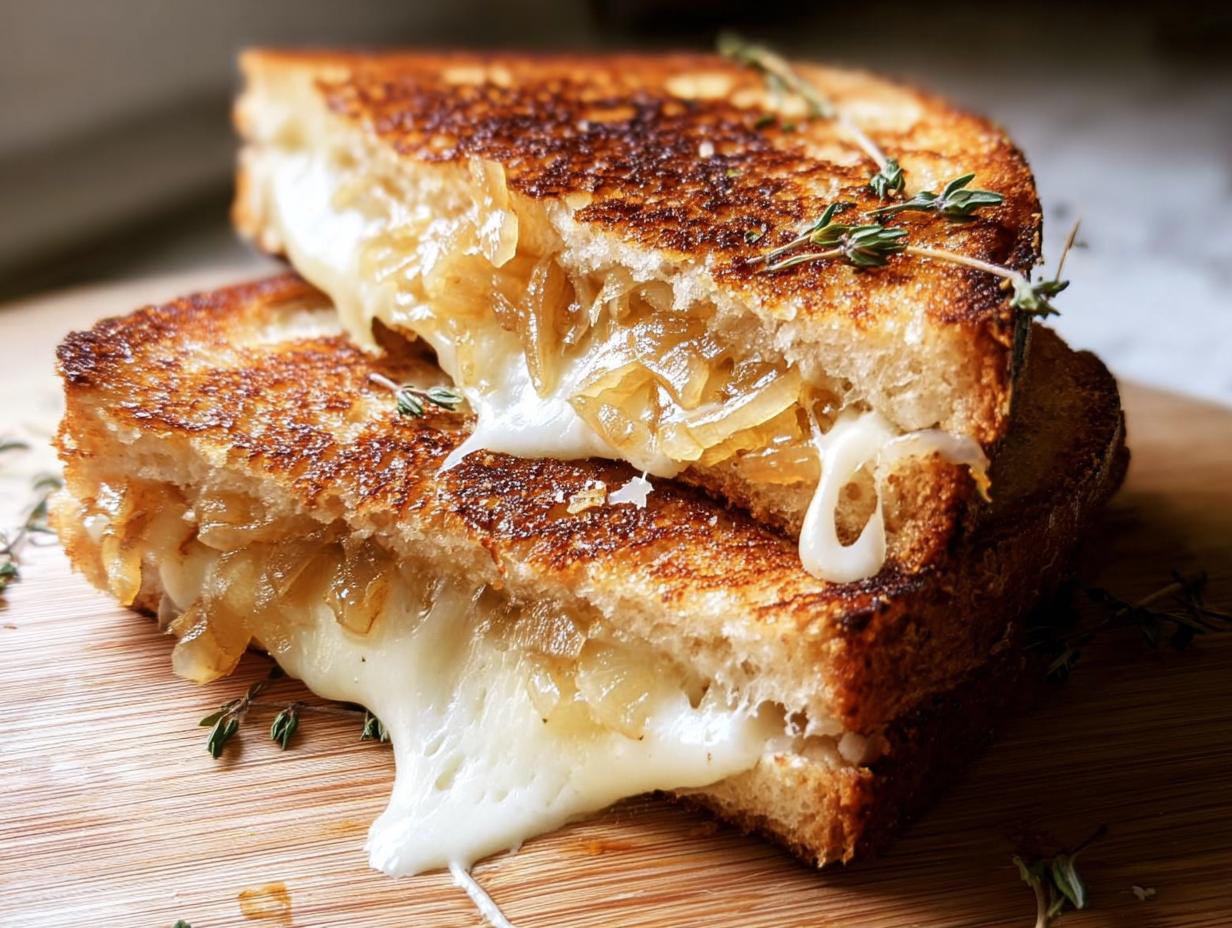
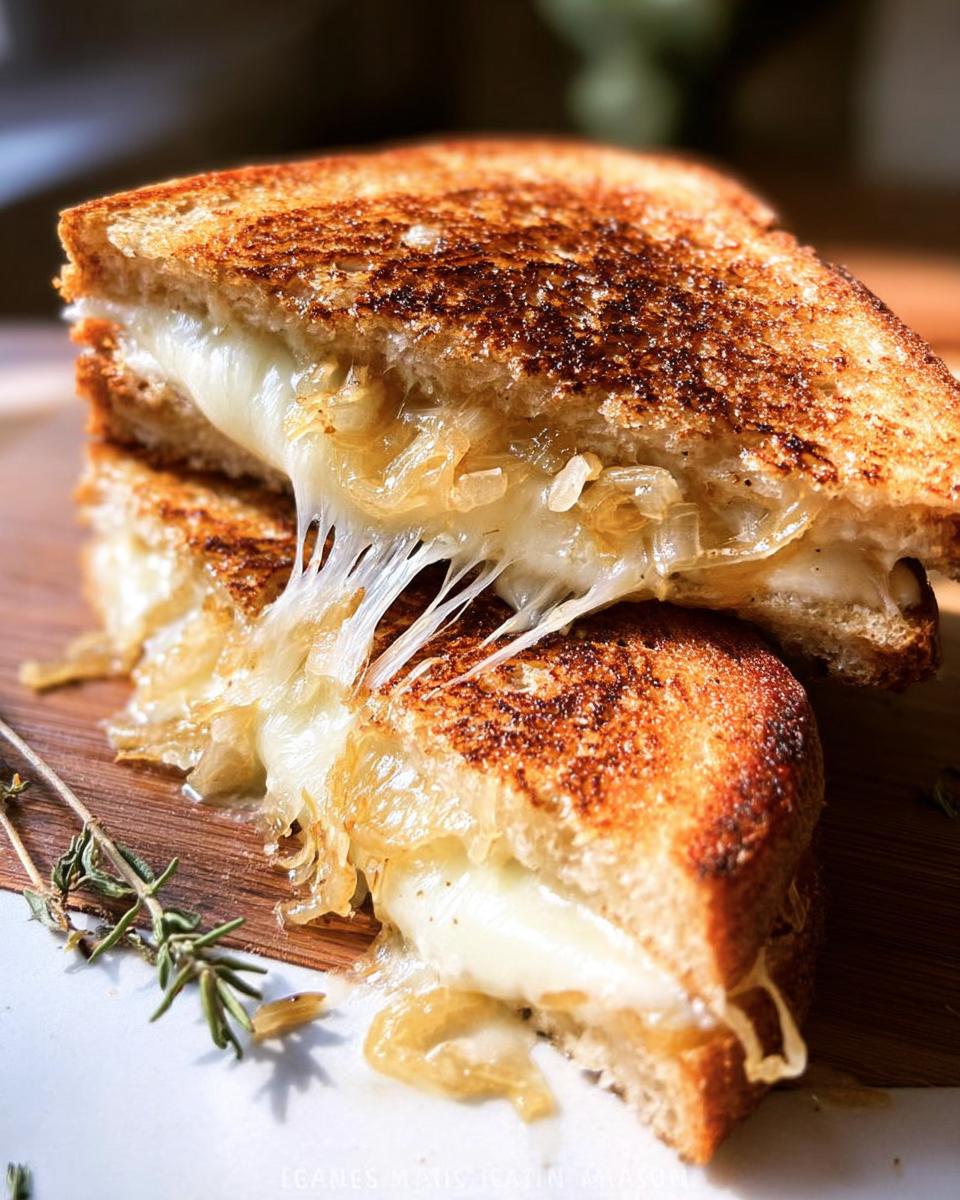
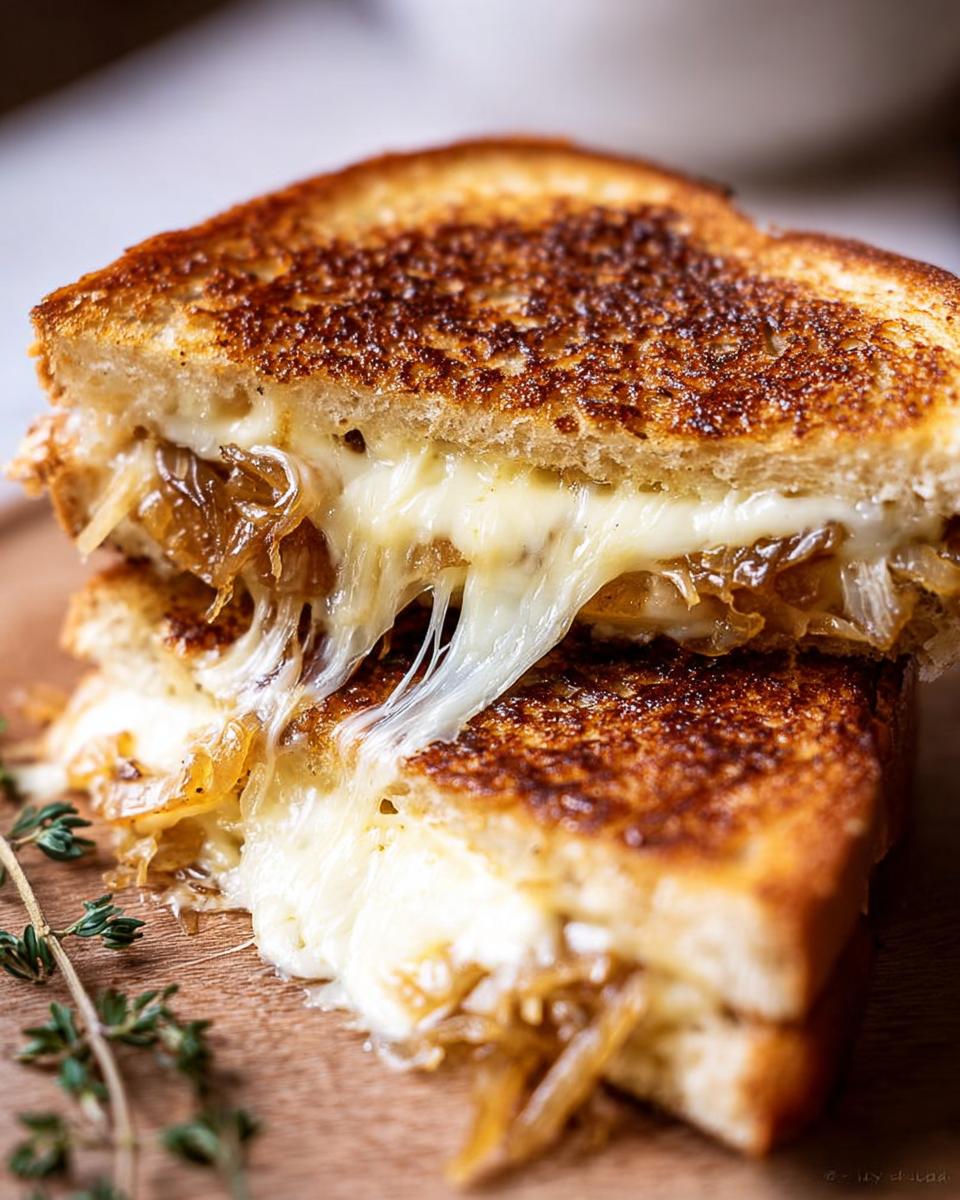
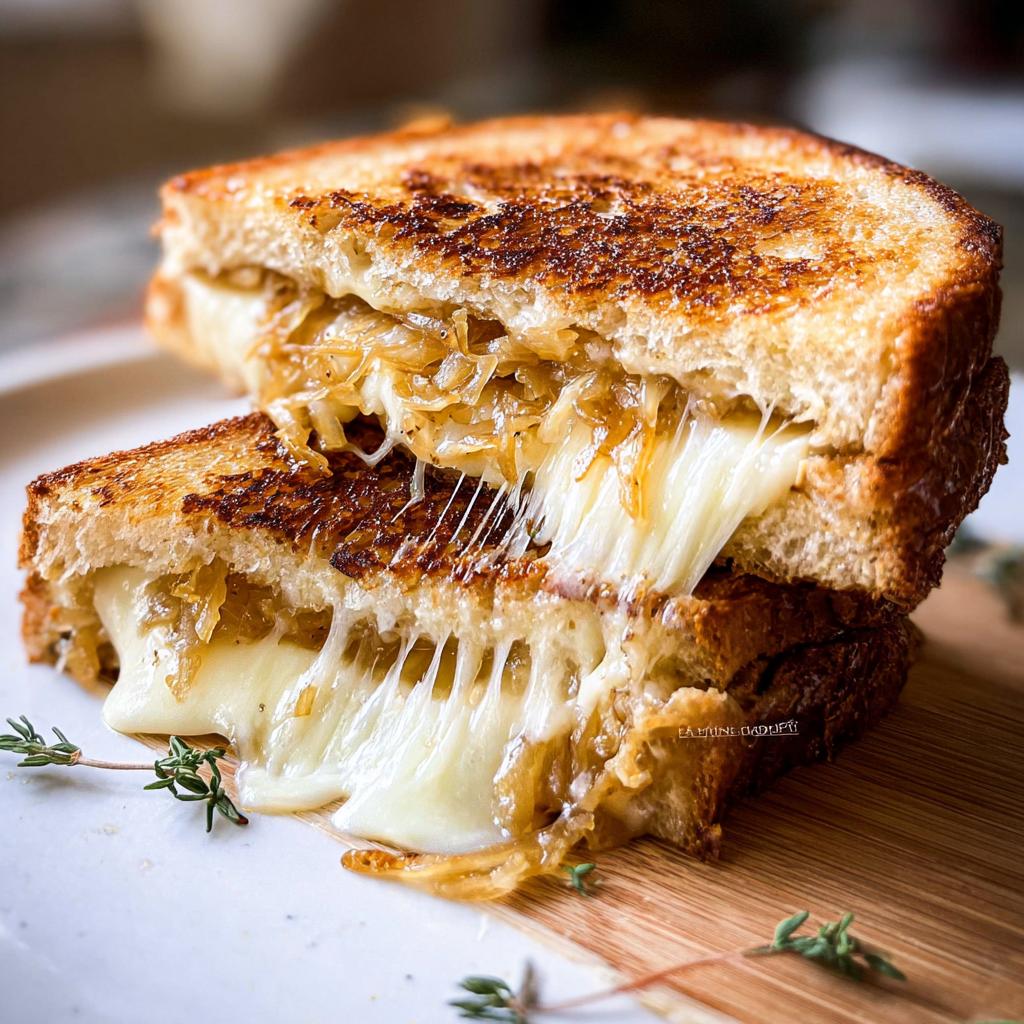
Okay, so you might be thinking, “Grilled cheese for meal prep? Doesn’t it get soggy?” That’s the exact challenge I wanted to crack! This recipe isn’t just *any* grilled cheese; it’s one of the best Grilled Cheese Recipes Meal Prep That Actually Tastes Great because we tackled that sogginess head-on and piled in tons of flavor. By caramelizing the onions and using a killer cheese combo, we create a sandwich that’s just as amazing reheated as it is fresh. It’s the ultimate win for busy weeknights or packed lunches!
Flavor-Packed Caramelized Onions
This is where the magic really happens, folks! We take simple yellow onions and slowly cook them down with butter, olive oil, and a hint of brown sugar until they’re sweet, savory, and deeply flavorful. Adding fresh thyme and rosemary at the start just infuses them with this incredible aroma. Trust me, these aren’t your average onions; they give this grilled cheese a gourmet touch that makes it totally crave-worthy, even after sitting in your fridge.
The Perfect Cheese Blend
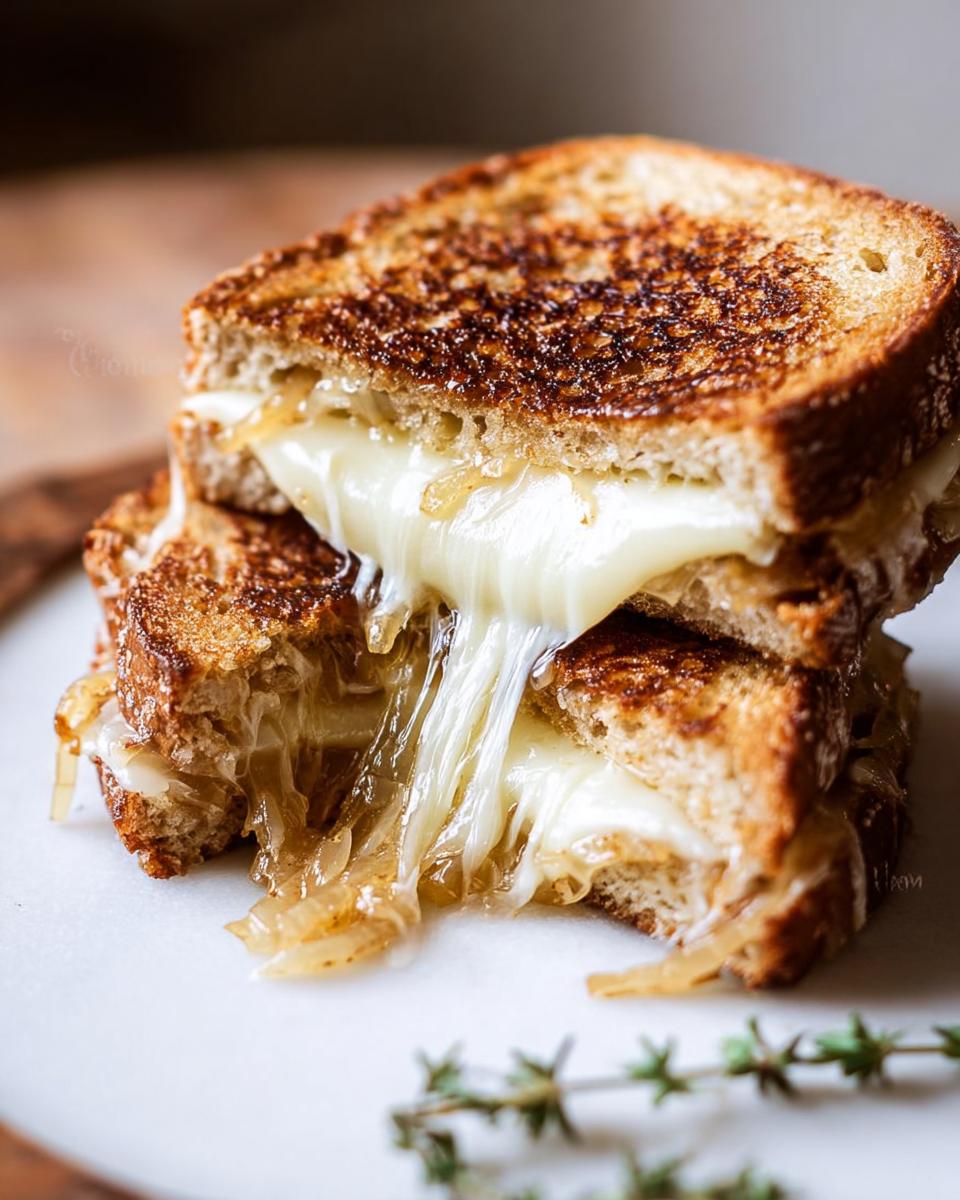
You can’t have a great grilled cheese without amazing cheese, right? For this recipe, we’re using a trio that’s pure gold: creamy Gruyere, sharp white cheddar, and melty Muenster. Bringing them to room temperature before you start is a little trick that guarantees they melt evenly and beautifully. Gruyere brings that nutty complex flavor, cheddar gives it a nice bite, and Muenster just makes it ultra-smooth and gooey. It’s the trifecta for that perfect, stretchy cheese pull!
Ingredients for Your Caramelized Onion Grilled Cheese
Alright, let’s get down to business! To make these amazing meal-prepped grilled cheese sandwiches, you’ll need a few things for those flavor-packed caramelized onions and then for the sandwiches themselves. Don’t worry if some of the cheese is ‘at room temperature’ – that’s actually a secret to a super melty sandwich!
For the Caramelized Onions
- 2 yellow onions, diced
- 1 tsp fresh thyme, minced
- 1 tsp fresh rosemary, minced
- 1 tsp brown sugar
- 1 tsp butter
- 1 Tbsp olive oil
- 1 tsp salt (or to taste)
- 1 tsp black pepper (or to taste)
For the Grilled Cheese
- 8 slices good quality bread (I love thick-cut artisan bread for this!)
- Mayonnaise, for spreading (trust me on this one!)
- 12 oz Gruyere cheese, sliced thinly or grated, at room temperature
- 6 oz White cheddar cheese, sliced thinly or grated, at room temperature
- 4 slices Muenster cheese, thin, at room temperature
- 1.5 Tbsp butter
- 1 tsp fresh rosemary, minced
How to Make Grilled Cheese Recipes Meal Prep That Actually Tastes Great
Alright, let’s get this sandwich party started! Making these delicious Grilled Cheese Recipes Meal Prep That Actually Tastes Great is totally doable, and honestly, kind of fun. It’s all about taking it step-by-step. We’ll tackle those amazing caramelized onions first, then get to assembling and grilling these beauties. Don’t rush that onion part, it’s pure gold! For more ideas on tasty additions, check out some great ways to boost flavor, and if you really want to dive deep into gourmet grilled cheese, this ultimate guide is fantastic.
Caramelizing the Onions
First things first, let’s get those onions going. Grab a skillet and melt that butter with the olive oil over medium-low heat. Toss in your diced onions, salt, pepper, thyme, and that first teaspoon of rosemary. Give them a good stir and let them get soft and start to brown. This takes about 10 minutes, so be a little patient – good things come to those who wait! Then, stir in the brown sugar and cook for just another minute until they smell amazing. Scoop those sweet, savory onions onto a plate for now. This custom time of 10 minutes is going to pay off big time!
Assembling and Grilling the Sandwich
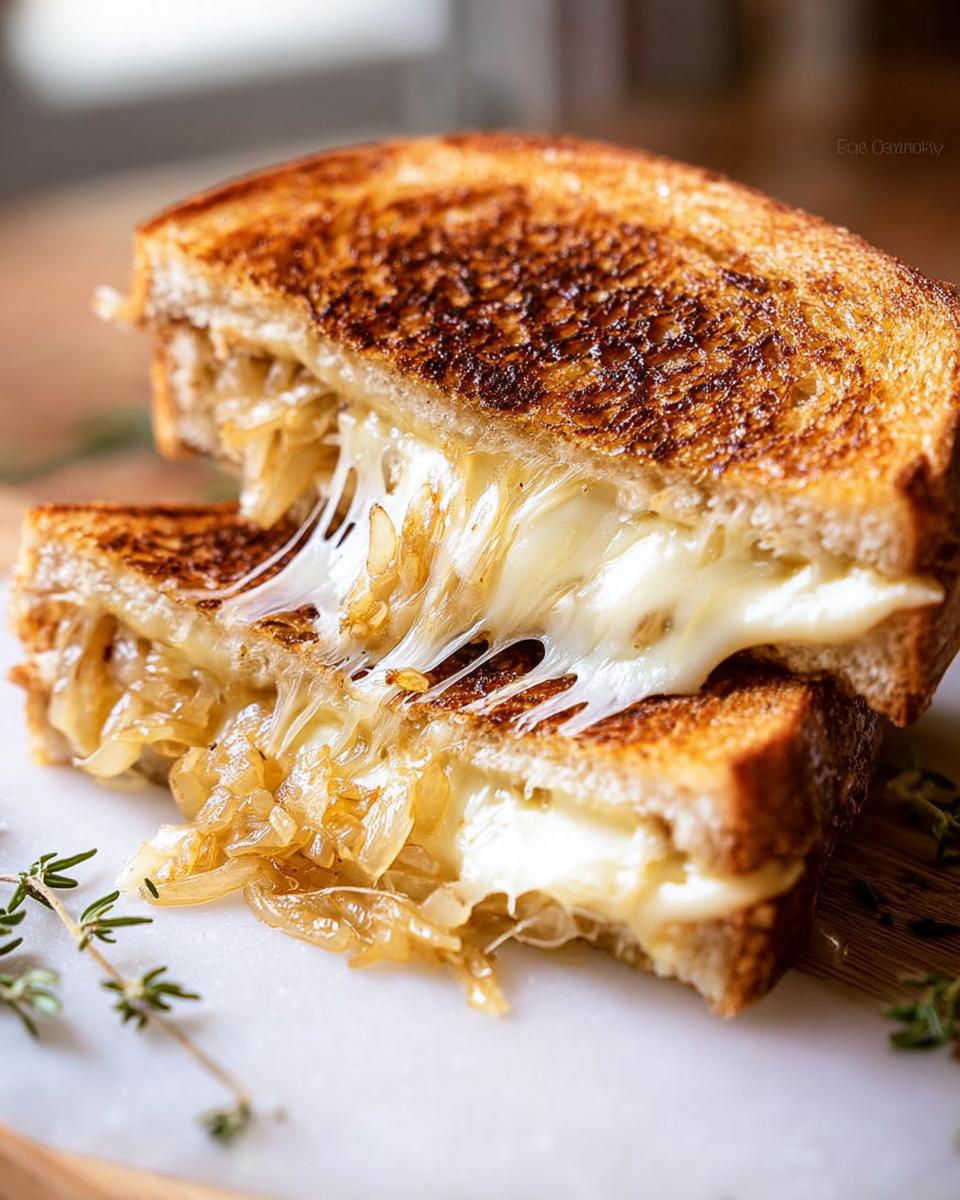
Now for the main event! Grab your bread slices. Spread a thin layer of mayonnaise on one side of each. Why mayo? Trust me, it gives the *best* golden-brown crispiness! Back in that same skillet, melt your remaining 1.5 tablespoons of butter with the other teaspoon of fresh rosemary over medium heat. Lay two bread slices, mayo-side down, into the melted butter. As soon as they hit the pan, start layering on that Gruyere, white cheddar, and Muenster cheese. Once the bread is getting golden and toasted, spoon a couple of tablespoons of those delicious caramelized onions onto one of the cheesy bread slices. Then, just pop the other cheesy slice on top, sandwiching everything. Flip it carefully and cook until the cheese is perfectly melty and gooey. Repeat for the rest of your sandwiches. Slice ’em up and get ready for some seriously delicious grub!
Tips for the Best Grilled Cheese
Alright, my friends, let’s talk about taking your grilled cheese game from ‘good’ to ‘OMG, I need another one!’ Making these Grilled Cheese Recipes Meal Prep That Actually Tastes Great is awesome, but a few little tricks really make them shine, especially when you’re prepping ahead. You want that perfect melty cheese and a super crispy crust every single time. Don’t forget to check out other quick fixes for your kitchen adventures!
- Bread is Key: Forget flimsy white bread for this one. You want something sturdy that can hold up to all that gooey cheese and flavorful onions. Think thick-cut sourdough, country loaf, or a good artisan bread. It gives you a better crust and won’t fall apart.
- Mayo, Not Butter? YES! Hear me out. Spreading a thin layer of mayonnaise on the *outside* of the bread gives you the most amazing, even golden-brown crust. It has a higher smoke point than butter, so it browns beautifully without burning too quickly. You can still use butter inside or for cooking the onions, but for the bread’s exterior? Mayo is my secret weapon for that perfect crisp.
- Heat Control is Everything: This is SO important for that melty cheese and crispy bread combo. Keep your heat on medium-low. If it’s too high, the bread will burn before the cheese has a chance to melt into that glorious, gooey state. Low and slow is the way to go for maximum melty goodness!
- Room Temp Cheese: I mentioned it before, but it’s worth repeating! Bringing your shredded or sliced cheeses to room temperature makes a HUGE difference. They just melt so much faster and more evenly. No more cold spots in your sandwich!
- Don’t Overcrowd the Pan: If you’re making these fresh, only cook one or two at a time. Give them space so the heat can circulate evenly. This helps ensure a perfect, quick cook every time.
Meal Prep and Storage for Grilled Cheese
Okay, so you’ve made these amazing sandwiches, and now you’re wondering how to make them last for those busy days. Meal prepping these beauties is totally doable! One of the best ways to keep them *actually* tasting great is to store the components separately if you can. Keep those gorgeous caramelized onions in an airtight container in the fridge for up to 4 days. Then, you can assemble the sandwich right before you’re ready to cook it. If you *really* want to prep them fully assembled, make sure you use that mayo trick on the bread and get them perfectly golden brown. Then, let them cool completely before wrapping them individually in parchment paper or foil. For more awesome make-ahead ideas, check out these quick and healthy options! When you’re ready to reheat, a skillet on medium-low heat is your best friend. A few minutes on each side should get that bread perfectly crispy again, and the cheese melty and gooey!
Frequently Asked Questions about Grilled Cheese Recipes Meal Prep That Actually Tastes Great
Got questions about making these fantastic Grilled Cheese Recipes Meal Prep That Actually Tastes Great? I’ve got you! It’s all about getting that perfect melty cheese and crispy bread, even when you’re prepping ahead. Let’s dive into some common queries!
Can I use different bread for this recipe?
Absolutely! While I love a good artisan bread or sourdough for that sturdy crust, feel free to experiment. Just make sure it’s not too thin, or it might get a little soggy. A nice, hearty whole wheat or even a good quality brioche could work wonders, giving you a slightly different flavor profile each time!
What other cheeses work well in this recipe?
The cheese blend here is fantastic for creamy, melty goodness, but you can totally mix it up! Sharp cheddar, provolone, fontina, or even a touch of Monterey Jack would be delicious. The key is to use cheeses that melt well. Blending a good melter with something a bit sharper always gives you the best of both worlds in flavor and texture.
How do I prevent the sandwich from getting soggy when meal prepping?
This is the million-dollar question for meal-prepped grilled cheese! The mayo trick on the outside helps a LOT for crispiness. Also, making sure you cook them thoroughly to golden perfection is key. If you’re prepping ahead, letting them cool completely before storing is crucial. When reheating, a skillet is your best friend – it brings back that fresh-from-the-pan crispiness. For more delicious meal prep ideas that stay fresh, check out these pasta ideas and salad recipes!
How long do the caramelized onions last?
Those sweet, savory caramelized onions are little flavor bombs! They’ll last in an airtight container in the refrigerator for about 4-5 days. So, you can make a big batch at the beginning of the week and use them for your grilled cheese, or even toss them onto other dishes like salads or roasted meats!
Nutritional Information
Just a heads-up, the nutritional info can really change depending on the exact bread, cheese, and how much you spread the mayo! But generally, you’re looking at something around 550-650 calories per sandwich, with about 30-40g of fat, 25-35g of protein, and 30-40g of carbs. It’s a hearty meal, so enjoy it!
Share Your Delicious Creations
So there you have it – a grilled cheese recipe that’s perfect for meal prep and tastes absolutely amazing! I’d love to hear what you think. Did you give it a try? What were your favorite parts? Drop a comment below with your feedback, rate this recipe, or share your own awesome variations on social media! If you’re looking to get in touch about anything, feel free to reach out!
Caramelized Onion Grilled Cheese Meal Prep
Ingredients
Equipment
Method
- Heat 1 1/2 Tbsp butter and olive oil in a skillet over medium-low heat. Add diced onions, salt, pepper, fresh thyme, and 1 tsp fresh rosemary. Sauté, stirring often, until onions are soft and starting to brown, about 10 minutes.
- Stir brown sugar into the onions and cook for another minute.
- Transfer the caramelized onions to a plate.
- Spread a thin layer of mayonnaise on one side of two pieces of bread.
- To the same skillet, add the remaining butter and rosemary. Heat over medium heat, swirling to coat the bottom of the skillet with the melted butter.
- Place both pieces of bread, mayonnaise side down, into the skillet. Cook until the bread is golden brown and crunchy, about 2-3 minutes.
- As soon as you add the bread to the skillet, add some cheese to the top of each piece. Once the cheese begins to melt slightly, sprinkle a couple tablespoons of the caramelized onions over the top of one of the bread pieces.
- When the bread is golden brown, sandwich the two pieces of bread together. Cook on low heat until the cheese is fully melted.
- Transfer the sandwich to a plate. Repeat with the remaining slices of bread and ingredients.
- Slice and enjoy.
Notes
Tried this recipe?
Let us know how it was!
Ryan Cooper, Efficiency & Testing Coordinator
I’ve spent the past six years obsessed with making cooking easier, leading to my role as Efficiency & Testing Coordinator at Low Carb Recipe Journal. My food science and ingredient analysis background helps me create low-carb recipes that actually work in real kitchens—without fancy equipment or chef-level skills.
My journey started at Mountain View Culinary Institute in kitchen operations, where I became fascinated by why some recipes fail and others succeed. I discovered my talent for spotting unnecessarily complicated cooking processes and simplifying them without losing quality. Working with restaurant chains and meal delivery services, I helped cut preparation times by 35% while maintaining delicious results.
I’ve shared my systematic approach with culinary schools and food science programs, developing testing methods now used by several meal prep companies. My “precision without perfection” philosophy drives me—amazing results shouldn’t require professional training or expensive gadgets.
This mindset stems from my love of competitive cooking and ultralight backpacking, where every step must count and simplicity is everything. I apply these same principles when testing recipes, ensuring success with standard home kitchen tools.
When I’m not testing endless recipe variations in my Denver kitchen, I’m hiking Colorado’s trails, building custom kitchen storage solutions in my woodworking shop, or spending time with my three rescue cats—Sage, Basil, and Pepper.
At Low Carb Recipe Journal, I ensure every published recipe has been thoroughly tested for reliability and ease. My goal is simple: turn complex nutritional goals into achievable daily wins that build your confidence in the kitchen.