You know those days? The ones where your fridge looks a little sparse, but your stomach is rumbling louder than a freight train? That’s exactly when I start thinking, “What I cook when I crave sandwich ideas recipes” becomes my culinary mission. It all started one dreary Saturday afternoon. I was staring into my fridge, a symphony of half-used ingredients – some crusty bread, a sad-looking avocado, and a few slices of deli turkey. Instead of giving up and ordering pizza, I decided to get creative. I piled it all up, added a smear of mayo, and pressed it together. Voila! My accidental masterpiece was born. It was so good, it reminded me that sometimes, the most satisfying meals are the ones born from pure craving and a little kitchen magic. Since then, I’ve made it my quest to come up with awesome sandwich recipes that are quick, easy, and always hit the spot.
Why You’ll Love These Sandwich Ideas Recipes
When that sandwich craving hits, you need recipes that are not only delicious but also totally doable, even when you’re short on time. That’s exactly what I’m talking about with these sandwich ideas!
- Super Speedy: Most of these recipes are ready in a flash, perfect for a quick lunch or a weeknight dinner when you just can’t face cooking a big meal.
- Bursting with Flavor: We’re talking seriously tasty combinations that go way beyond your basic ham and cheese (though, don’t get me wrong, that’s great too!).
- Totally Versatile: Whether you’re a meat-lover, a veggie enthusiast, or somewhere in between, there’s something here for everyone. Plus, they’re super easy to tweak!
- Impress Your Taste Buds: Get ready for some satisfying meals that feel special without all the fuss.
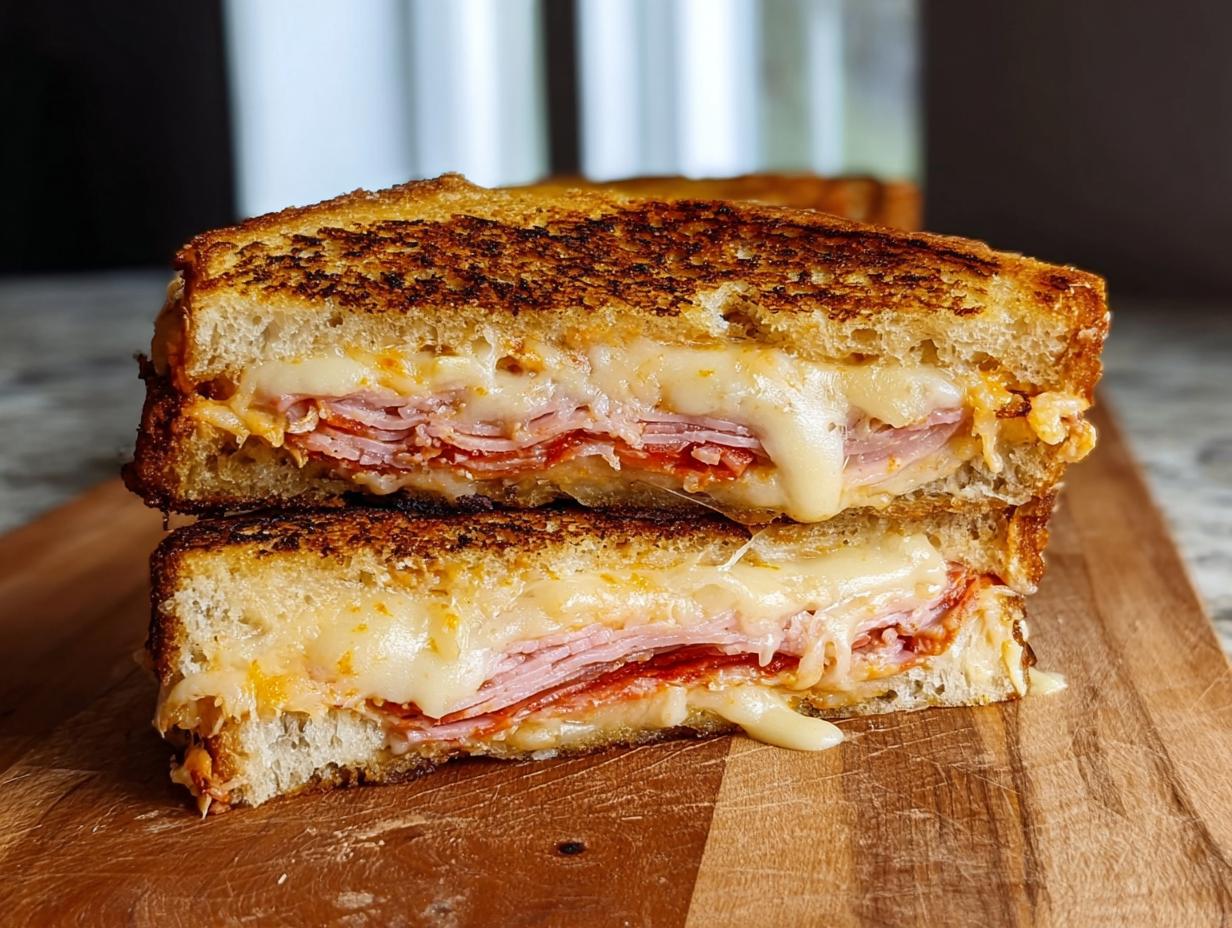
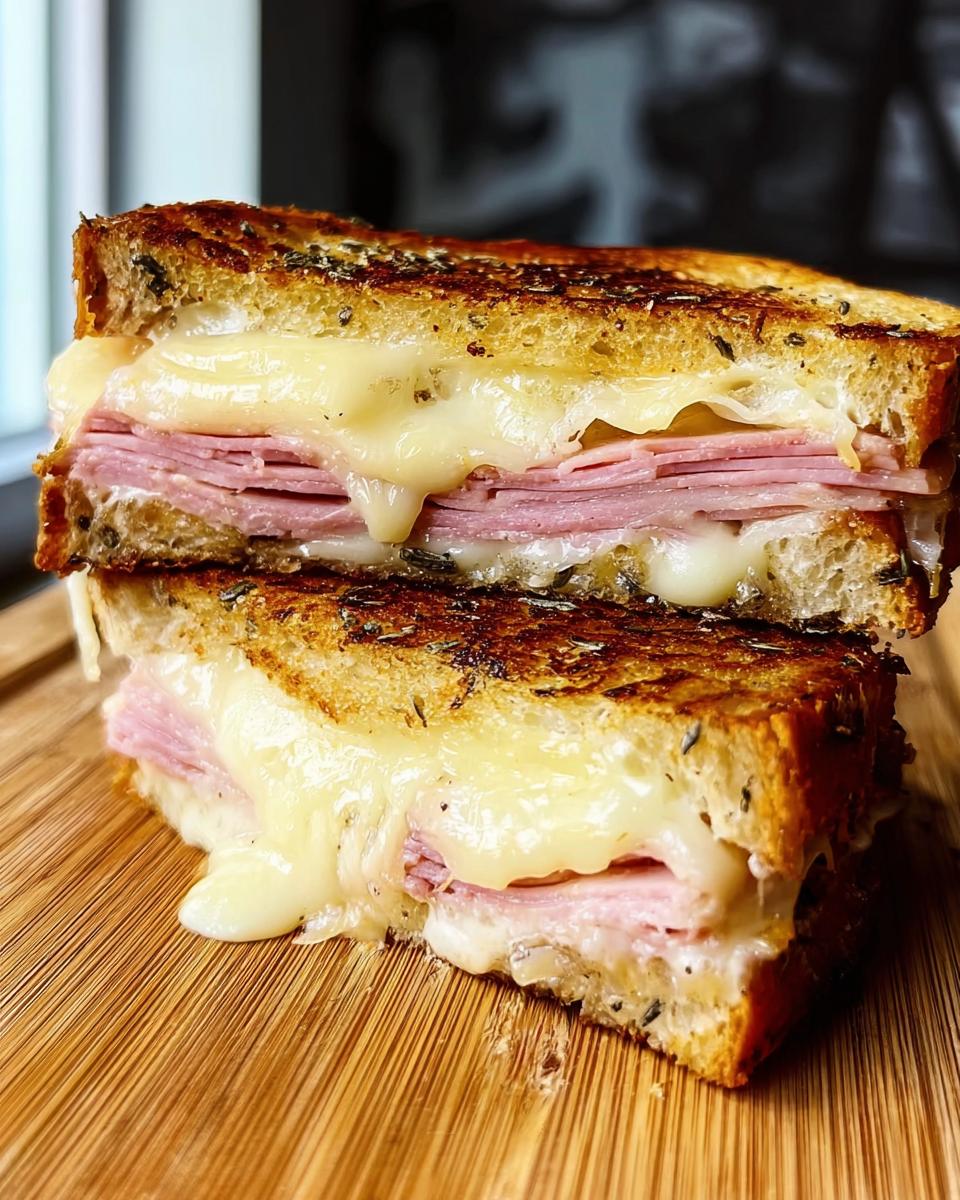
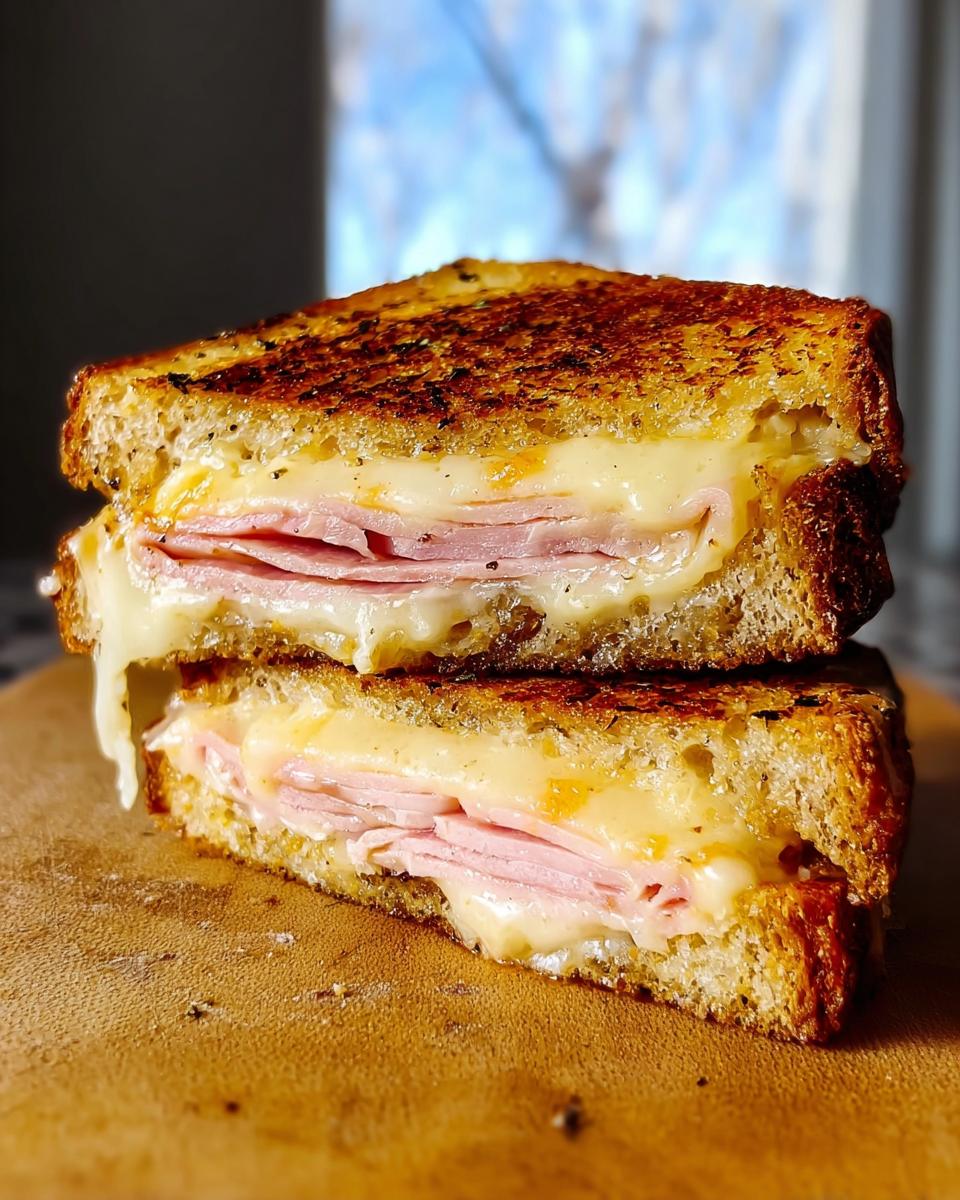
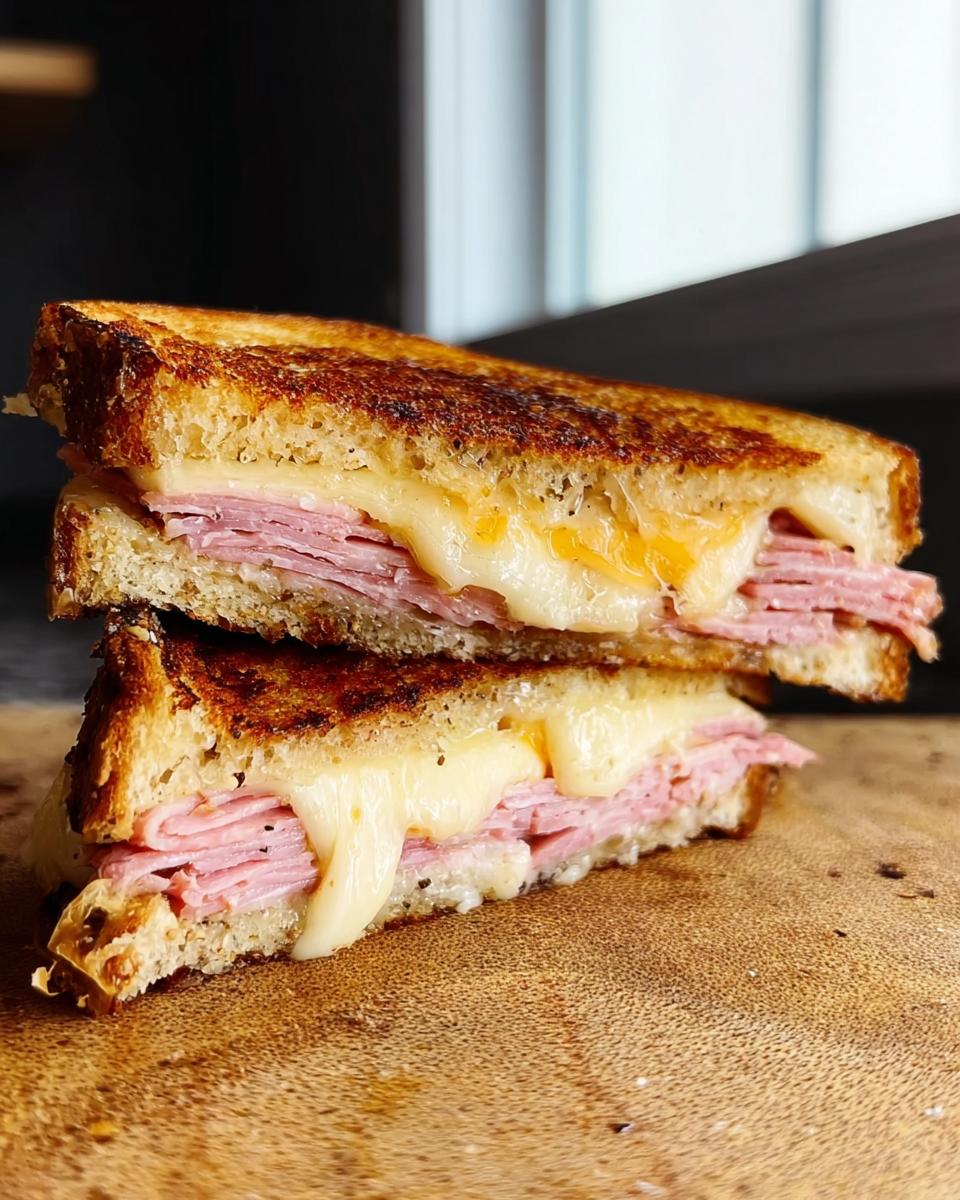
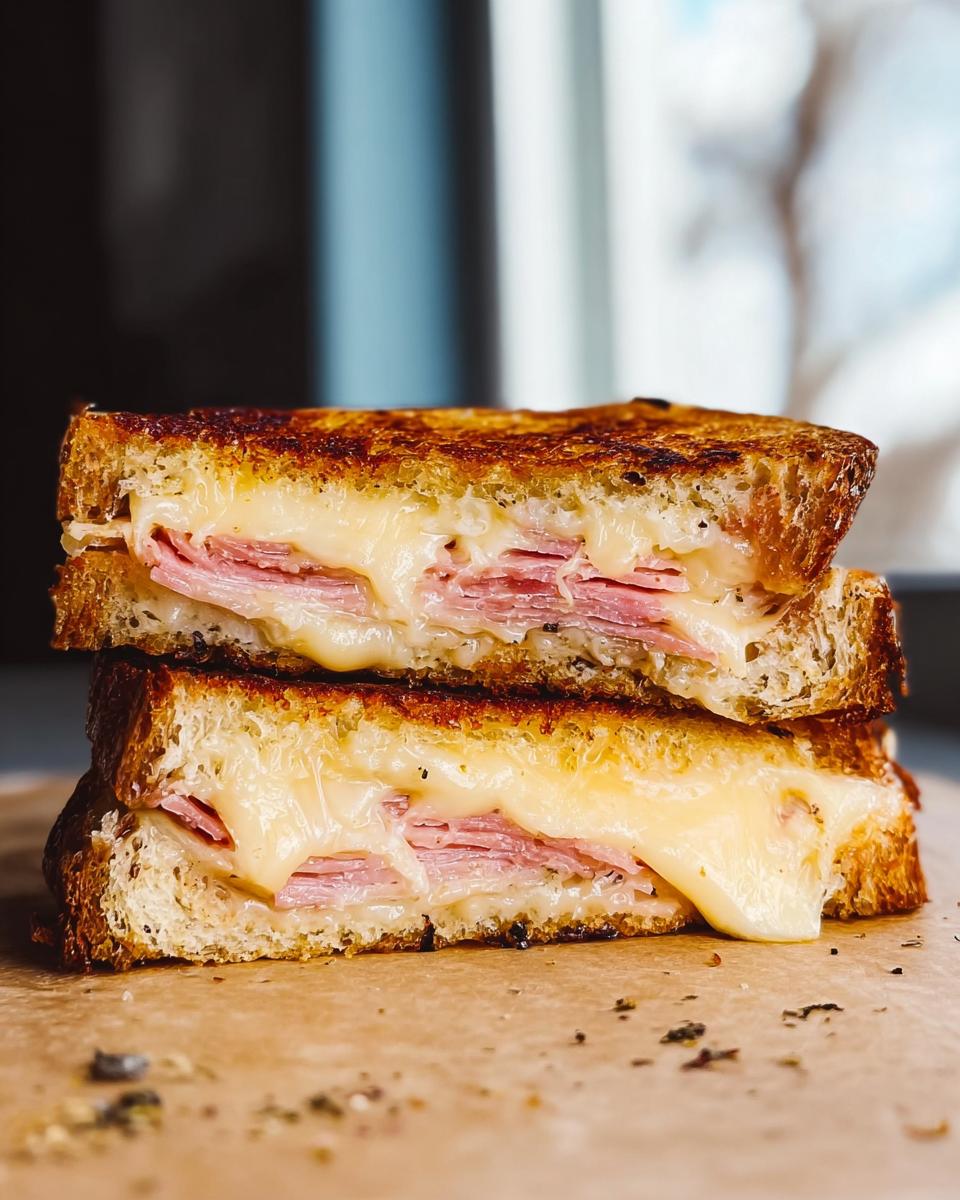
What I Cook When I Crave Sandwich Ideas Recipes: The Classic Grilled Ham and Cheese
You know the feeling – that rumble in your tummy that just screams for a sandwich. When that happens, my go-to, the absolute champion of What I Cook When I Crave Sandwich Ideas Recipes, has to be the classic grilled ham and cheese. It’s simple, it’s comforting, and when you get it just right, it’s pure magic. This isn’t just any grilled cheese; it’s the one that reminds you why this sandwich is a legend. Check out the best-ever sandwich recipes for more inspiration!
Ingredients for Your Perfect Ham and Cheese Sandwich
Alright, let’s talk ingredients for this little slice of heaven. You want stuff that’s going to melt beautifully and taste amazing.
- 4 slices of crusty bread or hearty sandwich bread, about 1/2-inch thick
- 2 tablespoons of mayonnaise or softened unsalted butter, divided (this is key for that golden crust!)
- 2 teaspoons of Dijon mustard, divided (it adds a little zing!)
- 8 thin slices of your favorite cheese – Swiss, Gruyère, or cheddar work wonders (about 4 ounces total, divided)
- 6 ounces of thinly sliced ham (that’s about 12 slices, divided)
- 8 to 12 pickle chips, if you’re feeling fancy (totally optional, but recommended!)
How to Prepare This Quick and Easy Sandwich
Okay, this is where the magic happens. It’s super easy, trust me!
First off, grab your bread slices and lay them out. Take a butter knife and spread about 1 teaspoon of that mayo or softened butter on one side of each slice. Now, take two of those slices and place them mayo-side down into your nonstick skillet. Spread the top, dry side, of these two bread slices with the rest of the mayo or butter – just get it all nice and coated.
Next, it’s cheese time! Layer about 2 slices (roughly 1 ounce) of cheese evenly on each bread slice sitting in the skillet. I like to cut and fold my cheese a bit so it doesn’t ooze too much over the edges. Then, pile on your ham and those optional pickle chips, splitting them evenly between the two sandwiches. Finish with the remaining cheese – two slices per sandwich to really get that gooey factor going.
Now for the top slices. Spread 1 teaspoon of mayo evenly over the dry side of the remaining two bread slices, then give them a nice smear of Dijon mustard. Carefully place these on top of the layered sandwiches, mustard-side down. Give them a gentle press with your spatula to make sure everything sticks together nicely.
Heat your skillet over medium heat. Let those sandwiches cook until the bottom is golden brown and toasty, which usually takes about 4 to 6 minutes. This is the crucial moment! Using two spatulas (it’s easier than you think!), carefully flip those beautiful sandwiches. Now, grab an empty heavy skillet or a cooking weight and place it directly on top of the sandwiches. This helps them cook evenly and keeps everything compact. Reduce the heat to medium-low and let the second side get golden brown and the cheese melt into pure gooey goodness, about 2 to 4 minutes.
Once they’re perfect, slide those masterpieces onto a wire rack and let them rest for about 5 minutes. This little pause makes a huge difference, letting the cheese set just enough so it doesn’t all squish out when you cut them. Finally, transfer them to a cutting board, slice them in half, and serve them warm. Enjoy!
Tips for the Best Grilled Ham and Cheese
Making a truly amazing grilled ham and cheese is all about those little details. My absolute favorite trick? Using mayonnaise on the outside of the bread instead of butter. It just gives you this unbelievably even, golden-brown crust that’s slightly crispier. You can find some more fantastic sandwich advice over at Low Carb Recipe Journal!
Also, don’t be shy with the cheese! Make sure it covers most of the bread surface so you get that glorious melt factor in every bite. If your cheese slices are too small, just cut them up and layer them to fill any gaps. And for the love of all that is delicious, use medium-low heat. It might take a minute longer, but it ensures the bread turns that perfect golden color *and* the cheese has time to melt completely without the bread burning. Patience, my friends, is key!
More Sandwich Ideas Recipes When Cravings Strike
So that grilled ham and cheese is a total winner, right? But what else do I whip up when those sandwich cravings *really* hit hard? I love playing around with different flavors and textures, always looking for that next amazing combination. The beauty of sandwiches is you can take them just about anywhere!
Ingredient Notes and Substitutions for Your Sandwich Creations
When I’m making sandwiches, I love to play around. For example, that mayo or butter on the outside? Totally swap it for olive oil if you’re feeling a bit Mediterranean, or even use a bit of garlic butter for an extra kick. If you’re not a fan of Dijon, a nice grainy mustard works like a charm. And cheese, oh man, the cheese is where the real fun is! Don’t be afraid to mix and match; some sharp cheddar with Swiss can be amazing. If you’re looking for some more awesome ideas, you should totally check out what my friends over at Low Carb Recipe Journal are up to – they’ve got some smart little tricks.
Serving Suggestions for Your Sandwich Creations
A killer sandwich deserves an equally killer side, right? For something like that Ham and Cheese, a simple side salad with a zesty vinaigrette, like this Spinach Salad, is perfect. Or, you can never go wrong with a classic cup of tomato soup – it’s like a warm hug with every bite. And for drinks? A cold glass of iced tea or even a crisp sparkling water just really rounds out the meal.
Frequently Asked Questions About Sandwich Ideas Recipes
You’ve got questions? I’ve got answers! Making great sandwiches is kind of my jam, so let’s dive into some common things people wonder about when they’re craving something delicious between two slices of bread. It’s all part of figuring out What I Cook When I Crave Sandwich Ideas Recipes! If you ever need to get in touch, you can always reach me via my contact page.
What are the best breads for sandwiches?
Oh, the bread! It’s like the hug for all your fillings! Honestly, a really good crusty sourdough totally elevates things. But for a quick lunch, a hearty whole wheat or a sturdy rye holds up great. Just make sure it’s got enough character to handle whatever you’re putting inside without falling apart. And for grilled sandwiches? A good, hearty white bread is a classic for a reason!
How can I make my sandwiches more exciting?
This is where the fun really begins! Don’t be afraid to think outside the box. A good spread is key – think beyond mayo. Try a pesto, a spicy mustard, some hummus, or even a flavored aioli. Adding some crunch, like thinly sliced radishes, pickles, or even some crispy fried onions, makes a huge difference. And don’t forget herbs! A few fresh basil leaves or some cilantro can totally change the game. You can find tons of cool ideas on my blog!
Can I make sandwich fillings ahead of time?
Absolutely! I do this all the time for quick lunches. Things like shredded chicken or turkey, tuna salad, or even chopped veggies for a veggie wrap hold up really well in an airtight container in the fridge for a few days. Just keep them separate from the bread until you’re ready to assemble. It saves SO much time when you’re busy! Check out my post on prep ideas for more tips on getting ahead!
Storage and Reheating for Your Sandwich Creations
So, you’ve made some epic sandwiches and maybe, just maybe, there are a few leftovers (though I seriously doubt it!). To keep your creations tasting great, proper storage is key. For most sandwiches, especially those with wet ingredients like tomatoes or dressings, it’s best to store the fillings and bread separately if you can. Wrap them tightly in plastic wrap or pop them into an airtight container and into the fridge they go. They’ll usually stay good for about 2-3 days.
Reheating a grilled sandwich is a little different. You don’t want to zap it in the microwave, or you’ll end up with soggy bread – boo! Instead, try gently reheating it in a skillet over low heat for a few minutes on each side, or pop it into a toaster oven or a regular oven preheated to around 350°F (175°C) until it’s warmed through and slightly crisped up again. For freshness tips and the full site policy, you can always check out the privacy policy.
Estimated Nutritional Information for Sandwich Ideas Recipes
Okay, so let’s talk numbers for a sec! Because I’m all about making delicious food that fits your life, I’ve put together some *estimated* nutritional info for that killer Ham and Cheese sandwich. Remember, this is just a ballpark figure, and it can totally change depending on the brands you use and exactly how much you pile on. For the full scoop and our site’s policies, you can always pop over to the terms of service page.
Estimated Nutrition (per sandwich):
- Calories: ~550-650
- Fat: ~30-40g
- Protein: ~30-40g
- Carbohydrates: ~35-45g
Share Your Favorite Sandwich Creations!
Alright, sandwich lovers, I’ve shared a bunch of my go-to ideas, especially What I Cook When I Crave Sandwich Ideas Recipes that hit the spot! But now it’s your turn! What are your absolute favorite sandwich combos when a craving strikes? Do you have a secret ingredient or a crazy variation that just works? I’d absolutely love to hear about it. Drop your amazing sandwich creations, tips, and tricks in the comments below – let’s inspire each other! You can also see what folks are up to over at my blog!

Ham and Cheese Sandwich
Ingredients
Equipment
Method
- Place bread slices on a clean work surface. Using a butter knife, spread 1 teaspoon mayonnaise or butter evenly over 1 side of each slice. Place 2 slices (mayonnaise side down) into a 12-inch nonstick skillet. Spread the top (dry side) of the 2 bread slices in skillet with the remaining mayonnaise or butter.
- Place 2 slices (about 1 ounce) of the cheese in an even layer on each bread slice in skillet. Cut and/or layer cheese if needed to avoid cheese draping off the sides of the bread. Top with the ham and pickle chips (if using), divided evenly between the 2 slices. Top with the remaining cheese (2 slices per sandwich).
- Spread 1 teaspoon mayonnaise evenly over the dry side of the remaining 2 bread slices, then spread with mustard. Close each sandwich with the remaining bread slices, mustard side down. Using a spatula, press firmly to adhere.
- Heat skillet over medium heat and cook until bread is golden brown on bottom, 4 to 6 minutes. Using 2 spatulas, flip sandwiches. Set an empty large Dutch oven or other heavy skillet or cooking weight directly on top of sandwiches, reduce heat to medium-low, and cook until second side is golden brown and cheese is melted, 2 to 4 minutes.
- Using a spatula, transfer sandwiches to a wire rack and let sit for 5 minutes. Transfer sandwiches to a cutting board, cut in half and serve warm.
Notes
Tried this recipe?
Let us know how it was!
Ryan Cooper, Efficiency & Testing Coordinator
I’ve spent the past six years obsessed with making cooking easier, leading to my role as Efficiency & Testing Coordinator at Low Carb Recipe Journal. My food science and ingredient analysis background helps me create low-carb recipes that actually work in real kitchens—without fancy equipment or chef-level skills.
My journey started at Mountain View Culinary Institute in kitchen operations, where I became fascinated by why some recipes fail and others succeed. I discovered my talent for spotting unnecessarily complicated cooking processes and simplifying them without losing quality. Working with restaurant chains and meal delivery services, I helped cut preparation times by 35% while maintaining delicious results.
I’ve shared my systematic approach with culinary schools and food science programs, developing testing methods now used by several meal prep companies. My “precision without perfection” philosophy drives me—amazing results shouldn’t require professional training or expensive gadgets.
This mindset stems from my love of competitive cooking and ultralight backpacking, where every step must count and simplicity is everything. I apply these same principles when testing recipes, ensuring success with standard home kitchen tools.
When I’m not testing endless recipe variations in my Denver kitchen, I’m hiking Colorado’s trails, building custom kitchen storage solutions in my woodworking shop, or spending time with my three rescue cats—Sage, Basil, and Pepper.
At Low Carb Recipe Journal, I ensure every published recipe has been thoroughly tested for reliability and ease. My goal is simple: turn complex nutritional goals into achievable daily wins that build your confidence in the kitchen.