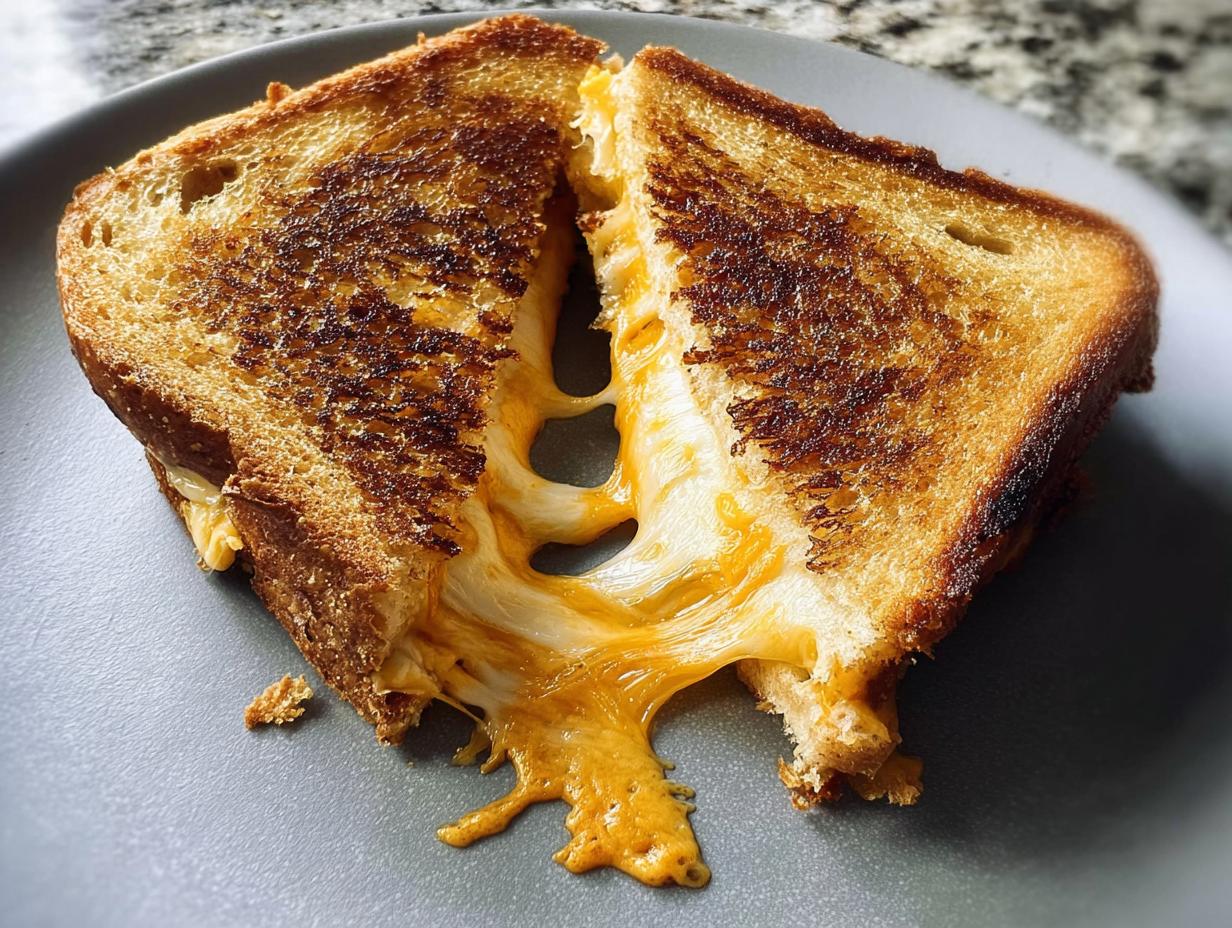
Oh, grilled cheese! Does any other sandwich just *instantly* bring you back to being a kid on a rainy Saturday? Me too! I’ll never forget those Saturdays in my childhood kitchen, the smell of my mom making the most amazing grilled cheese sandwiches. It definitely brings back all those cozy feelings. Life gets so hectic these days, right? But I found myself craving that simple comfort, that perfect melty cheese pull. And you know what? It inspired me to come up with Why Everyone Loves This Grilled Cheese Recipes (+ Make-Ahead Tips). It’s basically the classic you remember, but made even better and totally doable even when you’re short on time. Now I can share that same yummy nostalgia with my own family, and guess what? They disappear just as fast!
Why Everyone Loves This Grilled Cheese Recipes (+ Make-Ahead Tips)
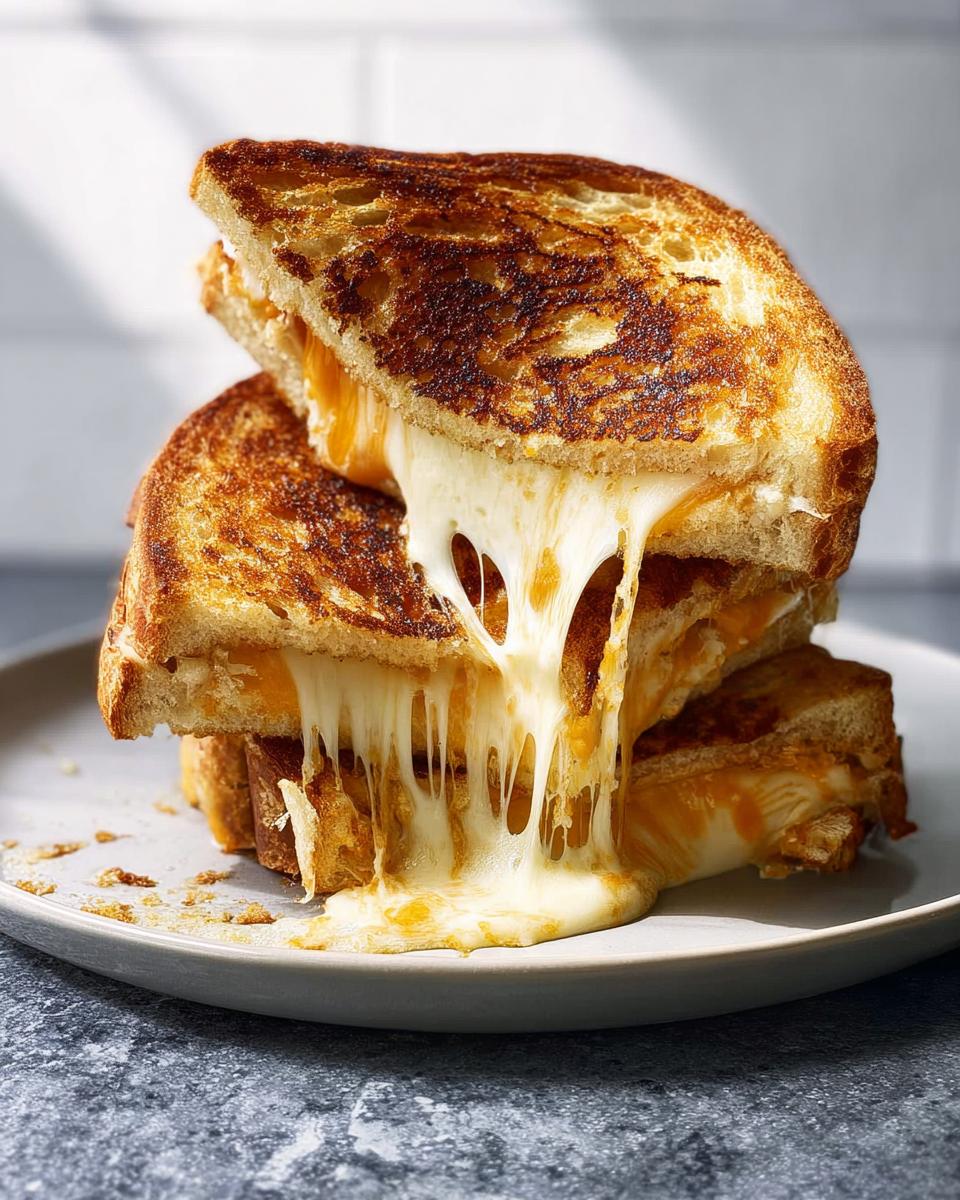
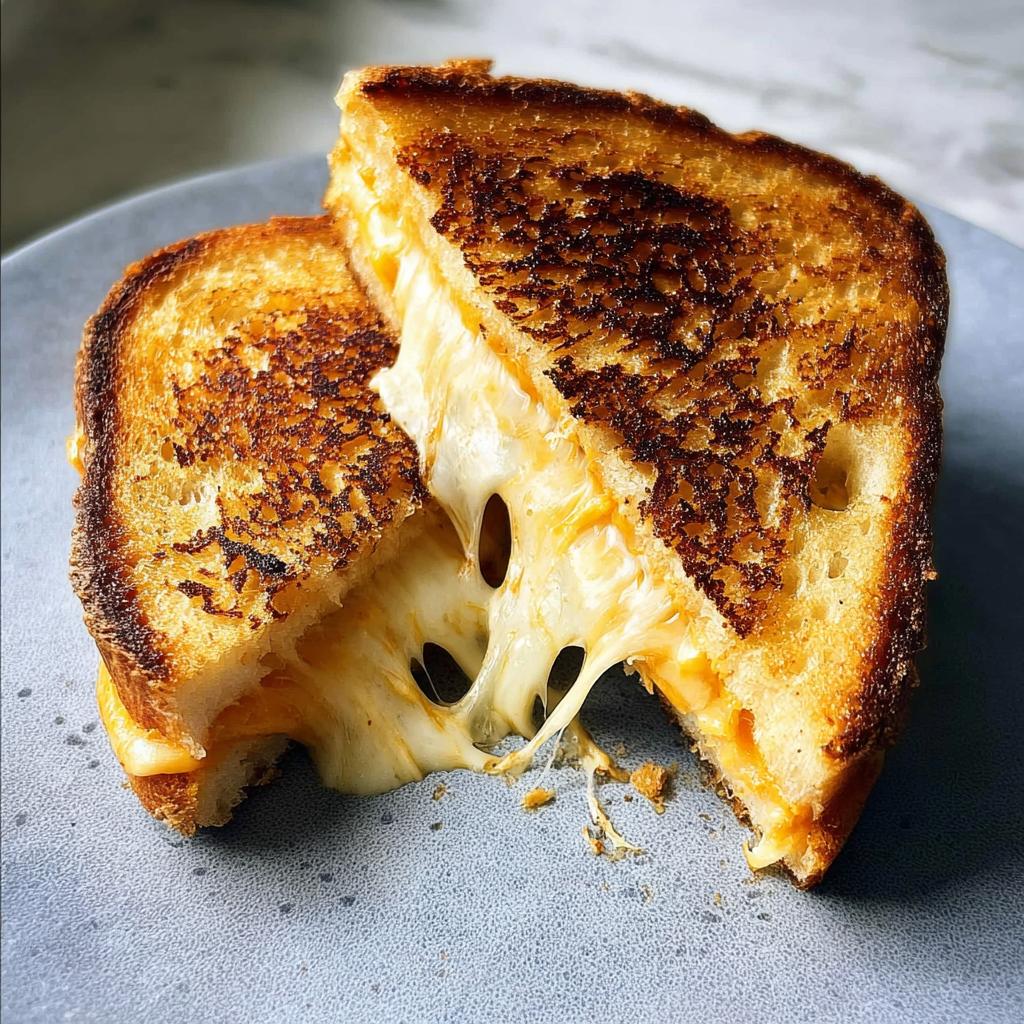
It’s no secret why grilled cheese is a superstar! It’s pure comfort food, right? Warm, gooey cheese and crispy bread – what’s not to love? This recipe takes that classic feeling and kicks it up just a notch. We’re talking about simple ingredients that really make a difference, turning a basic sandwich into something truly special. Plus, the fact that you can prep these ahead of time? Game changer! This is the kind of delicious, easy meal that makes busy days so much better. It’s proof that simple can be spectacularly satisfying!
The Secret to a Perfectly Melty Grilled Cheese
Okay, so what makes a grilled cheese truly *perfect*? It’s a few key things, trust me! First off, don’t skimp on the bread. We’re using sourdough here because that little bit of tang and its sturdy structure hold up so well to all that delicious cheese. And the cheese blend? That’s where the magic happens. Mixing sharp cheddar for that classic punch with Gruyère or raclette for an extra creamy, nutty flavor makes all the difference. You want it super melty, right? The trick is the heat! Medium-low is your best friend here. It gives the cheese time to melt slowly without burning the bread. We’re aiming for that beautiful golden-brown crust and that perfect, ooey-gooey center. For more tasty ideas, check out these gourmet grilled cheese tips!
Ingredients for Your Ultimate Grilled Cheese
Alright, let’s talk about what goes into this amazing grilled cheese! It’s all about simple, good stuff that comes together in a flash. You’ll need two slices of that wonderful sourdough bread – it’s the backbone of our sandwich. Grab your favorite sharp cheddar cheese, about 1 to 2 ounces, grated, and then do the same with Gruyère or raclette cheese. Grating it yourself is key because it melts way better! Don’t forget a thin layer of mayonnaise for the outside of the bread for that perfect golden crust, a little swipe of Dijon mustard on the inside for a little zing, and some butter for the pan. Easy peasy!
Ingredient Notes and Substitutions
So, why these specific ingredients? The sourdough bread is fantastic because it’s a bit sturdy and has a lovely tang that cuts through the richness of the cheese. But hey, if sourdough isn’t your jam, a good hearty white or whole wheat bread works too! Mayonnaise on the outside might sound a little weird, but trust me, it makes for the most incredible, even golden-brown crust – way better than butter alone sometimes! If you’re not a mayo fan, just stick to butter, but give it a try sometime! And for the cheese, while cheddar and Gruyère are my go-to for that perfect melty pull and flavor combo, feel free to mix it up. Monterey Jack, Colby, or even a little provolone would be delicious in this grilled cheese.
How to Make Why Everyone Loves This Grilled Cheese Recipes (+ Make-Ahead Tips)
Alright, let’s get this grilled cheese party started! It’s seriously so easy, you’ll wonder why you ever bought them. First things first, grab your cutting board. Take those two slices of sourdough and give the top side of each one a nice, thin coat of mayonnaise. Then, flip one slice over and spread its other side with a little Dijon mustard – it adds a subtle kick that really elevates things. Now, pile on your grated cheddar and Gruyère or raclette cheeses. Don’t be shy! Top it all off with that other slice of bread, mayo-side up. Easy, right?
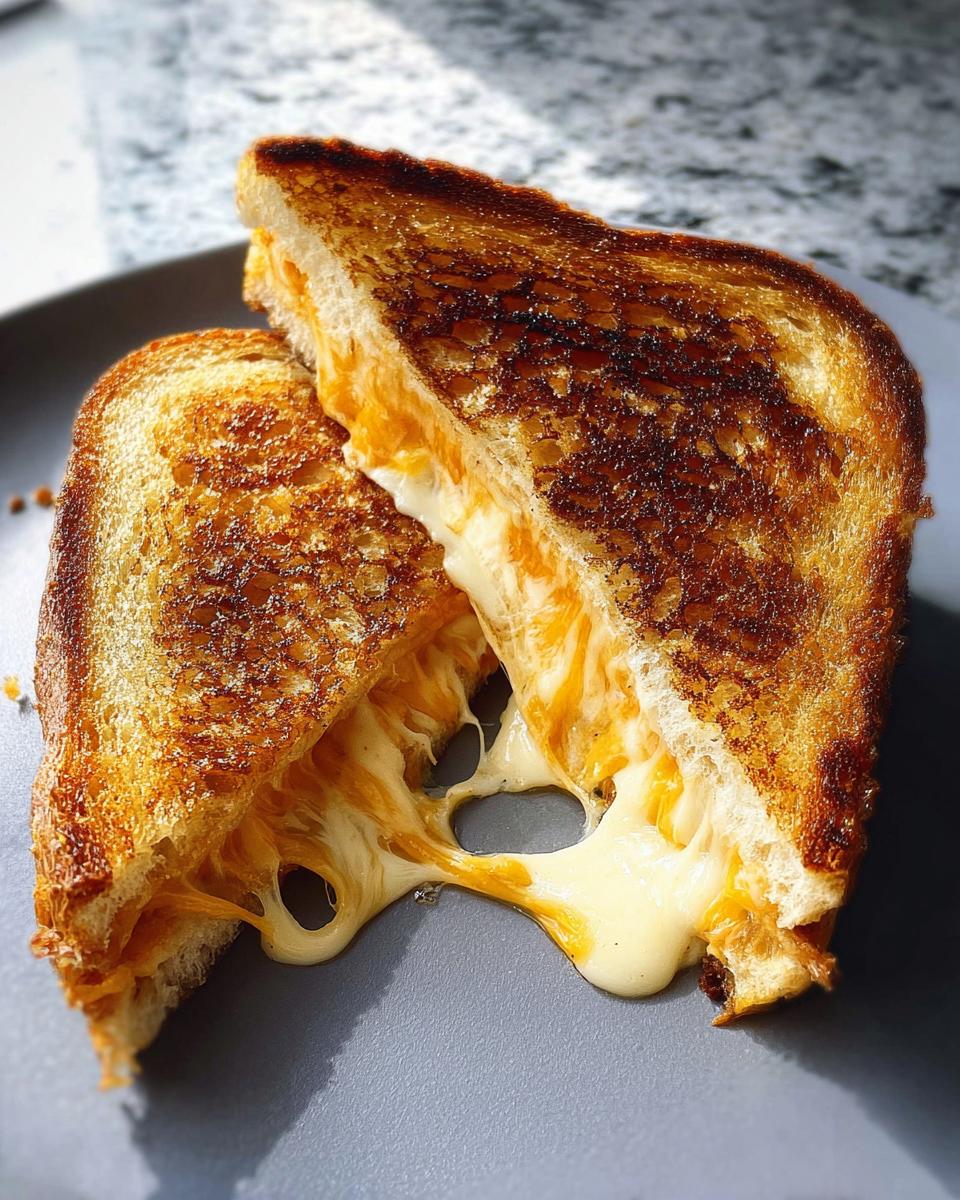
Next, get your skillet heating up over medium-low heat. You want it warm enough to toast the bread beautifully but not so hot that it burns before the cheese melts. Add about a tablespoon of butter to the pan, let it melt and coat the bottom. Carefully lay your assembled sandwich into the skillet. Put a lid on it – this is key for trapping heat and getting that cheese gooey! Cook for about 2 to 3 minutes, until you peek underneath and see a gorgeous golden-brown crust. Then, flip it! Lid back on, and cook for another 1 to 3 minutes until the second side is just as golden and the cheese is all melty and oozing. If things are browning too fast, just turn that heat down to low. Slice it up and enjoy immediately!
Make-Ahead Grilled Cheese Assembly
This is where the magic happens for busy weeknights or rushed mornings! You can totally assemble your grilled cheese sandwiches ahead of time. Just follow the first few steps: spread the mayo and mustard, layer the cheese, on the bread slices. But here’s the trick: don’t cook them! Instead, wrap each assembled sandwich tightly in plastic wrap or place them in an airtight container. You can keep them in the fridge for about a day. When you’re ready to cook, just unwrap them and pop them straight into your preheated skillet. You might need to add an extra minute or two to the cooking time on each side because they’ll be starting out cold, but that melty, crispy goodness is still just minutes away! It’s like having a gourmet grilled cheese waiting for you. For more tips on planning meals, check out this helpful guide!
Tips for a Quick and Easy Grilled Cheese
Want your grilled cheese to be speedy AND perfect? It’s all in the details! First, preheating your pan is super important. A hot pan means less time waiting for the bread to toast and the cheese to melt. Medium-low heat is the sweet spot – it prevents burning while ensuring everything gets melty. Grating your cheese yourself is also a big help; it melts about a million times faster than big slices. And don’t forget that lid! It traps steam and helps that cheese get wonderfully gooey. Want that ultimate golden crust? Using a mix of butter and a *tiny* bit of mayo on the bread’s exterior creates a beautiful, even browning every single time. Seriously, it’s a quick recipe that delivers huge flavor!
Equipment Needed for Your Grilled Cheese
You don’t need much to make this amazing grilled cheese! Honestly, the fewer gadgets, the better sometimes, right? All you really need is a good old cutting board for assembling your sandwich. And for the cooking part? Grab a nonstick or a cast-iron skillet. That’s it! Simple tools for a deliciously simple meal.
Frequently Asked Questions About This Grilled Cheese Recipe
Got questions about making the ultimate grilled cheese? I’ve got answers! This recipe is pretty forgiving, but a few tips can really make it shine. We’ll make sure you get that perfect melty cheese and golden crust every single time. And hey, if you ever need to reach out, feel free to contact us!
Can I use different types of bread for this grilled cheese?
Absolutely! While sourdough is my favorite for its sturdy texture and tang, feel free to experiment. A really good challah or brioche bread will give you a richer, softer sandwich. Even a hearty whole wheat or a classic white bread works great. Just make sure it’s not super thin, or it might get soggy before the cheese melts!
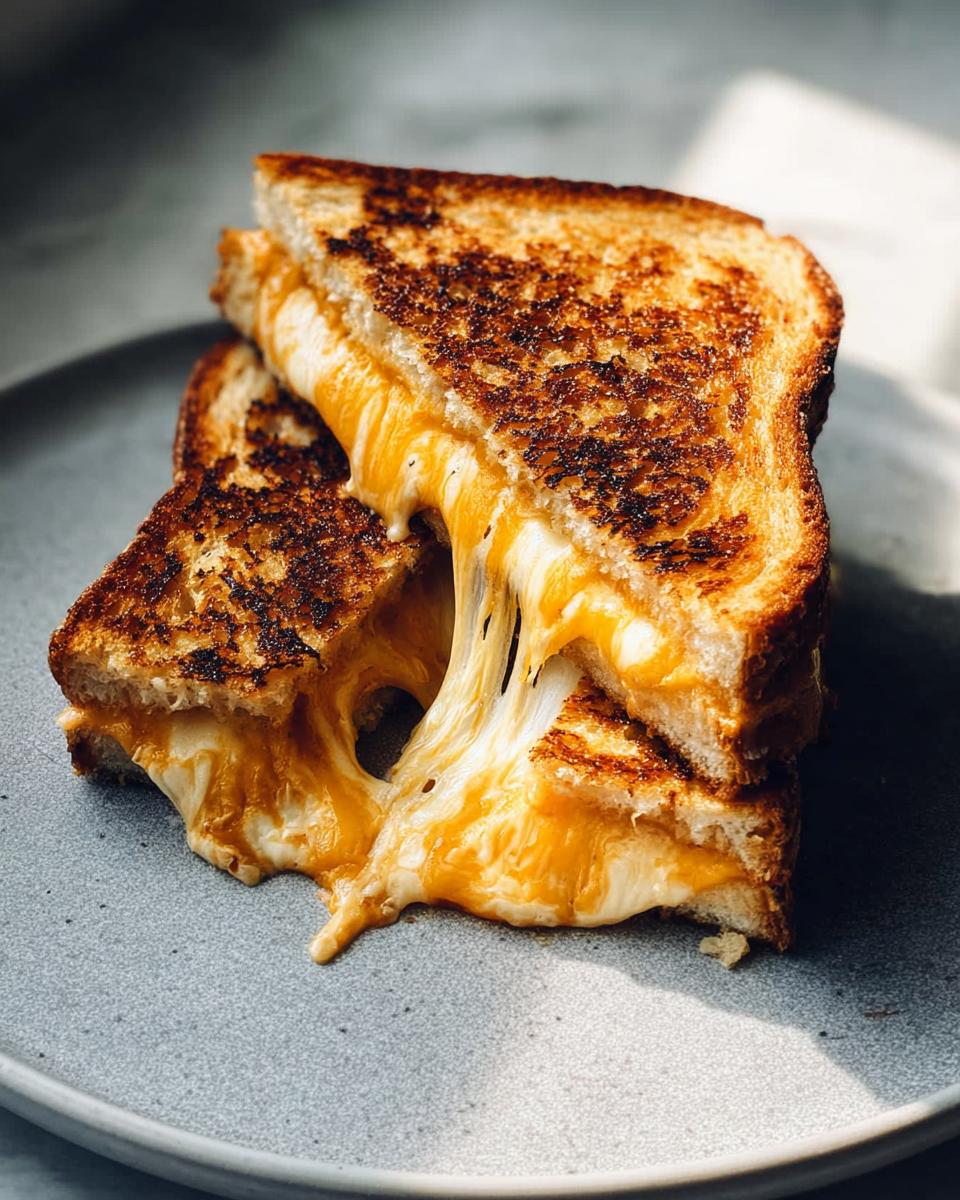
What’s the best cheese for a melty grilled cheese?
For that ultimate, gooey, *melty* cheese pull, you want a good melting cheese! My go-to is a combo of sharp cheddar and Gruyère or raclette. Monterey Jack, Colby, and provolone are also fantastic melters. Avoid super hard, aged cheeses on their own, as they don’t get as creamy. A blend is almost always best for flavor and texture!
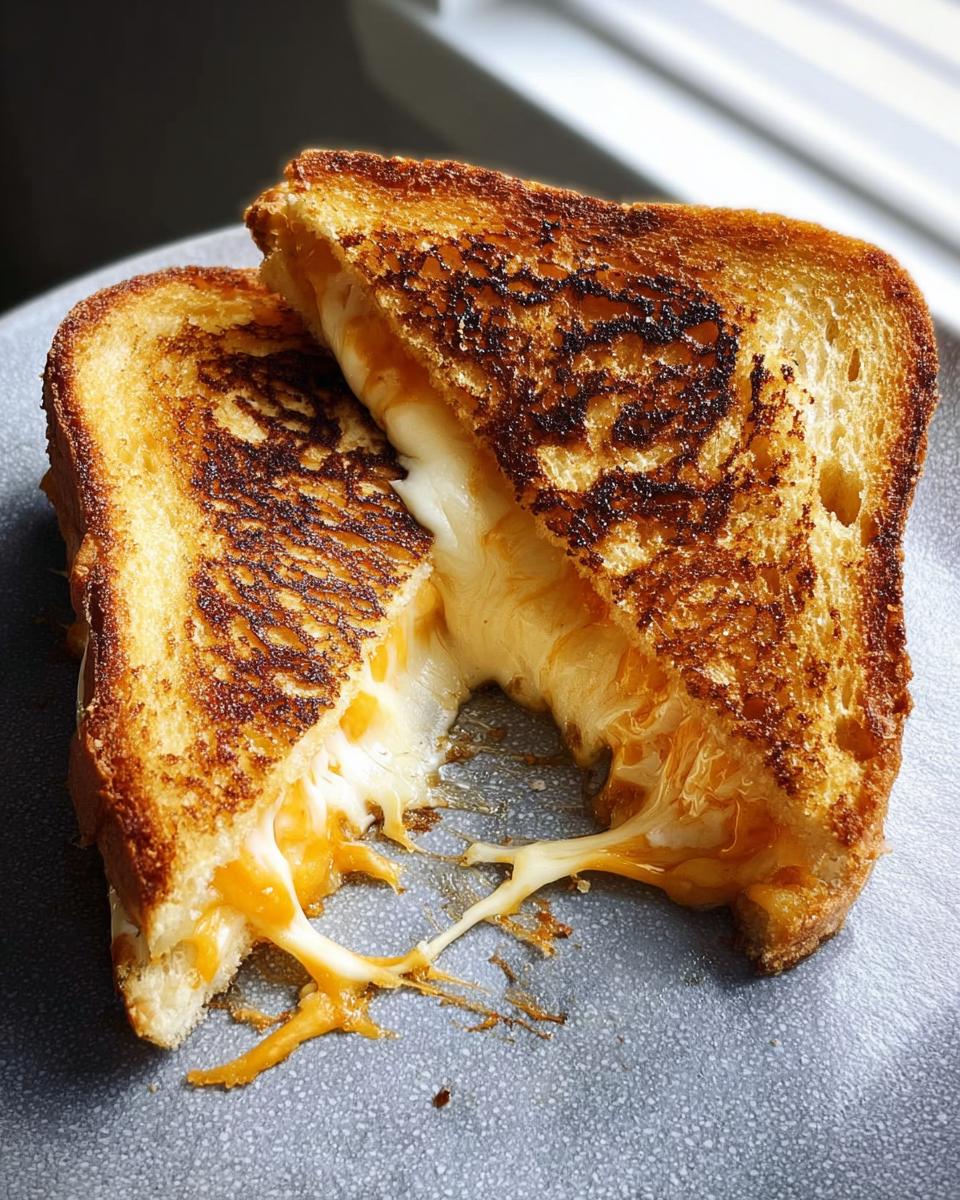
How do I prevent my grilled cheese from burning?
The biggest secret is cooking it low and slow! Seriously, medium-low heat is your best friend here. It lets the cheese melt all the way through without scorching the bread. If your bread is getting too brown too fast, just turn the heat down even lower. And don’t forget that lid – it traps heat and helps that cheese get nice and gooey!
Serving Suggestions for Your Grilled Cheese
Okay, so you’ve mastered the ultimate grilled cheese, what do you pair it with? Honestly, a classic grilled cheese is amazing all on its own, but it also plays *so* well with a few friends! It’s the perfect partner for a warm bowl of tomato soup – like, the ultimate comfort food combo. For something a little lighter, a fresh sprouts salad or a crisp spinach salad adds a lovely contrast to the cheesy richness. You could also serve it with some crunchy pickles or even some seasoned sweet potato fries. It’s just a wonderfully versatile sandwich!
Storage and Reheating Instructions
So you made an extra grilled cheese? Lucky you! Storing and reheating them is super easy. Once your sandwich has cooled down completely, wrap it up tight. You can use plastic wrap, or even better, pop it into an airtight container. This keeps it from getting soggy in the fridge. Honestly, they’re best eaten within a day or two. When you’re ready for round two, the best way to reheat is back in a skillet over medium-low heat, just like you made it fresh! You might need to add a little butter to the pan. This gets everything nice and crispy again, and that cheese will get melty all over.
Nutritional Information
Keep in mind that the nutritional info for this glorious grilled cheese is just an estimate, because, you know, we all use slightly different amounts of cheese or bread! But generally, one sandwich comes in around 450-550 calories. You’re looking at roughly 25-35g of fat, about 15-20g of protein, and around 30-40g of carbohydrates. It really depends on the specific brands and quantities you use, but it’s a satisfying meal!
Share Your Grilled Cheese Creations!
I just know you’re going to love this grilled cheese as much as I do! Once you’ve made it, I’d be tickled pink if you came back and shared your thoughts. Did you try a different cheese? Did you make it ahead for lunch? Let me know how it turned out in the comments below! You can also find out more about who we are and what we love to cook!
Why Everyone Loves This Grilled Cheese Recipes (+ Make-Ahead Tips)
Ingredients
Equipment
Method
- Place the bread slices on a cutting board. Spread the top side of each slice with a thin layer of mayonnaise. Flip one slice of bread and spread its other side with Dijon mustard.
- Layer the cheddar and Gruyère or Raclette cheeses on top of the mustard. Place the other slice of bread on top of the cheese, mayonnaise side out.
- Heat a nonstick or cast-iron skillet over medium-low heat. Melt enough butter in the pan to coat the bottom. Place the sandwich in the skillet, cover, and cook for 2 to 3 minutes, or until the bottom slice of bread is golden brown and crisp.
- Flip the sandwich, replace the lid, and cook until the other slice of bread is golden brown and the cheese is melted, 1 to 3 minutes. If the bread is browning too quickly before the cheese is fully melted, reduce the heat to low.
- Slice and serve.
Notes
Tried this recipe?
Let us know how it was!
Ryan Cooper, Efficiency & Testing Coordinator
I’ve spent the past six years obsessed with making cooking easier, leading to my role as Efficiency & Testing Coordinator at Low Carb Recipe Journal. My food science and ingredient analysis background helps me create low-carb recipes that actually work in real kitchens—without fancy equipment or chef-level skills.
My journey started at Mountain View Culinary Institute in kitchen operations, where I became fascinated by why some recipes fail and others succeed. I discovered my talent for spotting unnecessarily complicated cooking processes and simplifying them without losing quality. Working with restaurant chains and meal delivery services, I helped cut preparation times by 35% while maintaining delicious results.
I’ve shared my systematic approach with culinary schools and food science programs, developing testing methods now used by several meal prep companies. My “precision without perfection” philosophy drives me—amazing results shouldn’t require professional training or expensive gadgets.
This mindset stems from my love of competitive cooking and ultralight backpacking, where every step must count and simplicity is everything. I apply these same principles when testing recipes, ensuring success with standard home kitchen tools.
When I’m not testing endless recipe variations in my Denver kitchen, I’m hiking Colorado’s trails, building custom kitchen storage solutions in my woodworking shop, or spending time with my three rescue cats—Sage, Basil, and Pepper.
At Low Carb Recipe Journal, I ensure every published recipe has been thoroughly tested for reliability and ease. My goal is simple: turn complex nutritional goals into achievable daily wins that build your confidence in the kitchen.