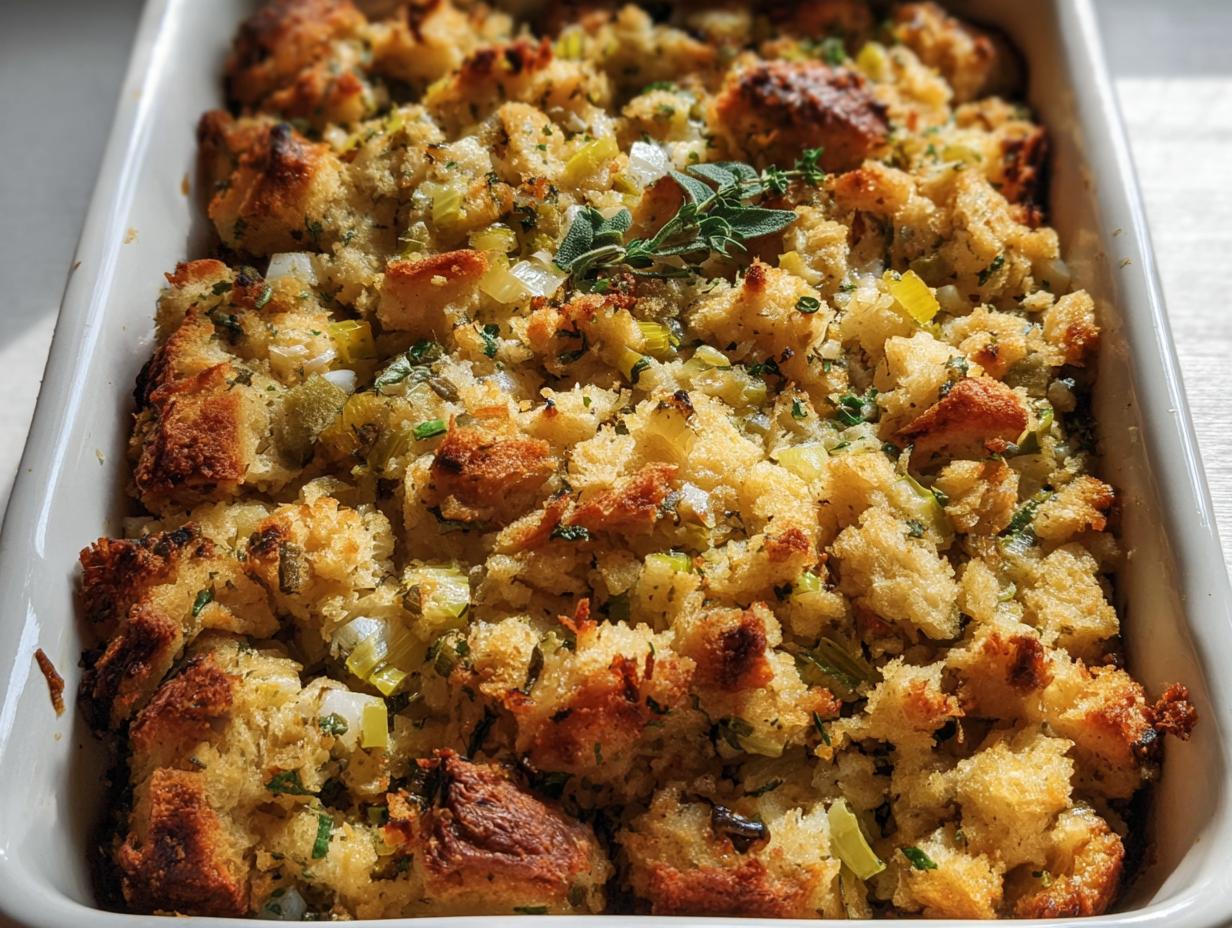
Oh, the holidays! That magical time of year when the kitchen gets extra cozy and the smells of tradition fill the air. But let’s be real, hosting can be a whirlwind, right? I remember my very first Thanksgiving as the host – the house was packed, the laughter was loud, and I was running around like a madwoman, trying to make sure every single dish was perfect. My heart was set on this amazing homemade stuffing, but by the time it was ready to go in the oven, I was already pulled in a million directions. That’s when it hit me: we need stuffing recipes that are not only crave-worthy but also totally doable as meal prep. Seriously, why should fantastic flavor have to come with a side of holiday stress? That’s why we developed these Stuffing Recipes Meal Prep That Actually Tastes Great, designed by yours truly, Ryan Cooper, as the Efficiency & Testing Coordinator. We’ve tweaked and tested to make sure you get that delicious, homemade goodness without all the last-minute scrambling. It’s all about smart cooking so you can actually enjoy the company!
Why You’ll Love These Stuffing Recipes Meal Prep That Actually Tastes Great
Trust me, this stuffing is a game-changer! Here’s why you’ll be making it again and again, especially when you’re juggling a busy schedule:
- Serious Time Saver: Prep it all ahead of time, and you’re golden! No more last-minute stuffing stress on the big day.
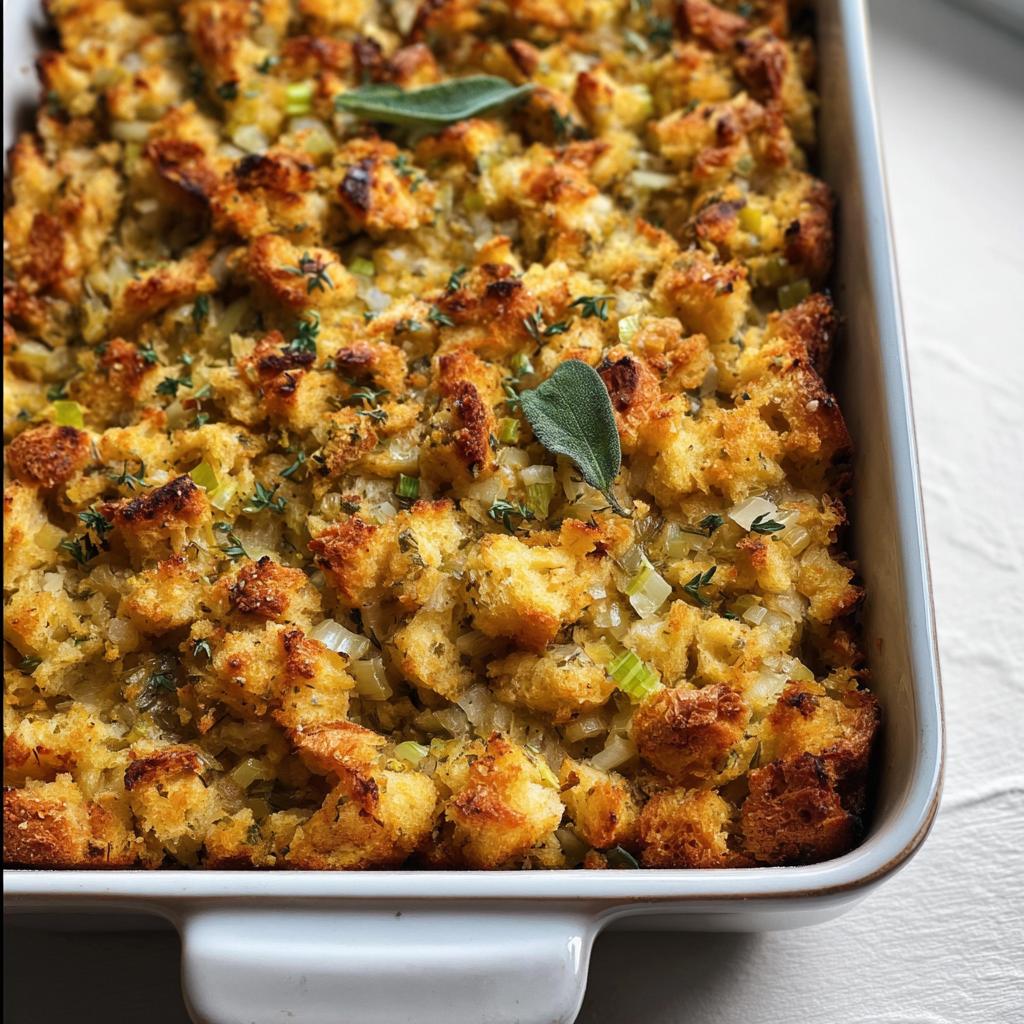
- Flavor Explosion: Even though it’s prepped ahead, this stuffing comes out incredibly flavorful and moist. Those herbs and veggies really sing!
- Super Easy Assembly: The steps are straightforward and don’t require any fancy techniques. Anyone can nail this!
- Perfect for Any Occasion: While it’s amazing for Thanksgiving, it’s also fantastic for any Sunday dinner or when you just need some comforting goodness.
- It *Actually* Tastes Great: Yes, even after reheating! We’ve made sure those delicious flavors hold up, so you get that homemade taste without the fuss.
Gather Your Ingredients for Delicious Stuffing
Alright, let’s get our mise en place ready! Having all your ingredients prepped and ready to go is half the battle, especially when we’re talking meal prep stuffing. It makes the actual cooking process so much smoother. Here’s what you’ll need to grab:
For the Bread Cubes
- 18-24 ounces of bread cubes (ideally toasted or slightly stale – think about 1.5 loaves!)
For the Vegetable Base
- 1 cup of unsalted butter
- 3 cups of diced sweet onion (that’s about 2 large onions)
- 2 cups of diced celery
- 6 cloves of garlic, minced
- 1 teaspoon of kosher salt
- 1 teaspoon of black pepper
For the Herbs and Liquid
- 3 tablespoons of chopped fresh sage
- 3 tablespoons of chopped fresh parsley
- 3 tablespoons of chopped fresh rosemary
- 2 1/2 cups of chicken or vegetable stock
- 2 large eggs
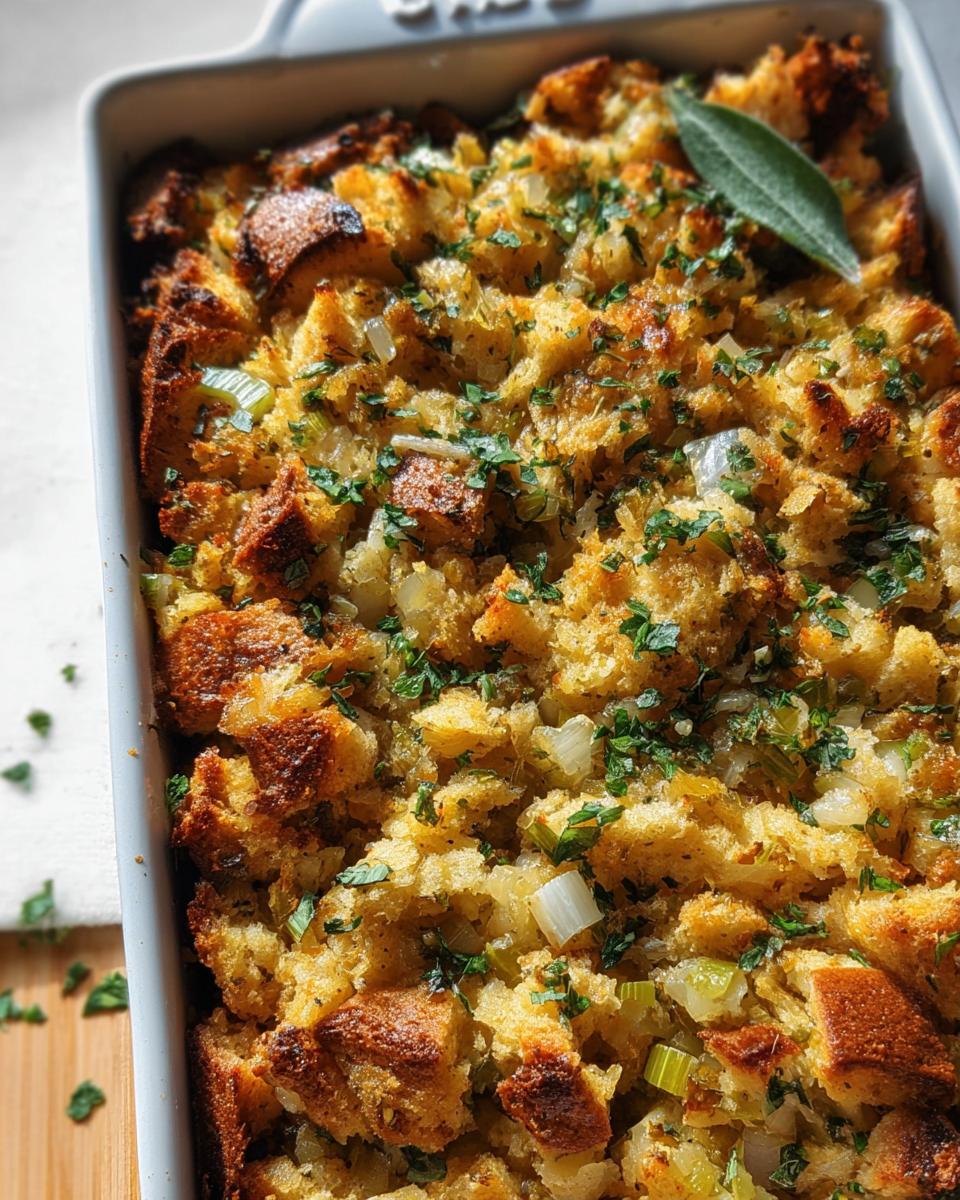
- 1 mixture of fresh herbs for sprinkling (optional, but pretty!)
Mastering the Art of Stuffing Recipes Meal Prep That Actually Tastes Great
Okay, deep breaths! This is where the magic happens, and trust me, it’s simpler than you think, especially when we’re all about that meal prep life. We want this stuffing to be amazing, not just when it’s fresh, but even when you’re reheating it later. It’s all about building those flavors right from the start.
Preparing the Bread Cubes
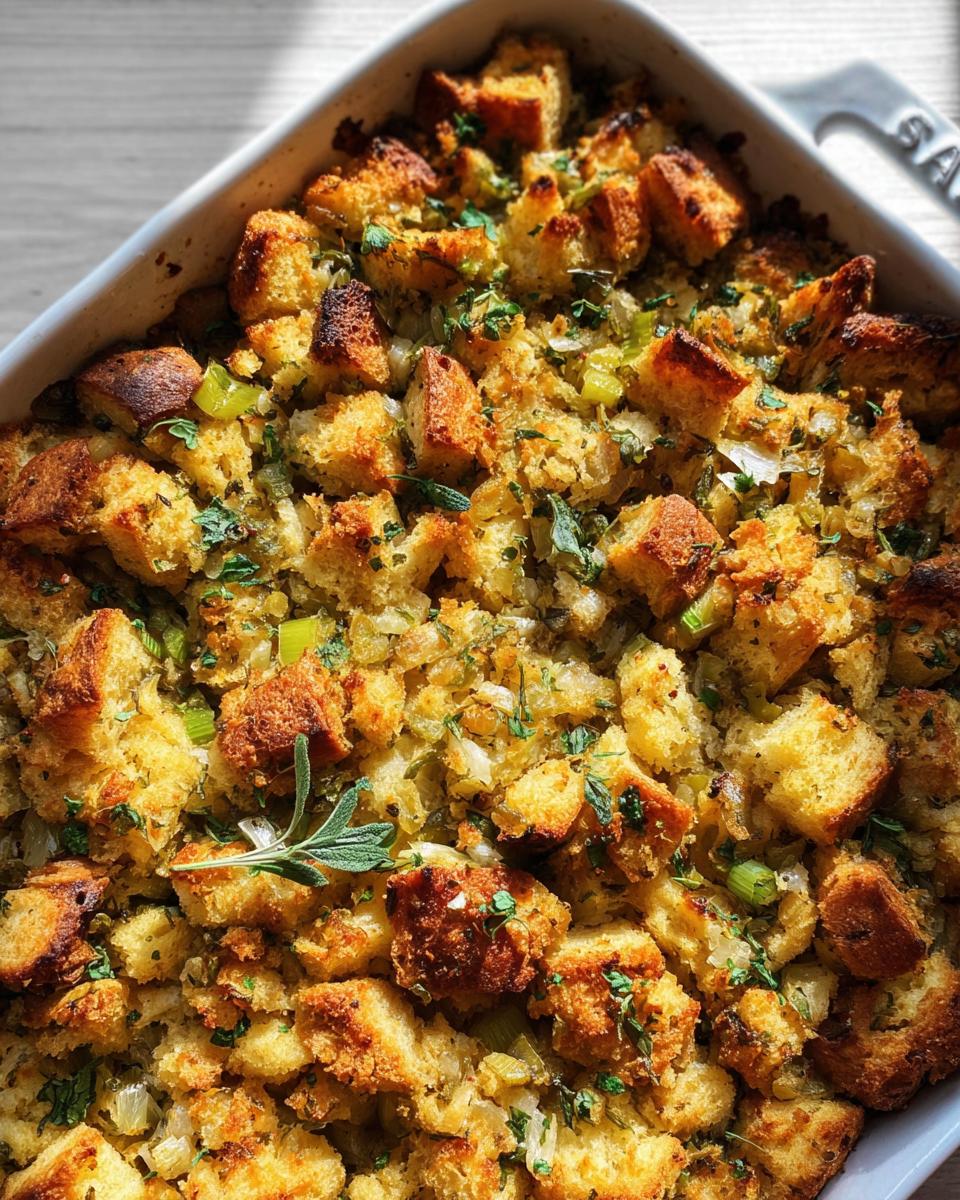
First things first, let’s talk bread. You absolutely want cubes that are a little dried out – think of them like little flavor sponges! Toasting them in the oven at 350°F for about 15 minutes until they’re golden works like a charm, or just use bread that’s a day or two old. This step is key to making sure your stuffing isn’t mushy; it gives it that perfect, slightly chewy texture we all love.
Sautéing the Vegetable Base
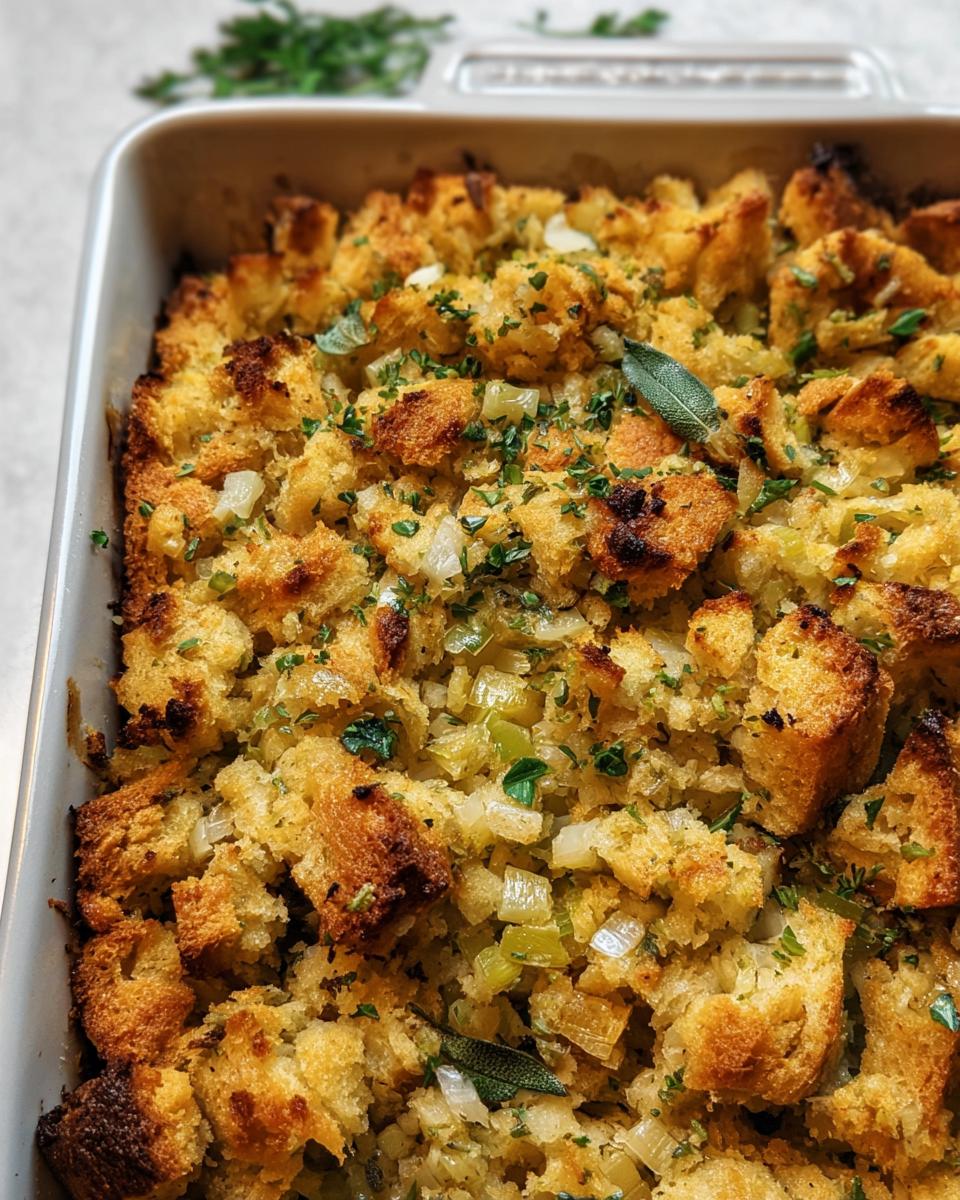
Now, let’s get some fantastic aroma going! Melt that butter in a big skillet or Dutch oven over medium heat. Toss in your diced onions, celery, and that lovely minced garlic. Give it a good sprinkle of salt and pepper to kick things off. Let those veggies soften up until they’re sweet and tender, about 8 to 10 minutes. Then, stir in your fresh sage, parsley, and rosemary. Cook for just another minute until you can really smell those gorgeous herbs. Pour in about a cup of your stock to deglaze the pan, scraping up any tasty bits from the bottom. This really boosts the flavor!
Combining and Binding the Stuffing
Time to bring it all together! Pour that glorious vegetable and herb mixture over your bread cubes in a big mixing bowl. Get your hands in there (or use a sturdy spoon!) and toss everything gently until those bread cubes are beautifully coated. In a separate little bowl, give the remaining stock and your eggs a quick whisk. Pour this liquid mixture over the bread and veggies. Now, gently fold and stir everything until all the bread is thoroughly moistened. We’re not mashing it, just making sure every bit gets acquainted with the goodness.
Baking to Perfection
Preheat your oven to 350°F if you haven’t already, and lightly butter or spray your 9×13 inch baking dish. Pour the stuffing mixture into the prepared dish and spread it out evenly. Bake it for about 45 to 50 minutes. You’re looking for that beautiful golden-brown top and for the internal temperature to hit 160°F. If you notice it getting a little too brown on top before it’s cooked through, don’t sweat it! Just tent it loosely with some foil. This simple trick helps it cook evenly and keeps everything wonderfully moist.
And hey, if you’re curious about different ways to make stuffing, this incredible recipe has some great ideas too!
Tips for Making Ahead and Reheating
The best part about these Stuffing Recipes Meal Prep That Actually Tastes Great? You can totally get ahead of the game! Make the entire stuffing base a day or even two before you need it. Just let it cool completely after baking, then cover it tightly with plastic wrap and pop it in the fridge. When it’s time to serve, here’s the trick: pull it out of the fridge about 60 minutes before you plan to reheat it. This lets it come up closer to room temperature, which helps it heat more evenly. Then, you can either reheat it covered loosely with foil in a 350°F oven for about 20-30 minutes (until warmed through) or uncover it for the last 10 minutes to get that nice crispy top again. This way, your stuffing stays wonderfully moist and packed with flavor, tasting just as good as if you’d made it fresh!

Ingredient Notes and Substitutions for Your Stuffing
You know, picking the right ingredients can really make or break your stuffing, especially when you’re planning ahead. It’s not just about throwing stuff in a bowl; it’s about understanding how each element plays a part in that delicious, comforting final dish. For instance, the type of bread you use? Huge impact!
We’re talking about bread cubes here, and while store-bought toaster cubes or even day-old baguette slices work, I find that a good sourdough or a crusty country loaf really adds a fantastic depth of flavor. Just make sure they’re nice and dry before you start. If you’re looking for lighter options, you might want to check out some lighter salad ideas as a side, but for stuffing, a hearty bread is where it’s at!
And don’t even get me started on the stock! Chicken stock usually gives you that classic, savory stuffing vibe, but a good vegetable stock works just as well if you want to keep it vegetarian. Just make sure it’s a good quality one – low sodium is your friend here so you can control the saltiness yourself. Trust me, using a flavorful stock makes a world of difference in how the whole dish tastes, especially when you’re reheating it later!
Frequently Asked Questions About Stuffing Recipes Meal Prep That Actually Tastes Great
Got questions about tackling stuffing with a meal prep twist? I totally get it! It’s all about making sure you get that amazing flavor without all the last-minute fuss. Here are some of the things folks ask me most:
Can I use different types of bread for this stuffing?
Oh, absolutely! While we love a good crusty bread or sourdough for this stuffing, you can totally use others. Just make sure they’re dried out – stale bread is your best friend here! Rye, challah, or even a hearty whole wheat can work beautifully. If you’re looking for lighter options to pair with your meal, check out some healthy oat recipes for breakfast!
What are the best herbs to use in stuffing?
Herbs are where the flavor really pops! For a classic Thanksgiving stuffing, you can’t go wrong with sage, parsley, and rosemary. Thyme is also fantastic, and a little bit of marjoram adds a lovely depth. The key is using fresh herbs if you can; they just pack so much more punch!
How do I ensure my meal-prepped stuffing stays moist?
The trick to keeping meal-prepped stuffing moist is all about the initial mix and careful reheating. Make sure you don’t overbake it the first time. When reheating, cover it loosely with foil to trap that steam, and add a tiny splash more broth if it looks dry. That’ll keep it from drying out!
Estimated Nutritional Information
Just a friendly heads-up: the nutritional values for this stuffing are estimates and can totally change based on the brands you use and the exact ingredients. But generally, for a serving (based on 12-18 people), you’re looking at something around 300-400 calories, with about 15-25g of fat, 8-12g of protein, and 30-40g of carbohydrates. It’s a hearty side that pairs wonderfully with all your holiday favorites!
Share Your Delicious Creations
So, what did you think of these Stuffing Recipes Meal Prep That Actually Tastes Great? I absolutely love hearing from you all! Drop a comment below with your feedback, let me know how it turned out, or share any awesome variations you came up with. If you really loved it, give it a star rating! You can also share your stuffing photos on social media – I’m always looking for inspiration! And if you have any questions or want to connect, you can always reach me through my contact page. Happy cooking!
Stuffing Recipes Meal Prep That Actually Tastes Great
Ingredients
Equipment
Method
- Prepare your bread cubes. You can toast them in the oven at 350 degrees F for about 15 minutes until they resemble croutons, or use stale bread cubes. You can also buy pre-toasted cubes from the store. Cut them to your desired size, small or rustic.
- Preheat your oven to 350 degrees F. Prepare a 9×13 inch baking dish by brushing it with butter or spraying it with nonstick spray. Place the bread cubes in a large mixing bowl or the baking dish.
- Melt the butter in a large skillet or Dutch oven over medium heat. Add the diced onion, celery, and minced garlic. Season with salt and pepper. Cook until the vegetables soften, about 8 to 10 minutes. Stir in the fresh sage, parsley, and rosemary, and cook for another minute. Add 1 cup of stock and stir.
- Pour the vegetable and herb mixture over the bread cubes and toss to coat evenly.
- In a small bowl, whisk together the remaining 1 1/2 cups of stock and the 2 eggs.
- Pour the egg and stock mixture over the bread cubes. Stir and fold until all the bread cubes are thoroughly combined.
- Bake for 45 to 50 minutes, or until the internal temperature reaches 160 degrees F. If the stuffing begins to brown too quickly, you can tent it with foil.
- This stuffing can be made a day ahead and reheated. Remove it from the refrigerator 60 minutes before reheating.
Notes
Tried this recipe?
Let us know how it was!
Ryan Cooper, Efficiency & Testing Coordinator
I’ve spent the past six years obsessed with making cooking easier, leading to my role as Efficiency & Testing Coordinator at Low Carb Recipe Journal. My food science and ingredient analysis background helps me create low-carb recipes that actually work in real kitchens—without fancy equipment or chef-level skills.
My journey started at Mountain View Culinary Institute in kitchen operations, where I became fascinated by why some recipes fail and others succeed. I discovered my talent for spotting unnecessarily complicated cooking processes and simplifying them without losing quality. Working with restaurant chains and meal delivery services, I helped cut preparation times by 35% while maintaining delicious results.
I’ve shared my systematic approach with culinary schools and food science programs, developing testing methods now used by several meal prep companies. My “precision without perfection” philosophy drives me—amazing results shouldn’t require professional training or expensive gadgets.
This mindset stems from my love of competitive cooking and ultralight backpacking, where every step must count and simplicity is everything. I apply these same principles when testing recipes, ensuring success with standard home kitchen tools.
When I’m not testing endless recipe variations in my Denver kitchen, I’m hiking Colorado’s trails, building custom kitchen storage solutions in my woodworking shop, or spending time with my three rescue cats—Sage, Basil, and Pepper.
At Low Carb Recipe Journal, I ensure every published recipe has been thoroughly tested for reliability and ease. My goal is simple: turn complex nutritional goals into achievable daily wins that build your confidence in the kitchen.