Ugh, those chaotic mornings, right? Grabbing whatever’s closest, usually a less-than-inspiring granola bar, while you’re already running late. Yeah, I’ve been there! It wasn’t until life got a little crazier with my first little one that I *really* understood the magic of a good, solid breakfast to kickstart the day. So, one Sunday afternoon, fueled by sheer determination and a craving for something more, I dove into making the most amazing Effortless & Tasty Freezer Breakfast Burritos. The kitchen filled with the best smells, and as I wrapped each one up, I felt like I’d unlocked a secret weapon for conquering busy mornings. Now, instead of panic, I have a delicious, homemade breakfast ready to go in minutes! Trust me, these are a game-changer.
Why You’ll Love These Effortless & Tasty Freezer Breakfast Burritos
Seriously, these burritos are a lifesaver! Here’s why you’re going to be obsessed:
- Total Morning Bliss: Grab and go means no more skipped breakfasts or sad desk lunches! They’re ready when you are.
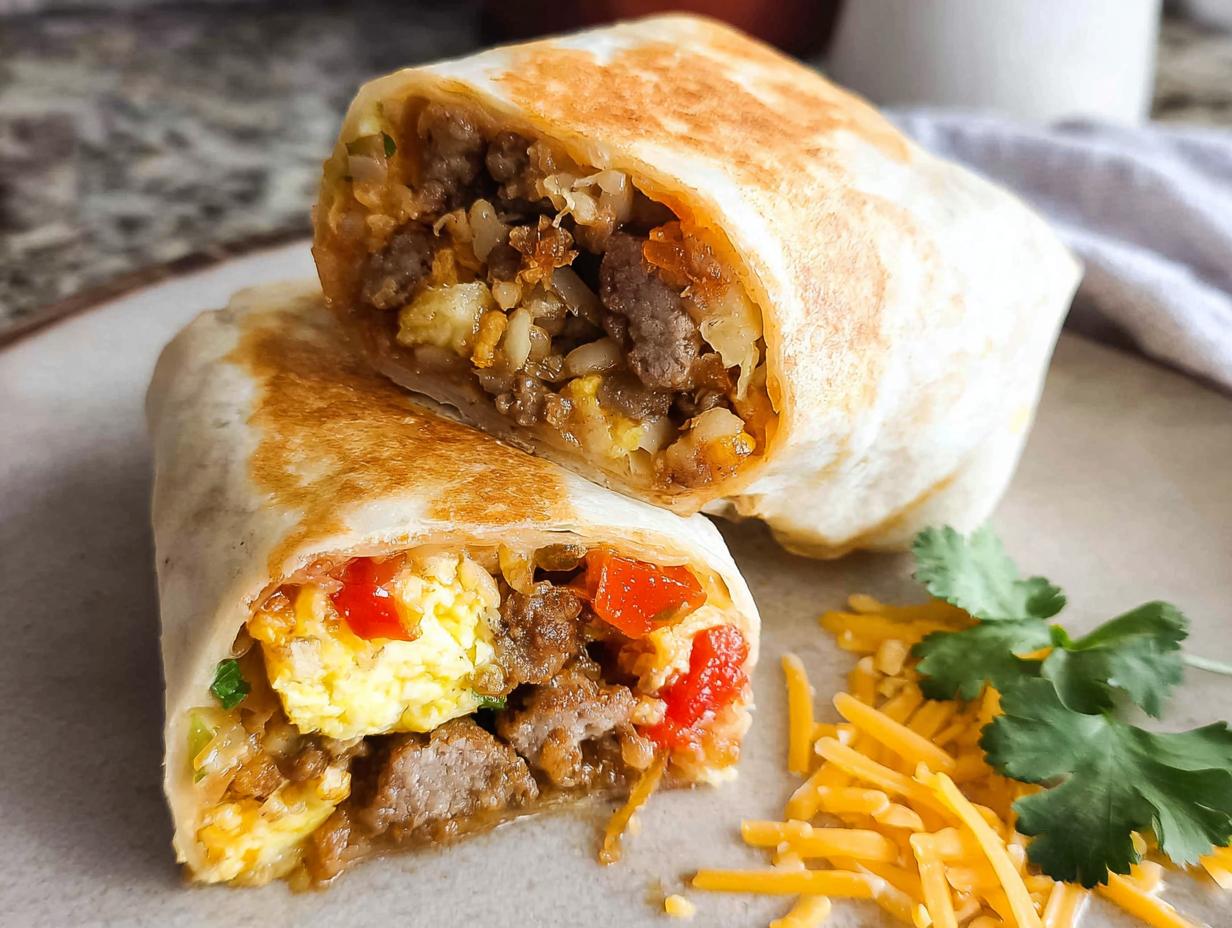
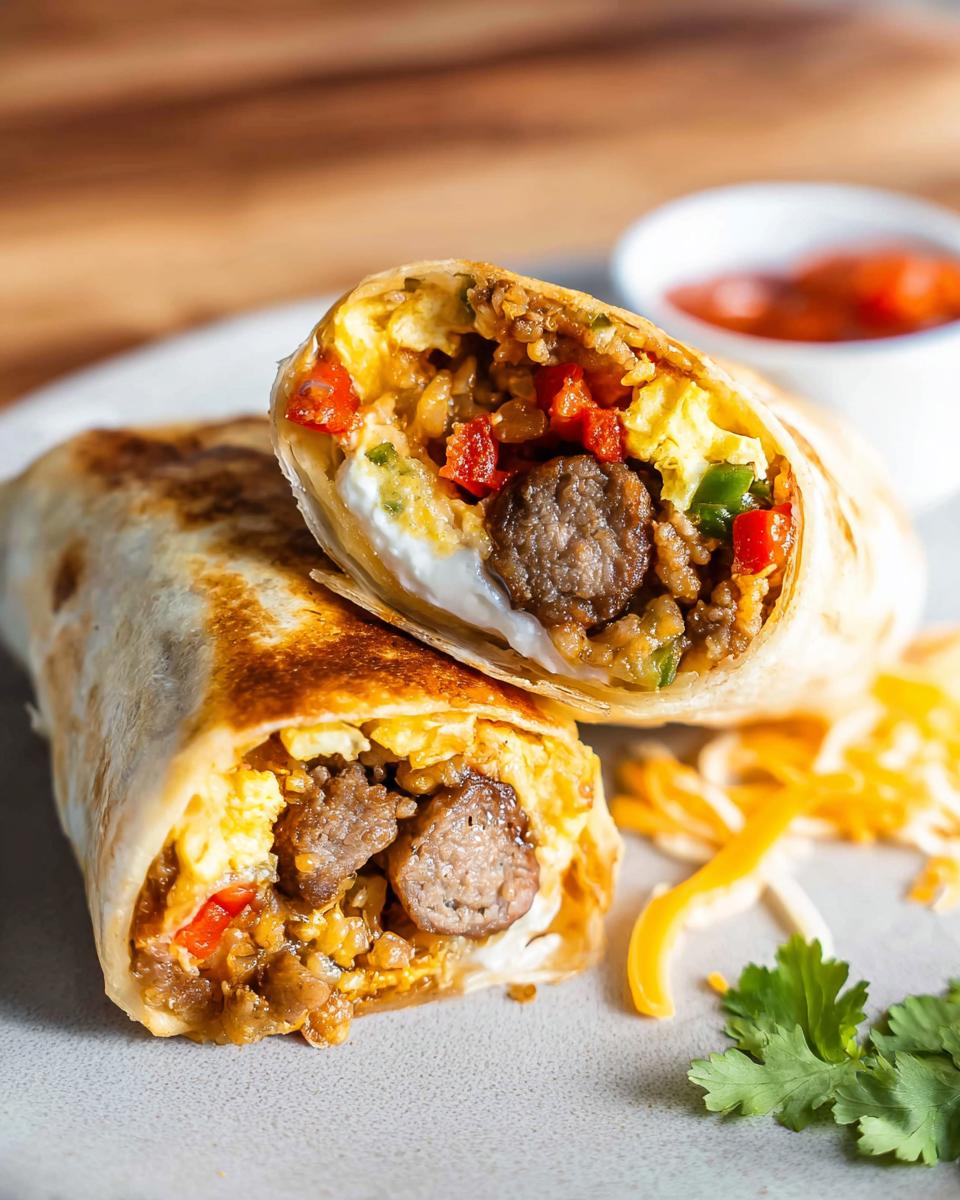
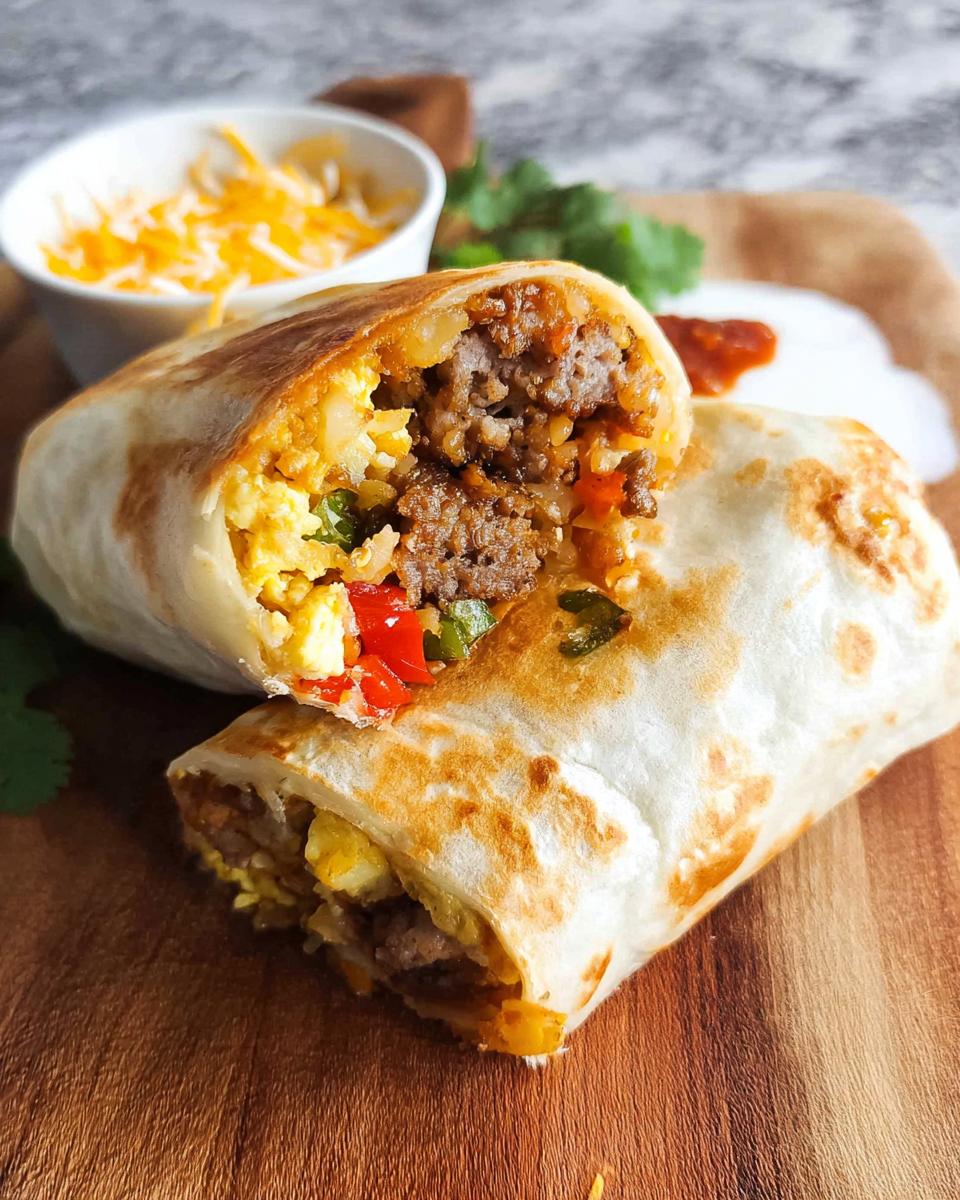
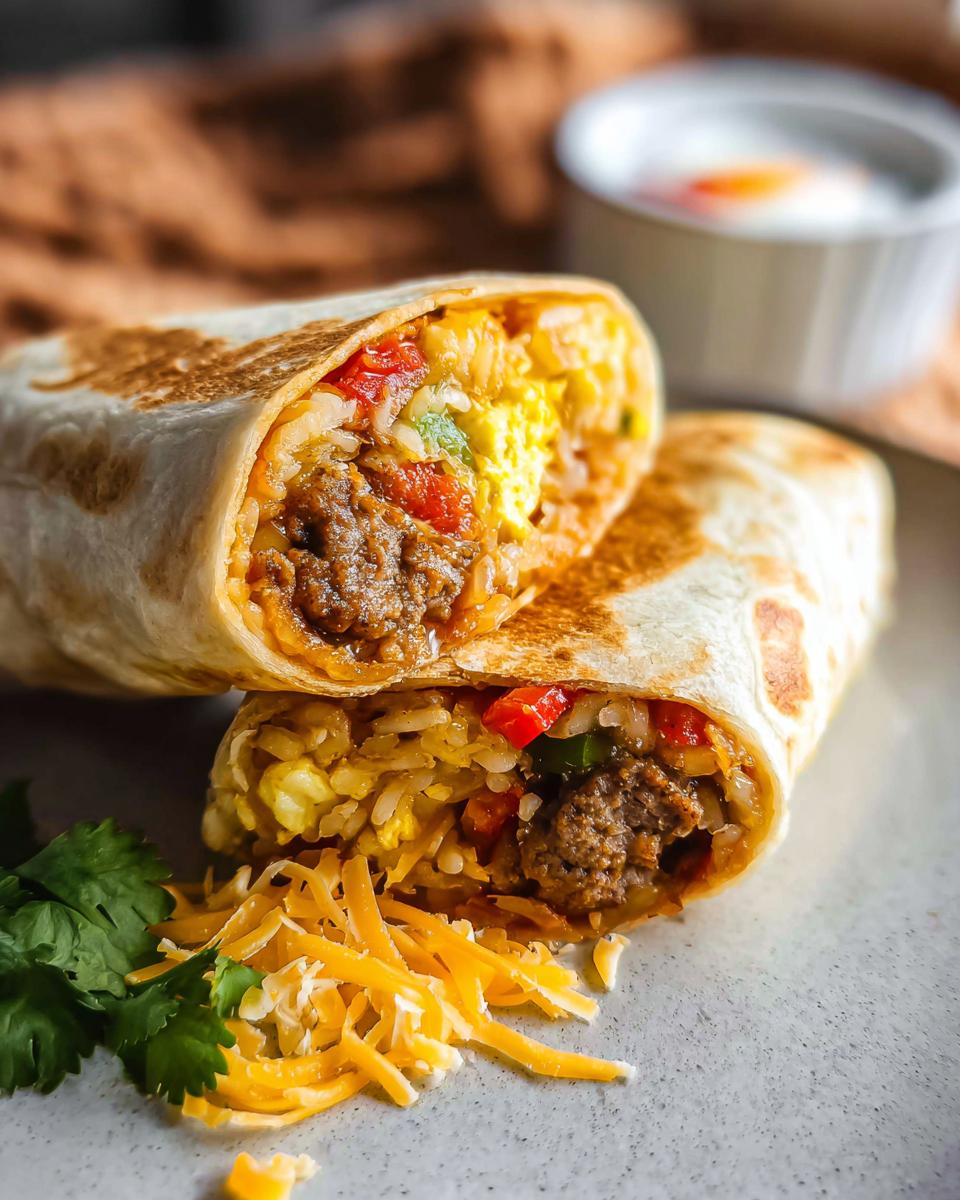
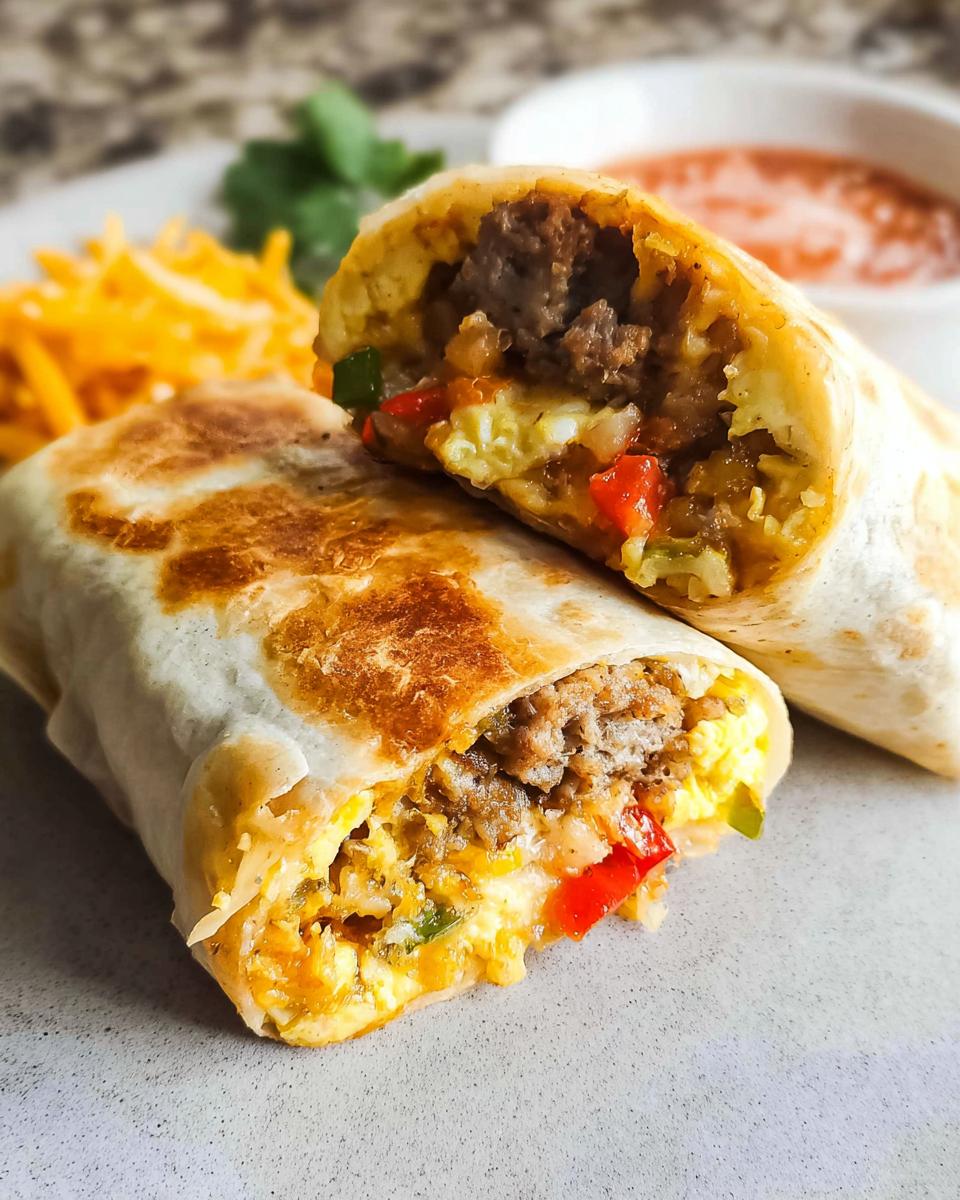
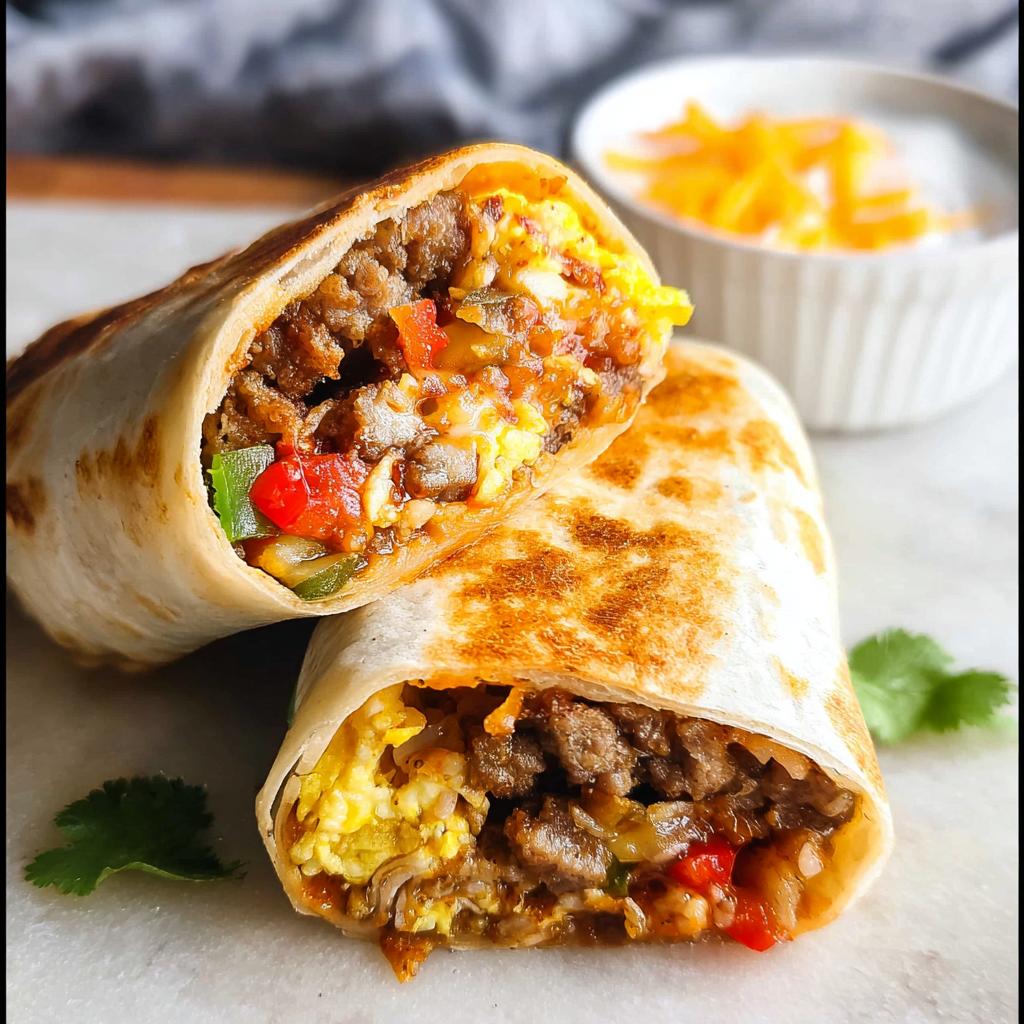
- Flavor Explosion: We’re talking savory sausage, fluffy eggs, crispy hash browns, and your favorite cheese all wrapped up. So darn good!
- Healthy-ish and Hearty: Packed with protein and satisfying ingredients to keep you full and focused all morning.
- Super Customizable: Don’t like onions? Add more peppers! Want to mix in some spinach? Go for it! You’re the boss of your burrito.
- Budget-Friendly: Making these yourself is way cheaper than buying breakfast burritos out. Your wallet will thank you!
Gather Your Ingredients for Effortless & Tasty Freezer Breakfast Burritos
Alright, let’s get down to business! To make these amazing freezer burritos, you’ll need to gather a few things. Don’t worry, it’s all pretty standard stuff you might even have in your pantry already!
- For the Burritos:
- 1/3 cup oil (avocado, olive, or canola work great)
- 20 ounce package frozen hash browns
- 1 lb ground pork sausage (or turkey sausage works too!)
- 1 bell pepper, diced
- 1 small onion, diced
- 6 large eggs
- 2 Tablespoons water (or milk for a richer scramble)
- Salt and pepper, to your taste
- 1 1/2 cups shredded cheese (cheddar, Monterey Jack, a mix – whatever your heart desires!)
- 10 flour tortillas (burrito size, so they can hold all the goodness!)
- Hot sauce, sour cream, salsa, avocado for serving – if you’re eating them fresh, of course!
Essential Equipment for Making Freezer Breakfast Burritos
Alright, let’s get your kitchen prepped! To make these freezer breakfast burritos a breeze, you’ll want to have these trusty tools handy:
- Extra large skillet with high sides: Perfect for getting those hash browns nice and crispy and preventing any messy spills.
- Bowl: For whisking up those fluffy eggs.
- Meat chopper or wooden spoon: Essential for breaking up that sausage as it cooks.
- Fork: Your go-to for whisking those eggs smooth.
- Plastic wrap: This is key for wrapping each burrito to keep them fresh in the freezer.
- Freezer-safe bag: To keep your wrapped burritos organized and protected in the deep freeze.
You’ve got this! Just having these on hand makes the whole process much smoother. For more ideas on making your breakfast burritos even better, check out this awesome resource!
Step-by-Step Guide to Effortless & Tasty Freezer Breakfast Burritos
Okay, let’s get this party started! Making these burritos is actually pretty fun, and the steps are super straightforward. Maya says when she first made these, she felt like a kitchen wizard, and you will too!
Preparing the Hash Browns and Vegetables
First things first, grab that big skillet with the tall sides. Add about a third of a cup of oil and let it get good and hot over medium-high heat. Toss in the frozen hash browns – you want to let them get nice and golden and crispy on the bottom, so don’t stir them too much at first! Season them with a little salt and pepper. Once they’re looking scrumptious on one side, flip them and let the other side get that beautiful crispiness too. Then, scoop them out and set them aside. In the same pan, add a smidge more oil if needed, and toss in your diced bell pepper and onion. Let them get tender for a few minutes, then scoop them out to join the hash browns. Easy peasy!
Cooking the Sausage and Eggs
Now, in that same super-useful skillet (less washing, woohoo!), add your pound of ground sausage. Cook it up, breaking it into nice small pieces with a meat chopper or a sturdy wooden spoon until it’s all browned and cooked through. Once it’s done, scoop that out and put it with your veggies. For the eggs, in a bowl, crack open those six large eggs. Add your water or milk, and a pinch of salt and pepper. Whisk them up real good with a fork until they’re lovely and yellow. Pour them into the pan over medium heat and just stir them gently with your wooden spoon until they’re soft scrambled. Maya’s biggest tip here? Don’t you dare overcook them! Mushy eggs are no fun.
Assembling and Wrapping Your Burritos
This is the fun part where it all comes together! Lay out a flour tortilla flat on your counter. Sprinkle a generous handful of your shredded cheese right in the middle – let it melt a little with the warmth of the filling. Then, add a spoonful of your hash browns, some of that savory sausage, a scoop of those tender veggies, and a dollop of your soft-scrambled eggs. Now, fold in the sides of the tortilla first, like you’re tucking it in, and then roll it up super tight from the bottom. If you’re eating these right away (lucky you!), you can toast them in a lightly greased, hot skillet until the tortilla is golden and crispy on all sides. Oh my gosh, they are SO good fresh!
Tips for Success with Freezer Breakfast Burritos
Want to make sure your freezer breakfast burritos turn out absolutely perfect every single time? Maya’s got a few tips up her sleeve from all her testing! First off, don’t skimp on the cheese – a good layer helps bind everything together and adds that delicious gooey factor. When you’re assembling, pack those fillings in, but don’t overstuff, or they’ll be a nightmare to roll! Tuck those sides in firmly before rolling to create a nice, compact burrito that won’t bust open in the freezer or microwave. And remember, cooking those hash browns until they’re nice and crisp at the start means they won’t get soggy later, even after freezing and reheating. A little extra effort on that front makes a huge difference!
Make-Ahead and Freezing Instructions
Alright, so you’ve made these amazing burritos, and now it’s time to get them ready for their chilly vacation in the freezer! Maya always says this is where the real magic happens for busy mornings. First, you want to let each burrito cool down a little after you wrap it – warm things can make the plastic wrap stick weirdly. Then, take a piece of plastic wrap, place your tightly rolled burrito in the center, and wrap it up snug, like a little present. You don’t want any air pockets! Once they’re all individually wrapped, pop them into a freezer-safe bag. Label the bag with the date so you know how fresh they are. They’ll stay yummy in there for about two months, easy!
Reheating Your Effortless & Tasty Freezer Breakfast Burritos
Okay, the moment of truth! You’ve got your precious burrito ready to go, and you want it to taste as good as when you first made it. Maya says don’t even worry, reheating these is just as easy as making them!
Microwave Magic: If you’re in a super hurry, pop one out of the plastic wrap, place it on a microwave-safe plate, and zap it for about 45-60 seconds. You might want to peek and give it a little flip halfway through. For an extra crispy tortilla, just pop it onto a hot, lightly greased skillet for a minute or two on each side after microwaving. Best of both worlds!
Oven Warm-Up: For a more evenly heated and potentially crispier result, the oven is your friend. Preheat it to 350°F (175°C). Unwrap your burrito and place it on a baking sheet. Warm it through for about 15-20 minutes, or until it’s heated all the way to the center. This method is great if you’re making a few at once!
Skillet Crisp: My favorite is the skillet method if I have a few extra minutes! Unwrap your burrito and place it directly into a dry, non-stick skillet over medium heat. Cook for a few minutes on each side until the tortilla is golden brown and delightfully crispy. It’s like a whole new burrito!
Frequently Asked Questions About Freezer Breakfast Burritos
Have questions about these tasty little bundles of joy? You’re not alone! Here are some of the most common things people ask about making and freezing breakfast burritos:
Can I use different meats in my breakfast burritos?
Absolutely! While I love the classic pork sausage, feel free to switch it up. Ground turkey is a great leaner option, or you could even try some diced ham or cooked bacon. Just make sure whatever meat you choose is cooked through before adding it to the burrito assembly. Maya sometimes uses chorizo for a little extra kick!
What if I want to make these vegetarian?
No problem at all! For a fantastic veggie version, just skip the sausage. You can add more veggies like mushrooms, spinach, or even some black beans for extra protein and flavor. A sprinkle of nutritional yeast can also give it a cheesy, savory boost if you’re looking to keep it dairy-free too!
How long do these really last in the freezer?
When wrapped up nicely in plastic wrap and then tucked into a freezer-safe bag, these burritos are good for about 2 months. Maya’s found they hold their best quality within that timeframe. Just remember to label them with the date so you can keep track!
Can I add different kinds of vegetables?
Totally! The beauty of these burritos is how adaptable they are. Feel free to toss in some sautéed spinach, diced zucchini, corn, or even some roasted sweet potatoes. Just make sure any veggies you add are cooked down a bit before they go into the burrito so they don’t release too much moisture when reheating.
Estimated Nutritional Information
Just a little heads-up, these numbers are just estimates, okay? Because we all make our burritos a little differently – maybe you love extra cheese or swap out the sausage – the exact counts can wiggle around! But based on our recipe, you’re looking at around 446 calories, 18g of protein, 27g of carbs, and 30g of fat per burrito. Pretty great for a filling breakfast that keeps you going!
Share Your Effortless & Tasty Freezer Breakfast Burritos!
So, have you made these amazing burritos yet? I’d LOVE to hear all about it! Drop a comment below and tell me how yours turned out, or if you tried any fun ingredient swaps. And if you snap a pic, tag me on social media – I can’t wait to see your delicious creations!
Effortless & Tasty Freezer Breakfast Burritos
Ingredients
Equipment
Method
- Add oil to an extra large skillet with high sides, over medium-high heat. Once hot, add hashbrowns and cook for several minutes, undisturbed, until golden and crisp on the bottom. Season with salt and pepper. Flip and repeat on the other side. Set aside for burrito assembly.
- Add a little more oil to the pan and add diced bell peppers and onion and cook for a few minutes, until tender. Remove and set aside.
- Add ground sausage to the same pan and cook, breaking it into small pieces with a meat chopper or wooden spoon, until browned and cooked through. Remove and set aside.
- Meanwhile, add eggs and water to a bowl and whisk well with a fork. Season with salt and pepper. Cook, stirring with a wooden spoon until they are soft scrambled. Do not overcook them.
- Place a tortilla on the counter in front of you. Sprinkle a big handful of shredded cheese on it. Add a spoonful of hashbrowns, sausage, veggies, and eggs. Fold it tightly into a burrito. If serving immediately, toast them in a hot greased skillet until the tortilla is golden and crisp on all sides. Serve immediately.